Inleiding
This disassembly includes the button panel and button motherboard.
Wat je nodig hebt
-
-
-
Starting with the corners, gently pull the rubber cover off of the device.
 Vraag FixBot
-
-
-
Using the T-6 hexagonal screwdriver, unscrew the four 10mm #6 hex screws on the right side of the device.
-
Remove the handle from the device.
-
-
-
Unscrew the two screws on the left side of the device using the phillips #00 screwdriver.
-
One 5mm Phillips screw.
-
One 8mm Phillips screw.
-
-
-
-
Gently pull the sides of the front plate outwards from the device.
-
Pull up on the front plate to remove it from the device.
-
-
-
-
-
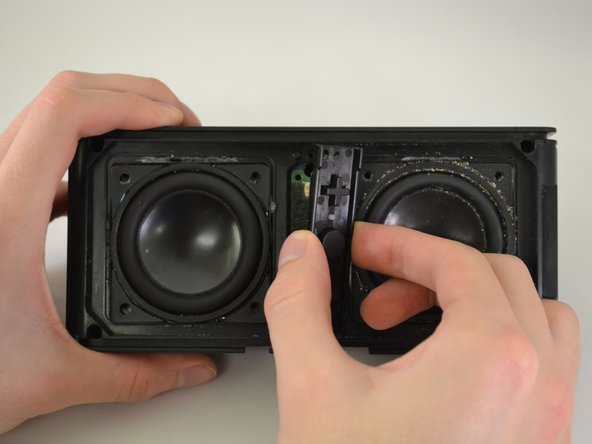
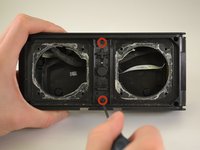
Using a Phillips #00 Precision Screwdriver, unscrew two 6 mm screws from the middle of the panel, specifically above and below the volume buttons.
-
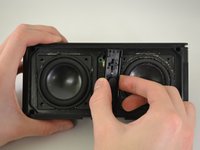
Lift the button panel.
-
-
-
Using a Phillips #00 Precision Screwdriver, unscrew two 6 mm screws from the button motherboard.
-
-
-
Using a plastic opening tool, pry up on the button motherboard to detach it from the device.
-
-
-
First, pull on the black attachment to disconnect it from the metal piece.
-
Release the cable from the back of the motherboard.
-
-




To reassemble your device, follow these instructions in reverse order.
Annuleren: ik heb deze handleiding niet afgemaakt.
2 andere personen hebben deze handleiding voltooid.

Team

Eastern Washington University, Team 1-3, Carnegie Winter 2015 Lid van Eastern Washington University, Team 1-3, Carnegie Winter 2015
EWU-CARNEGIE-W15S1G3
3 Leden
12 handleidingen geschreven
