Ga door naar hoofdinhoud
Word lid van de reparatiegemeenschap - Account aanmaken

Sanyo VPC S1275 Case Replacement

Wat je nodig hebt

  1. Sanyo VPC S1275 Case Replacement, Battery: stap 1, afbeelding 1 van 1
    • Place your thumb on the right side of the camera over the battery door.

    • Slide the battery door to the right until the door lifts up.

    Vraag FixBot

    Voeg opmerking toe

  2. Sanyo VPC S1275 Case Replacement: stap 2, afbeelding 1 van 1
    • Remove and recycle old batteries.

    Vraag FixBot

    Voeg opmerking toe

  3. Sanyo VPC S1275 Case Replacement, Case: stap 3, afbeelding 1 van 3 Sanyo VPC S1275 Case Replacement, Case: stap 3, afbeelding 2 van 3 Sanyo VPC S1275 Case Replacement, Case: stap 3, afbeelding 3 van 3
    • Remove the following six screws using the Phillips #00 screwdriver:

    • Two screws on the left side of the camera.

    • Two screws on the right side of the camera.

    • Two screws on the bottom of the camera.

    Vraag FixBot

    Voeg opmerking toe

  4. Sanyo VPC S1275 Case Replacement: stap 4, afbeelding 1 van 2 Sanyo VPC S1275 Case Replacement: stap 4, afbeelding 2 van 2
    • Open the battery slot on the bottom of the camera by sliding the door to the right.

    • Remove the single 4 mm screw on the bottom right using the Phillips #00 screwdriver.

    Vraag FixBot

    Voeg opmerking toe

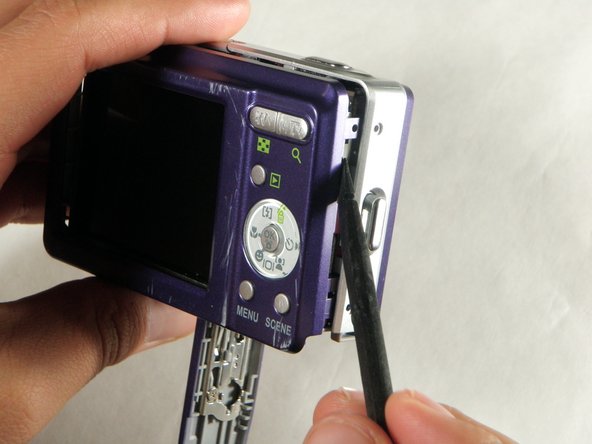
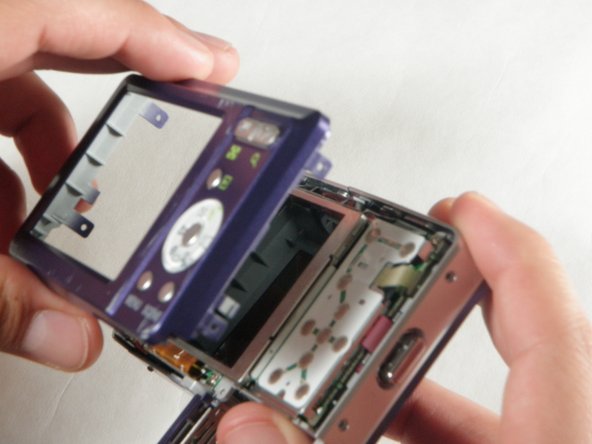
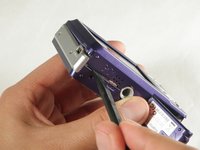
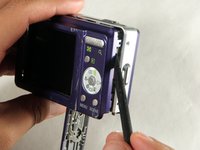
  5. Sanyo VPC S1275 Case Replacement: stap 5, afbeelding 1 van 3 Sanyo VPC S1275 Case Replacement: stap 5, afbeelding 2 van 3 Sanyo VPC S1275 Case Replacement: stap 5, afbeelding 3 van 3
    • Insert a spudger in the seam at the bottom of the camera.

    • Gently separate the rear case from the front of the camera.

    Vraag FixBot

    Voeg opmerking toe

  6. Sanyo VPC S1275 Case Replacement: stap 6, afbeelding 1 van 1
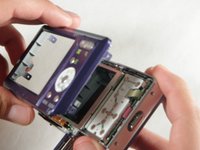
    • This step is only needed for the case and logic board replacement

    • Using the Phillips #00 screwdriver, remove the single screw attached to the front casing in the top left corner. The front case should easily separate.

    Vraag FixBot

    Voeg opmerking toe

  7. Sanyo VPC S1275 Case Replacement: stap 7, afbeelding 1 van 1
    • This step is only needed for the case replacement.

    • Using the Phillips #00 screwdriver, remove the screw on the inside of the battery door.

    • Slide the battery door off of the hinge.

    Vraag FixBot

    Voeg opmerking toe

Conclusie

To reassemble your device, follow these instructions in reverse order.

Annuleren: ik heb deze handleiding niet afgemaakt.

Ariana Martinez

Lid sinds: 04/15/10

50 Reputatie

4 handleidingen geschreven

Team

Cal Poly, Team 24-24, Regan Spring 2010 Lid van Cal Poly, Team 24-24, Regan Spring 2010

CPSU-REGAN-S10S24G24

4 Leden

12 handleidingen geschreven

0Gids Commentaar

Voeg opmerking toe

Weergavestatistieken:

Afgelopen 24 uren: 1

Afgelopen 7 dagen: 4

Afgelopen 30 dagen: 30

Altijd: 2,488