Inleiding
If there is no display on the screen or a black screen when the laptop is on, it may help to replace the screen using this guide. The optical drive, hard drive, and hinges must be removed first.
Wat je nodig hebt
-
-
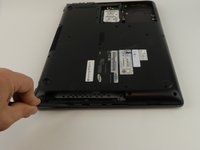
Flip the laptop over.
-
Remove the 6 mm screw with the Phillips #000 screwdriver.
 Vraag FixBot
-
-
-
Flip the laptop.
-
Use the Phillips #000 screwdriver to unscrew the 6 mm screw from the square panel.
-
-
-
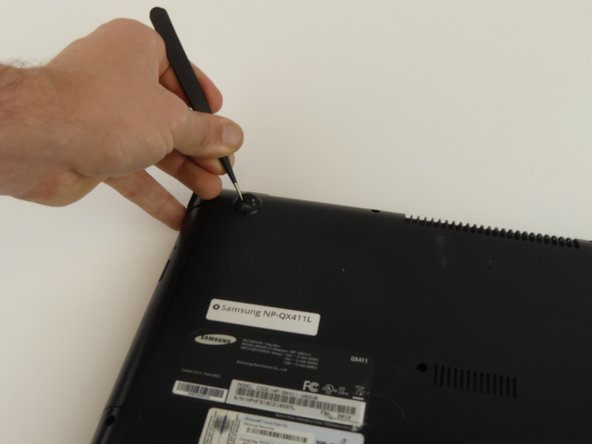
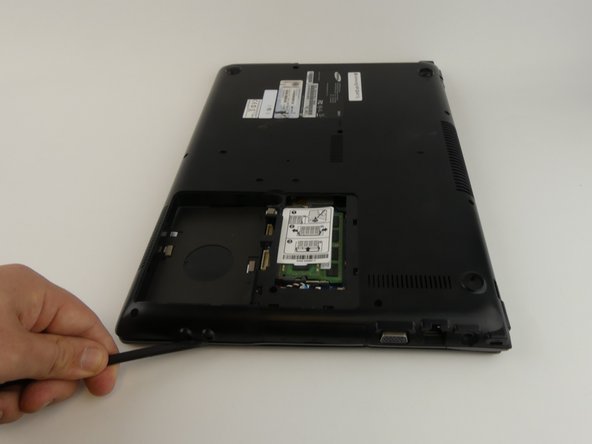
Gently wedge the spudger under the square panel.
-
Run the spudger under the edges of the square panel to loosen it.
-
Remove the panel.
-
-
-
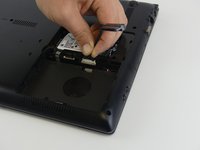
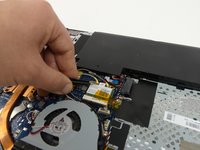
Remove the hard drive by gently pulling the power connector at the base of the wire off. You can do this by pulling the connector away from the hard drive.
-
-
-
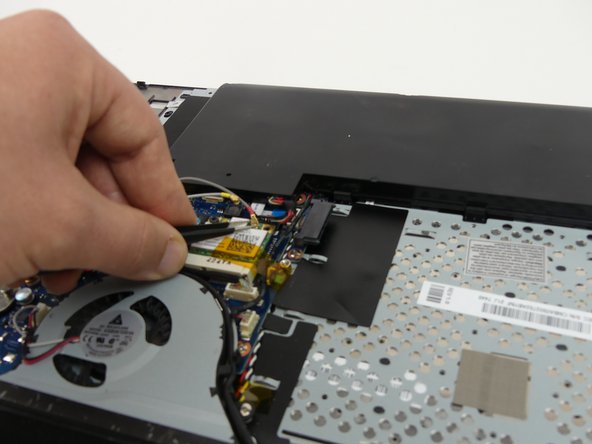
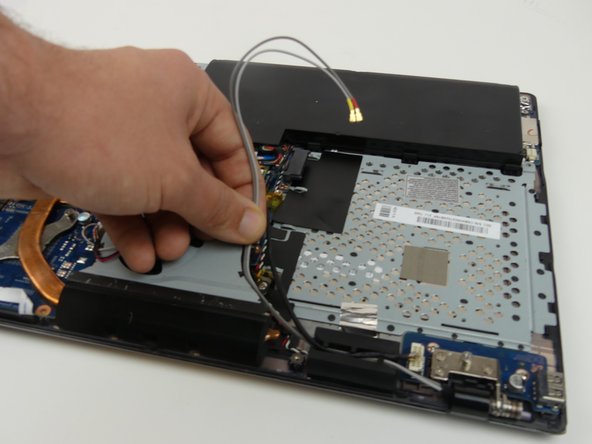
Disconnect the wire from the motherboard by pulling up and away from the laptop.
-
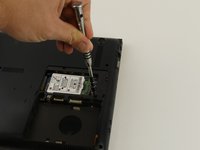
Remove the 6 mm screw with the Phillips #000 screwdriver.
-
-
-
Gereedschap gebruikt in deze stap:Tweezers$4.99
-
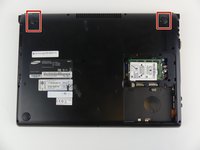
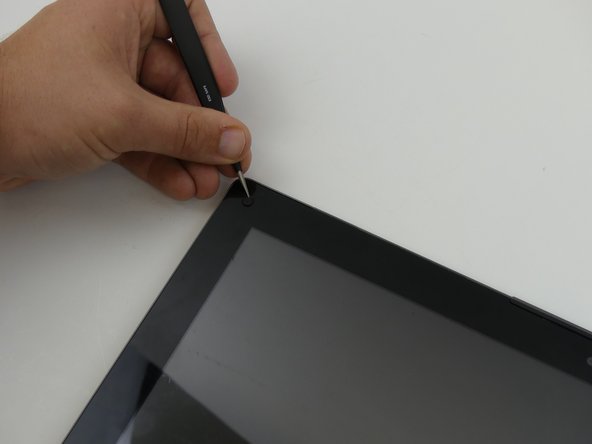
Remove the top two rubber stoppers using precision tweezers.
-
-
-
Unscrew nine 6 mm screws on the cover using a Phillips #000 screwdriver.
-
-
-
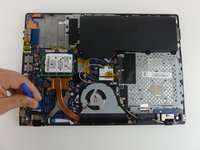
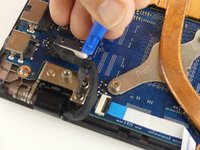
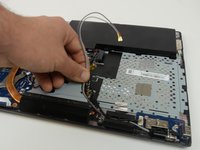
Disconnect the wire by carefully using the plastic opening tool to pry the connector away from the motherboard.
-
-
-
Open the laptop slightly.
-
Holding the laptop open, remove three 4 mm screws from each hinge (6 total) using a Phillips #000 screwdriver.
-
-
-
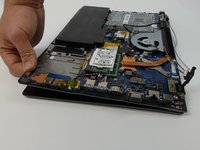
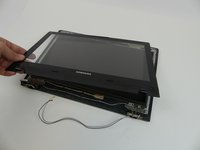
Hold hinges in place with your thumb and slide the laptop away from the screen.
-
-
-
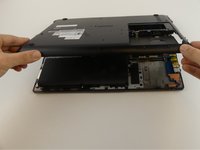
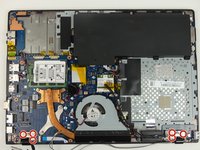
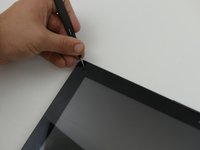
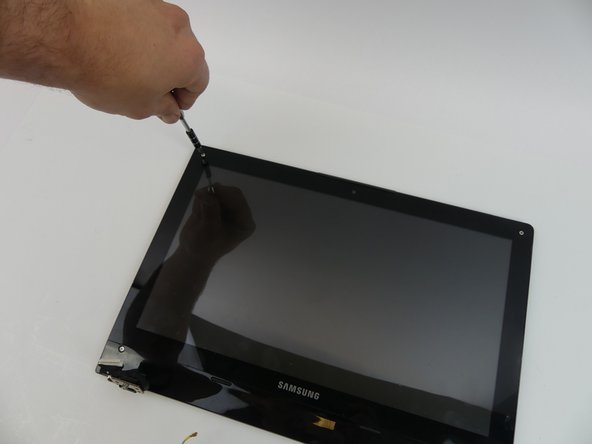
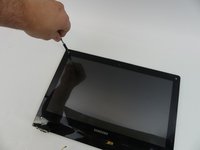
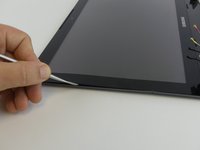
Wedge the metal spudger underneath the cover and run it along the edges. Gently pry the cover up.
-
-
-
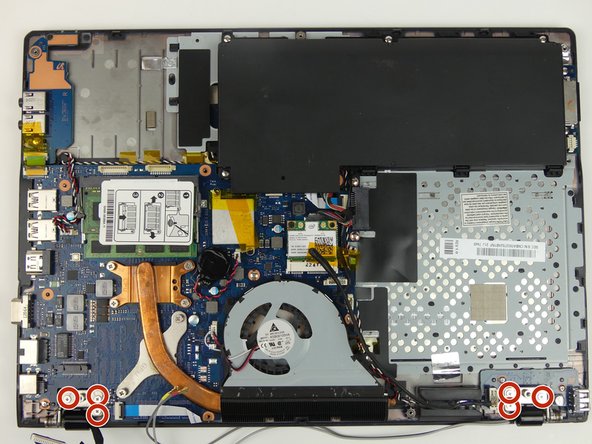
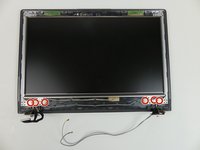
Remove the three 4 mm screws on each hinge with a Phillips #000 screwdriver. There should be a total of 6 screws to remove.
-
-
-
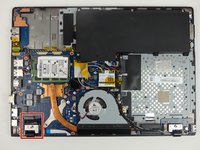
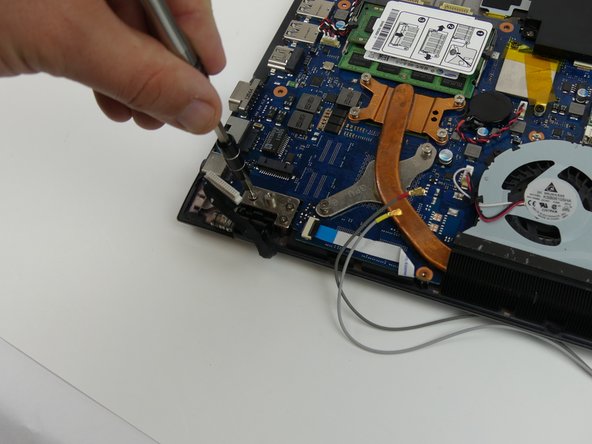
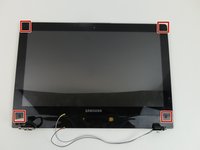
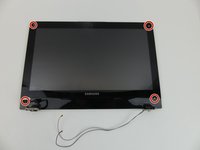
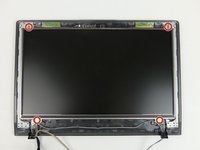
Remove the four 4 mm screws using Phillips #000 screwdriver.
-
Remove metal brackets.
-
-
-
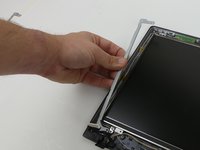
Use the small suction cup to lift the screen.
-
Disconnect the wire by pulling it away from the bottom of the screen.
-


To reassemble your device, follow these instructions in reverse order.
Team

USF Tampa, Team S19-G3, Hoffman Spring 2017 Lid van USF Tampa, Team S19-G3, Hoffman Spring 2017
USFT-HOFFMAN-S17S19G3
4 Leden
5 handleidingen geschreven