Inleiding
Use this guide to replace the display and touch panel on your Galaxy Note 4.
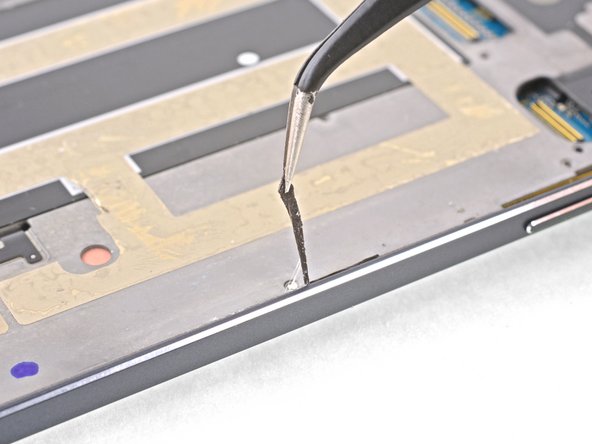
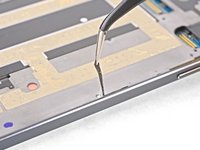
If the frame is damaged or bent, it's important to replace it, or else the new screen may not mount correctly and can suffer damage from uneven pressure.
The process of separating the display from the frame usually destroys the display, so don't follow this guide unless you intend to replace the display.
Wat je nodig hebt
-
-
Insert a fingernail or plastic opening tool into the divot to the left of the rear-facing camera.
-
Gently pry and twist the flexible rear cover off the back of the phone.
-
-
-
Insert a fingernail or plastic opening tool into the recess in the bottom right corner of the battery and lift upward.
-
Remove the battery.
-
-
-
Prepare an iOpener and heat the display along the left edge for about two minutes.
-
-
-
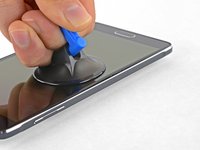
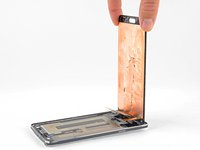
Once the screen is warm to the touch, apply a suction cup as close to the heated edge of the phone as you can.
-
If your display is badly cracked, the suction cup may not stick. Try lifting the display with strong tape, or superglue the suction cup in place and allow it to cure so you can proceed.
-
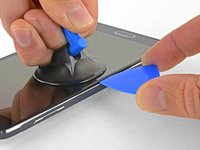
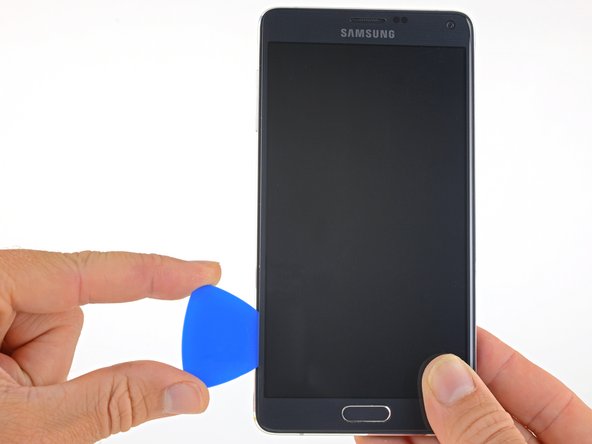
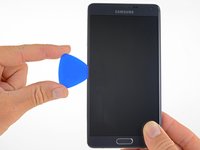
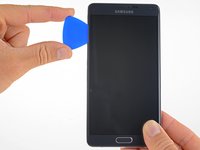
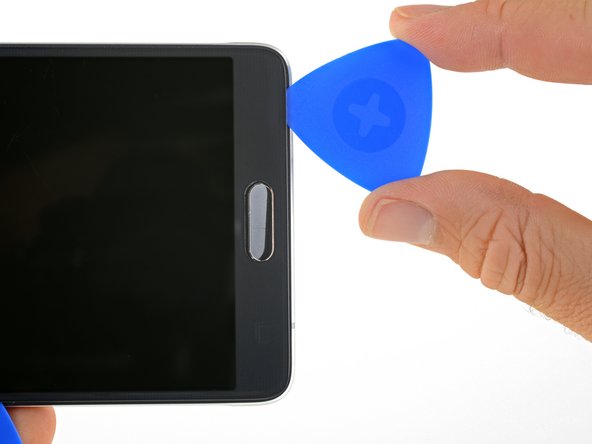
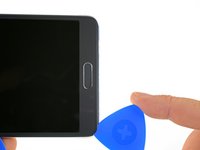
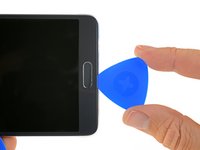
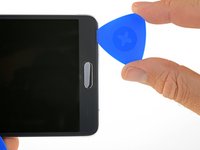
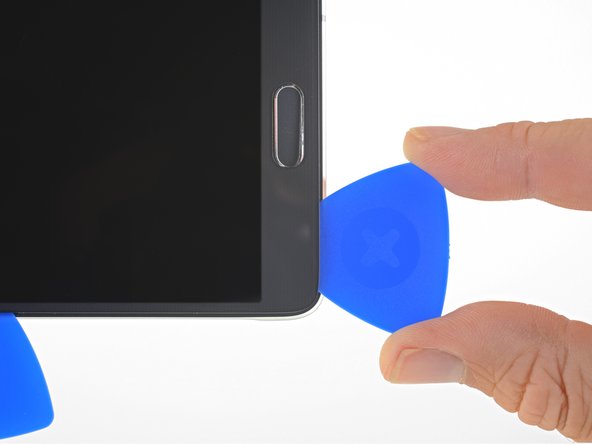
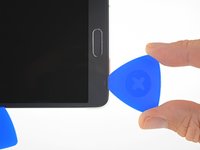
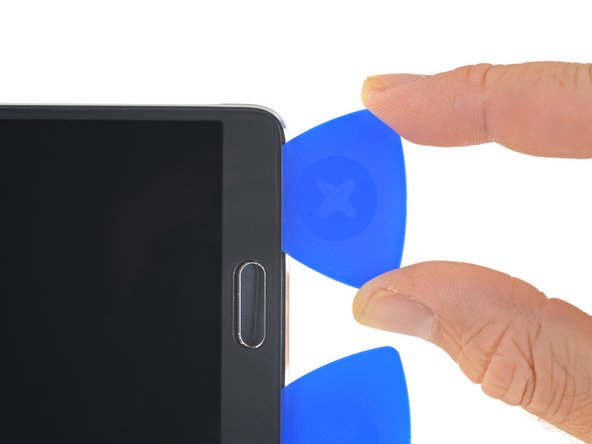
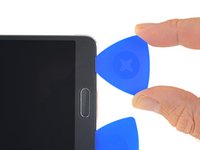
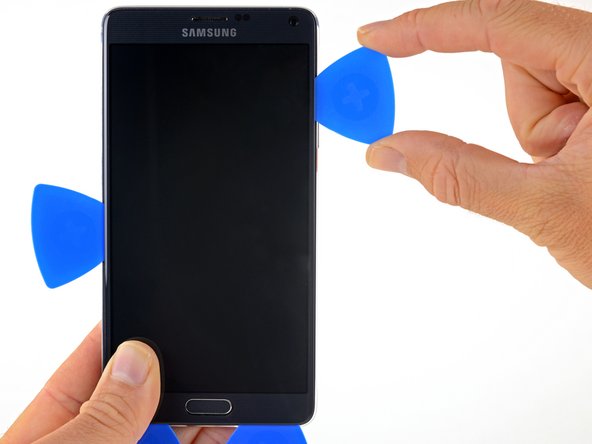
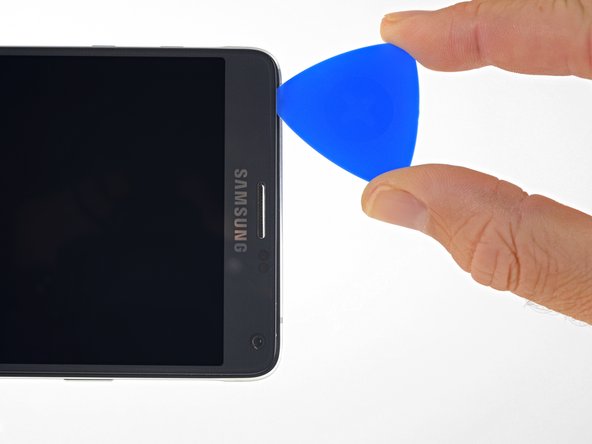
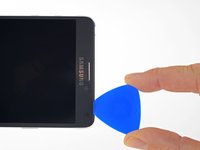
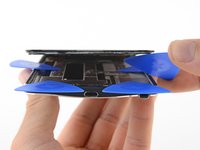
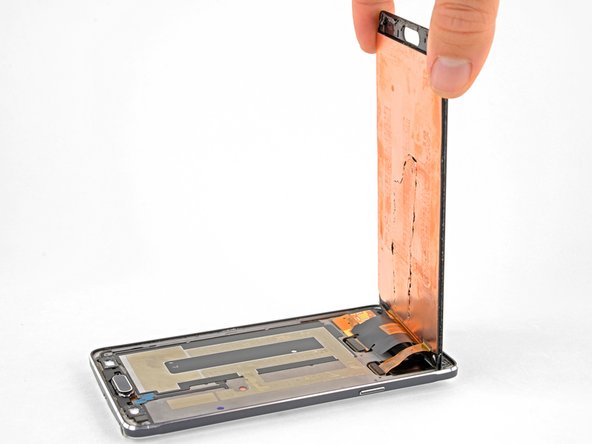
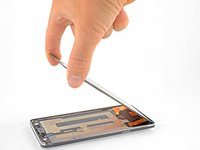
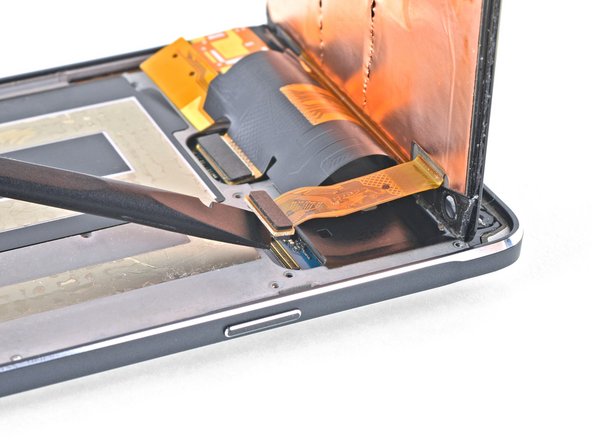
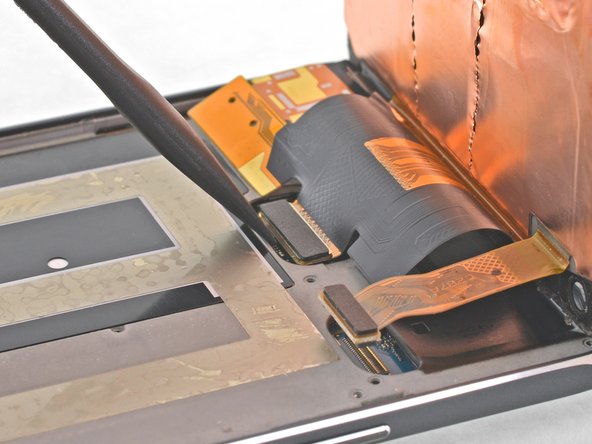
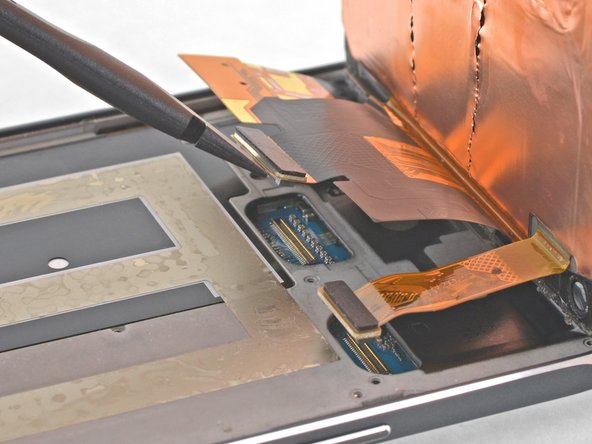
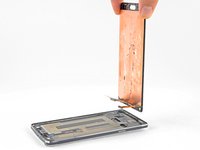
Lift on the suction cup, and insert an opening pick under the display assembly.
-
-


To reassemble your device, follow these instructions in reverse order.
Annuleren: ik heb deze handleiding niet afgemaakt.
25 andere personen hebben deze handleiding voltooid.

1Gids Commentaar
Merci, en prenant bien le temps et avec les outils ça la fait. Une bouillotte a la place du Iopenit mais le pack Pro Teck Toolkit est suffisant pour cette ouvrage. c'est clairement pas une course, j'étais pas loin des 2 heures mais j'ai récupéré un bon écran sur un tel hs pour remplacer l'écran cassé de mon vieux Note 4. il a reprit vie comme en 2019...J'ai encore du mal a le croire. Merci beaucoup, je n'aurai pas osé me lancer sans ce tuto. ps:la parti recollage manque de détails et de photos selon moi