Ga door naar hoofdinhoud
Word lid van de reparatiegemeenschap - Account aanmaken
Samsung Galaxy A11 Display Assembly Replacement

Wat je nodig hebt

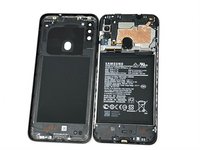
  1. Samsung Galaxy A11 Display Assembly Replacement, Back Cover: stap 1, afbeelding 1 van 3 Samsung Galaxy A11 Display Assembly Replacement, Back Cover: stap 1, afbeelding 2 van 3 Samsung Galaxy A11 Display Assembly Replacement, Back Cover: stap 1, afbeelding 3 van 3
    • Place the SIM eject tool in the hole of the sim tray.

    • Push until part of the SIM tray is pushed out.

    • Pull out the rest of the SIM tray.

    Vraag FixBot

    Voeg opmerking toe

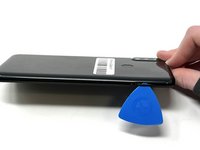
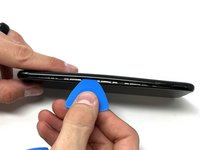
  2. Samsung Galaxy A11 Display Assembly Replacement: stap 2, afbeelding 1 van 3 Samsung Galaxy A11 Display Assembly Replacement: stap 2, afbeelding 2 van 3 Samsung Galaxy A11 Display Assembly Replacement: stap 2, afbeelding 3 van 3
    • Gently pry open the area of the back cover near the SIM tray using an iFixit opening pick.

    • Gently move the pick along the gap and pry open the clips holding it together.

    • If possible, use multiple picks to prevent the back cover from closing.

    Vraag FixBot

    Voeg opmerking toe

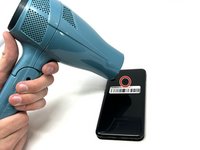
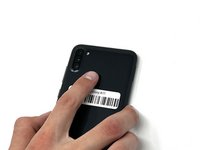
  3. Samsung Galaxy A11 Display Assembly Replacement: stap 3, afbeelding 1 van 3 Samsung Galaxy A11 Display Assembly Replacement: stap 3, afbeelding 2 van 3 Samsung Galaxy A11 Display Assembly Replacement: stap 3, afbeelding 3 van 3
    • Using a hair dryer on low heat, heat the fingerprint sensor in increments of 30 seconds to loosen the surrounding adhesive.

    • Gently push the fingerprint sensor until it detaches from the back cover.

    • If needed, remove the button by prying it from the bottom of the device.

    Vraag FixBot

    Voeg opmerking toe

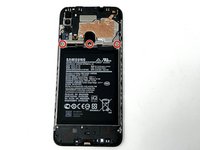
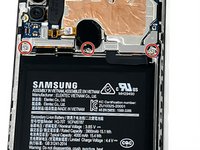
  4. Samsung Galaxy A11 Display Assembly Replacement, Battery: stap 4, afbeelding 1 van 3 Samsung Galaxy A11 Display Assembly Replacement, Battery: stap 4, afbeelding 2 van 3 Samsung Galaxy A11 Display Assembly Replacement, Battery: stap 4, afbeelding 3 van 3
    • Remove the three 3 mm screws from the shield using a Phillips #000 screwdriver.

    • Remove the shield from the phone.

    Vraag FixBot

    Voeg opmerking toe

  5. Samsung Galaxy A11 Display Assembly Replacement: stap 5, afbeelding 1 van 3 Samsung Galaxy A11 Display Assembly Replacement: stap 5, afbeelding 2 van 3 Samsung Galaxy A11 Display Assembly Replacement: stap 5, afbeelding 3 van 3
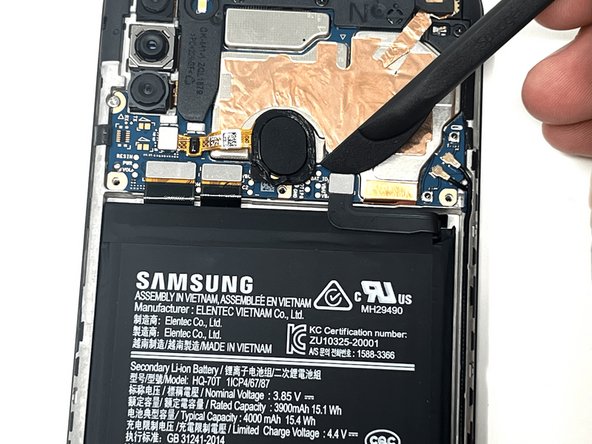
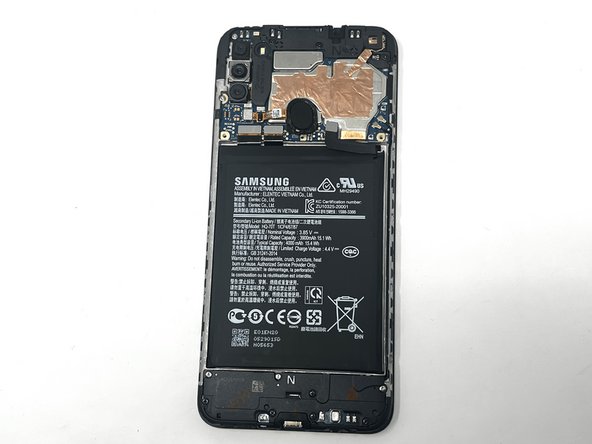
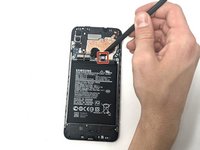
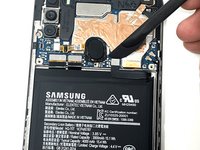
    • Using tweezers, a spudger, or your fingers, disconnect the battery press connector from the phone.

    Vraag FixBot

    Voeg opmerking toe

  6. Samsung Galaxy A11 Display Assembly Replacement: stap 6, afbeelding 1 van 3 Samsung Galaxy A11 Display Assembly Replacement: stap 6, afbeelding 2 van 3 Samsung Galaxy A11 Display Assembly Replacement: stap 6, afbeelding 3 van 3
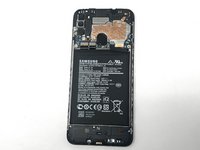
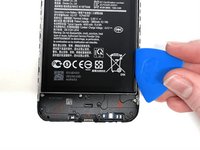
    • If needed, use a hairdryer on low heat to soften the adhesive under the battery. If The Battery Is Expanded, DO NOT USE A HAIRDRYER or heat; be very careful when removing to not puncture the battery.

    • Use an iFixit pry tool to dig under the battery edge.

    • If needed, use multiple pry tools to hold the battery in place.

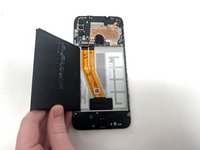
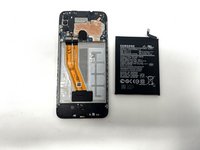
    • Continue to cut the adhesive under the battery until you are able to pry the battery away from the phone.

    • Remove the battery from the phone.

    Vraag FixBot

    Voeg opmerking toe

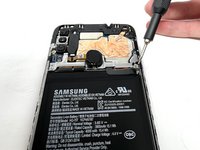
  7. Samsung Galaxy A11 Display Assembly Replacement, Earpiece Speaker: stap 7, afbeelding 1 van 3 Samsung Galaxy A11 Display Assembly Replacement, Earpiece Speaker: stap 7, afbeelding 2 van 3 Samsung Galaxy A11 Display Assembly Replacement, Earpiece Speaker: stap 7, afbeelding 3 van 3
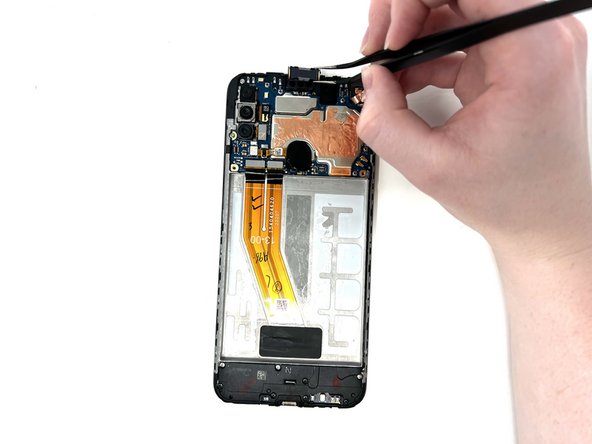
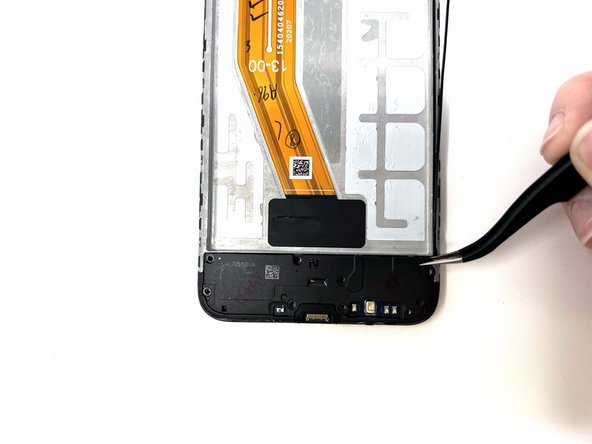
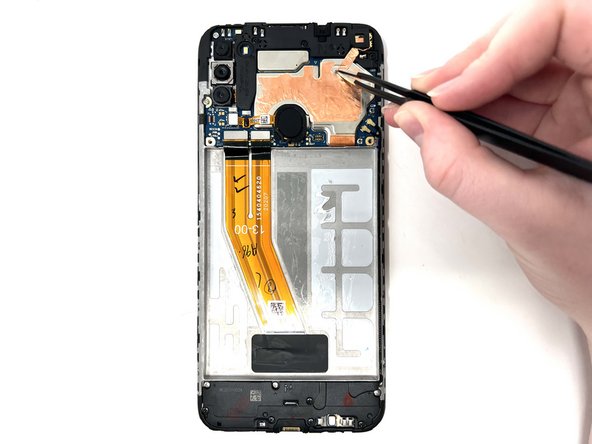
    • Gently use tweezers to peel up the copper strip on the top right of the phone.

    Vraag FixBot

    Voeg opmerking toe

  8. Samsung Galaxy A11 Display Assembly Replacement: stap 8, afbeelding 1 van 2 Samsung Galaxy A11 Display Assembly Replacement: stap 8, afbeelding 2 van 2
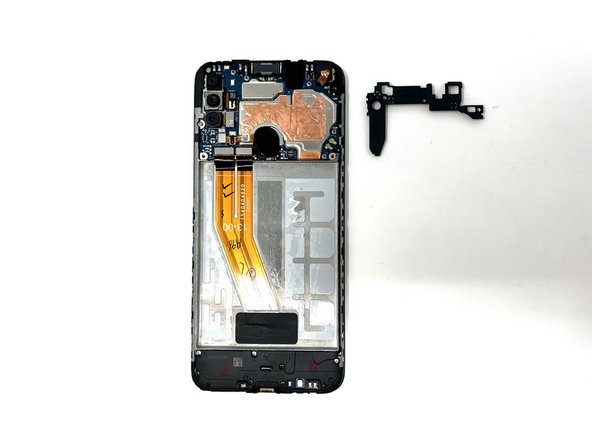
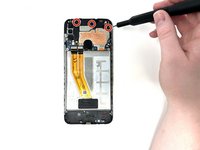
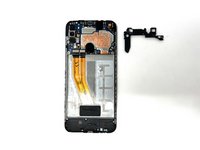
    • Remove the three black 3 mm screws from the speaker cover using a Phillips #000 screwdriver.

    • Remove the cover from the phone.

    Vraag FixBot

    Voeg opmerking toe

  9. Samsung Galaxy A11 Display Assembly Replacement: stap 9, afbeelding 1 van 3 Samsung Galaxy A11 Display Assembly Replacement: stap 9, afbeelding 2 van 3 Samsung Galaxy A11 Display Assembly Replacement: stap 9, afbeelding 3 van 3
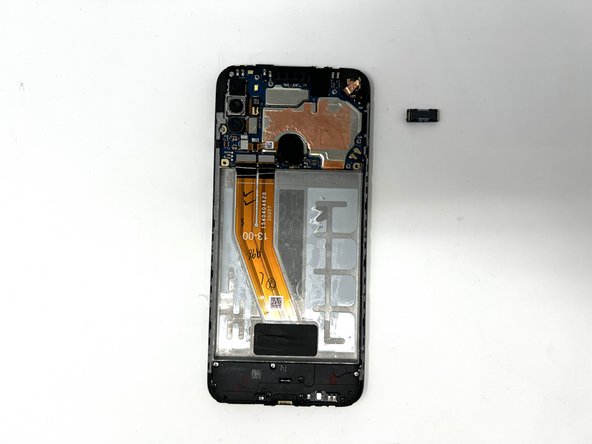
    • Using tweezers, carefully remove the earpiece speaker at the top of the phone.

    • When using metal tools, it is important to be gentle in order to not damage the device.

    • If needed, you can use a hair dryer to apply heat to the speaker and loosen the adhesive.

    • If needed, you may orient the tweezers to your liking, gripping the earpiece horizontally or vertically, while removing it.

    Vraag FixBot

    Voeg opmerking toe

  10. Samsung Galaxy A11 Display Assembly Replacement, Fingerprint Sensor: stap 10, afbeelding 1 van 3 Samsung Galaxy A11 Display Assembly Replacement, Fingerprint Sensor: stap 10, afbeelding 2 van 3 Samsung Galaxy A11 Display Assembly Replacement, Fingerprint Sensor: stap 10, afbeelding 3 van 3
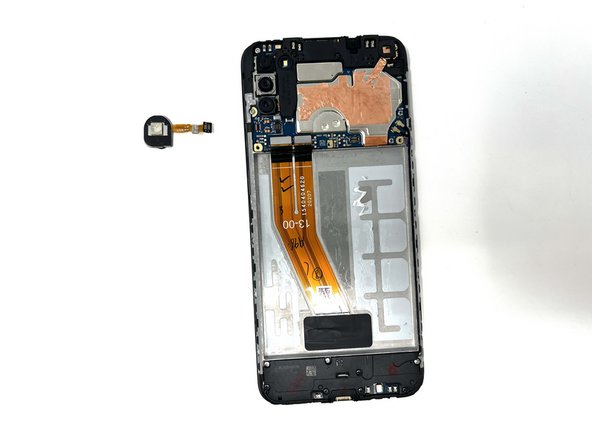
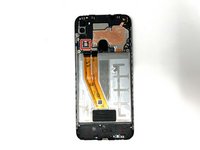
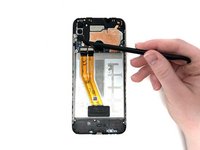
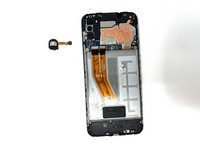
    • Using a spudger, detach the ribbon cable connected to the fingerprint sensor.

    • Remove the fingerprint sensor from the device.

    Vraag FixBot

    Voeg opmerking toe

  11. Samsung Galaxy A11 Display Assembly Replacement, Motherboard: stap 11, afbeelding 1 van 1
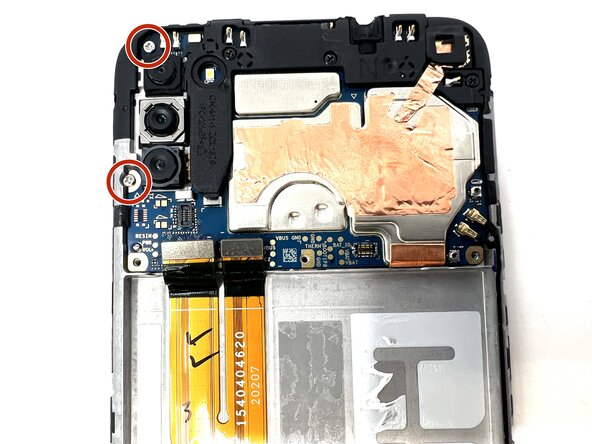
    • Remove the two 3 mm silver screws from the top left of the device using a Phillips #000 screwdriver.

    Vraag FixBot

    Voeg opmerking toe

  12. Samsung Galaxy A11 Display Assembly Replacement: stap 12, afbeelding 1 van 3 Samsung Galaxy A11 Display Assembly Replacement: stap 12, afbeelding 2 van 3 Samsung Galaxy A11 Display Assembly Replacement: stap 12, afbeelding 3 van 3
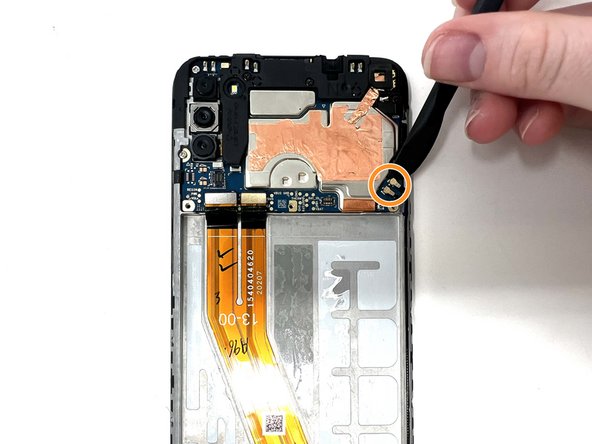
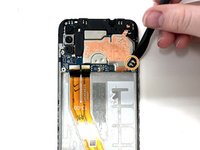
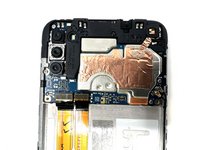
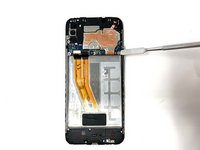
    • Using a spudger, disconnect the two ribbon cables attached to the battery slot from the motherboard.

    • Disconnect the two longer ribbon cables near the bottom right corner of the motherboard.

    • Lift these cables up slightly to reveal a gap.

    Vraag FixBot

    Voeg opmerking toe

  13. Samsung Galaxy A11 Display Assembly Replacement: stap 13, afbeelding 1 van 3 Samsung Galaxy A11 Display Assembly Replacement: stap 13, afbeelding 2 van 3 Samsung Galaxy A11 Display Assembly Replacement: stap 13, afbeelding 3 van 3
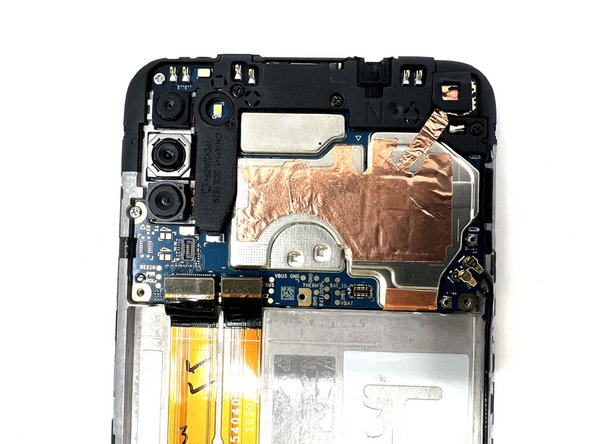
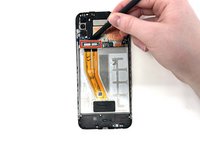
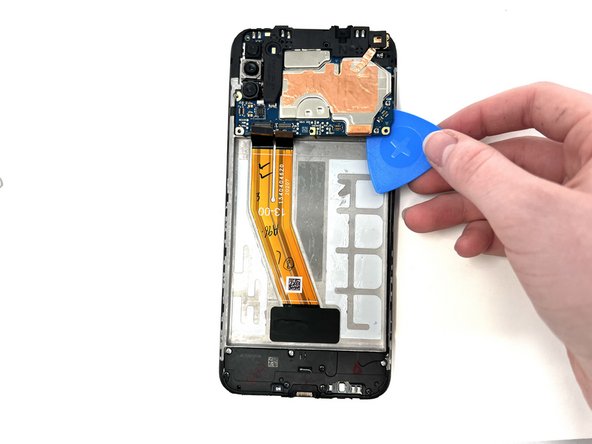
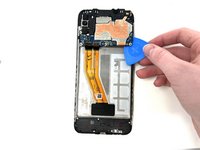
    • Using a spudger, gently pry the motherboard up using the corner revealed in the previous step.

    • If needed, use a metal spudger as a sturdier alternative.

    • If using a metal spudger, it is important to be gentle in order to not damage any components of the device.

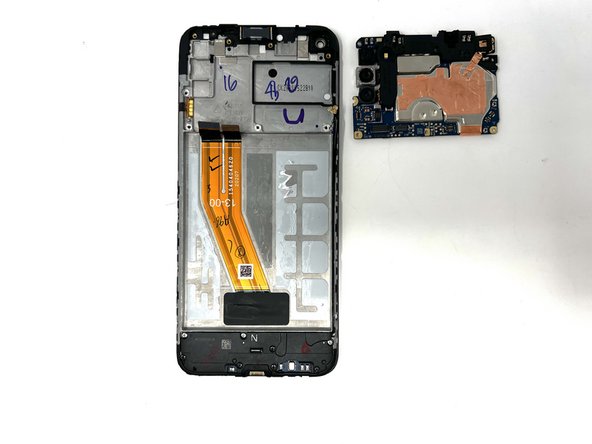
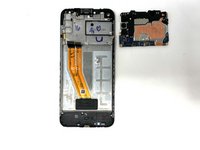
    • Remove the motherboard from the device.

    Vraag FixBot

    Voeg opmerking toe

  14. Samsung Galaxy A11 Display Assembly Replacement, Daughterboard: stap 14, afbeelding 1 van 3 Samsung Galaxy A11 Display Assembly Replacement, Daughterboard: stap 14, afbeelding 2 van 3 Samsung Galaxy A11 Display Assembly Replacement, Daughterboard: stap 14, afbeelding 3 van 3
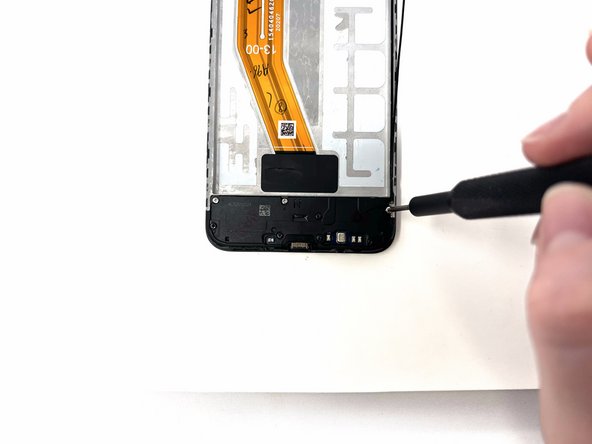
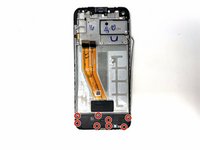
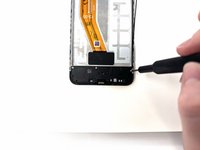
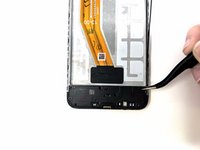
    • Remove the eight silver and black 3 mm screws from the speaker cover using a Phillips #000 screwdriver.

    • Remove the speaker cover from the device.

    Vraag FixBot

    Voeg opmerking toe

  15. Samsung Galaxy A11 Display Assembly Replacement: stap 15, afbeelding 1 van 3 Samsung Galaxy A11 Display Assembly Replacement: stap 15, afbeelding 2 van 3 Samsung Galaxy A11 Display Assembly Replacement: stap 15, afbeelding 3 van 3
    • Using a spudger, disconnect the antenna heads from the daughterboard.

    • Disconnect the ribbon cable from the daughterboard.

    Vraag FixBot

    Voeg opmerking toe

  16. Samsung Galaxy A11 Display Assembly Replacement: stap 16, afbeelding 1 van 3 Samsung Galaxy A11 Display Assembly Replacement: stap 16, afbeelding 2 van 3 Samsung Galaxy A11 Display Assembly Replacement: stap 16, afbeelding 3 van 3
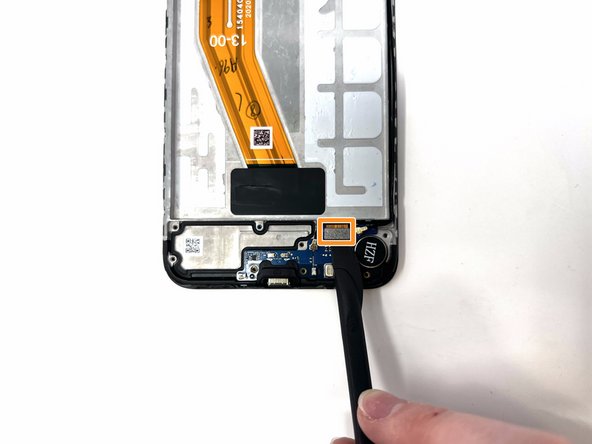
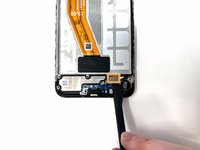
    • Using tweezers, gently pry the daughterboard from the device.

    • When using metal tools, it is important to be gentle in order to not damage the device.

    Vraag FixBot

    Voeg opmerking toe

  17. Samsung Galaxy A11 Display Assembly Replacement, Vibration Motor: stap 17, afbeelding 1 van 2 Samsung Galaxy A11 Display Assembly Replacement, Vibration Motor: stap 17, afbeelding 2 van 2
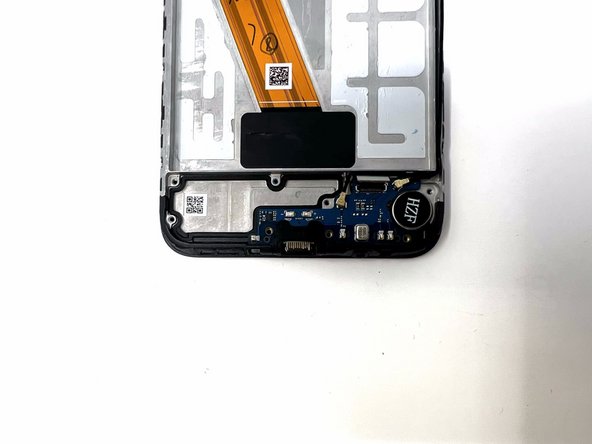
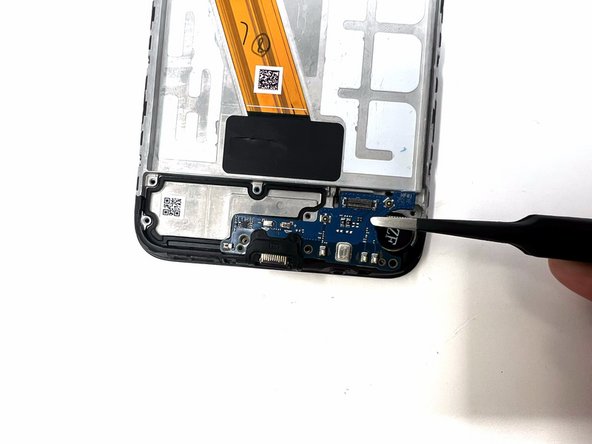
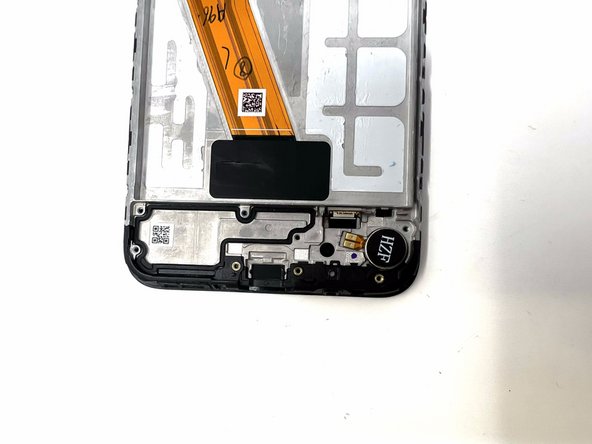
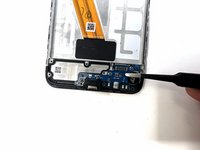
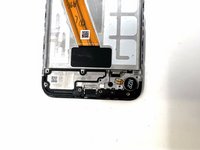
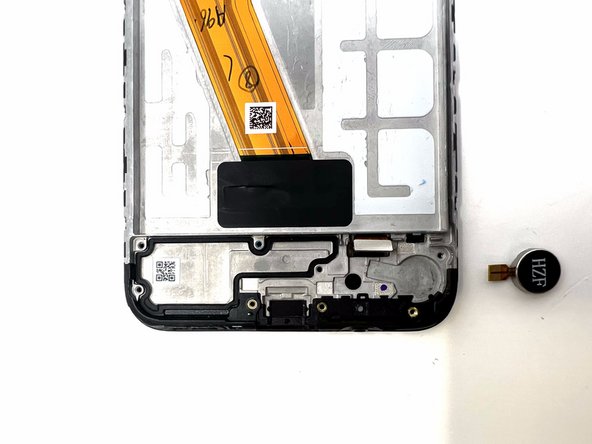
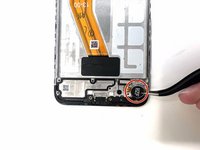
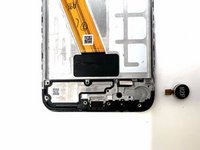
    • Using tweezers, remove the vibrator motor from the device.

    • If needed, you can apply heat to loosen the adhesive from the motor.

    Vraag FixBot

    Voeg opmerking toe

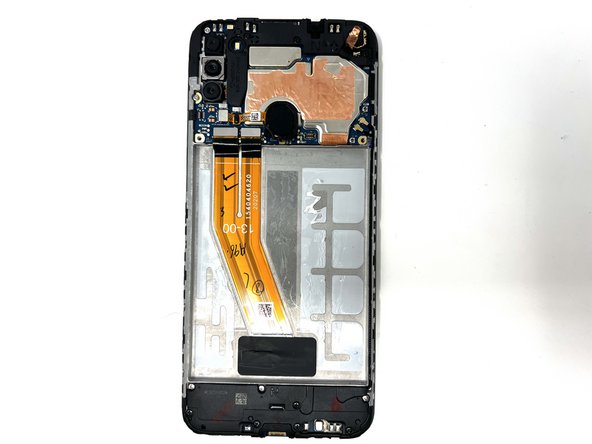
  18. Samsung Galaxy A11 Display Assembly Replacement, Display Assembly: stap 18, afbeelding 1 van 1
    • The display assembly is separated from all other components and can be replaced.

    Vraag FixBot

    Voeg opmerking toe

Conclusie

To reassemble your device, follow these instructions in reverse order.

Annuleren: ik heb deze handleiding niet afgemaakt.

4 andere personen hebben deze handleiding voltooid.

Chloe Bulloch

Lid sinds: 09/04/24

789 Reputatie

3 handleidingen geschreven

Team

Utah Tech University, Team 1-6, Crenshaw Fall 2024 Lid van Utah Tech University, Team 1-6, Crenshaw Fall 2024

UTAHTECH-CRENSHAW-F24S1G6

2 Leden

14 handleidingen geschreven

0Gids Commentaar

Voeg opmerking toe

Weergavestatistieken:

Afgelopen 24 uren: 5

Afgelopen 7 dagen: 50

Afgelopen 30 dagen: 190

Altijd: 2,735