Ga door naar hoofdinhoud
Word lid van de reparatiegemeenschap - Account aanmaken

Samsung Chromebook 3 Display Replacement

Wat je nodig hebt

  1. Samsung Chromebook 3 Display Replacement, Bottom Case: stap 1, afbeelding 1 van 2 Samsung Chromebook 3 Display Replacement, Bottom Case: stap 1, afbeelding 2 van 2
    • Place the Chromebook face down so that the bottom case is exposed.

    • Using a Phillips #00 screwdriver, remove nine 4.6mm screws from the back casing.

    Vraag FixBot

    Voeg opmerking toe

  2. Samsung Chromebook 3 Display Replacement: stap 2, afbeelding 1 van 3 Samsung Chromebook 3 Display Replacement: stap 2, afbeelding 2 van 3 Samsung Chromebook 3 Display Replacement: stap 2, afbeelding 3 van 3
    • Use a iFixit opening tool to gently pry the case up from the vent on the hinge side of the Chromebook.

    • You should hear a popping sound as the connectors disengage inside the case.

    Vraag FixBot

    Voeg opmerking toe

  3. Samsung Chromebook 3 Display Replacement: stap 3, afbeelding 1 van 1
    • Lift the case up and off the device

    Vraag FixBot

    Voeg opmerking toe

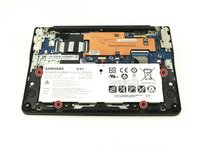
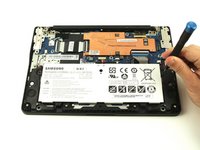
  4. Samsung Chromebook 3 Display Replacement, Battery: stap 4, afbeelding 1 van 2 Samsung Chromebook 3 Display Replacement, Battery: stap 4, afbeelding 2 van 2
    • Locate the battery and remove the four 4.6mm screws at the corners which attach it to case using a Phillips #00 screwdriver.

    Vraag FixBot

    Voeg opmerking toe

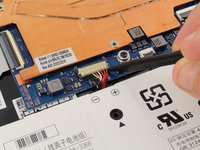
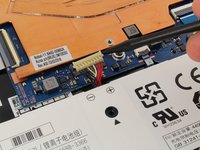
  5. Samsung Chromebook 3 Display Replacement: stap 5, afbeelding 1 van 2 Samsung Chromebook 3 Display Replacement: stap 5, afbeelding 2 van 2
    • Use a spudger to gently pry the power cable cord upwards from the motherboard.

    Vraag FixBot

    Voeg opmerking toe

  6. Samsung Chromebook 3 Display Replacement: stap 6, afbeelding 1 van 1
    • Lift the battery up and out from the case.

    Vraag FixBot

    Voeg opmerking toe

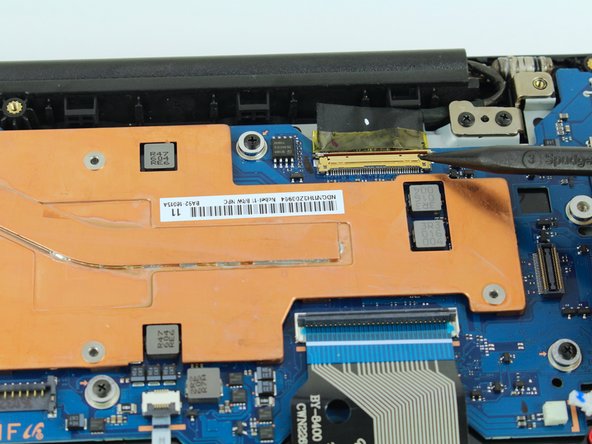
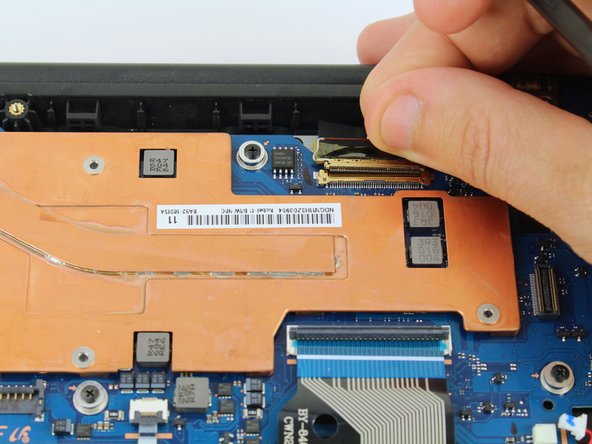
  7. Samsung Chromebook 3 Display Replacement, Display: stap 7, afbeelding 1 van 3 Samsung Chromebook 3 Display Replacement, Display: stap 7, afbeelding 2 van 3 Samsung Chromebook 3 Display Replacement, Display: stap 7, afbeelding 3 van 3
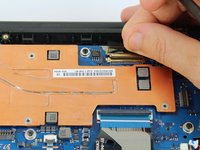
    • Disengage the gold connector joining the display and motherboard by flipping up the hinge with a spudger and gently disconnecting it with a spudger or your fingers.

    Vraag FixBot

    Voeg opmerking toe

  8. Samsung Chromebook 3 Display Replacement: stap 8, afbeelding 1 van 3 Samsung Chromebook 3 Display Replacement: stap 8, afbeelding 2 van 3 Samsung Chromebook 3 Display Replacement: stap 8, afbeelding 3 van 3
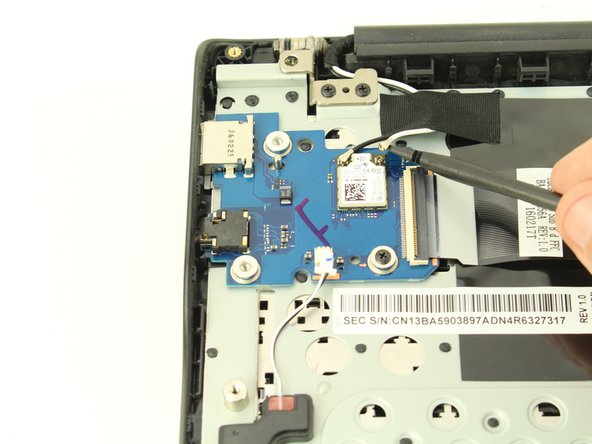
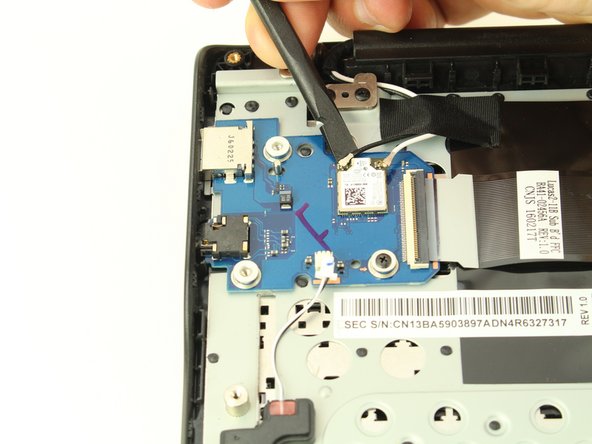
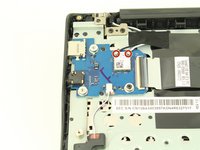
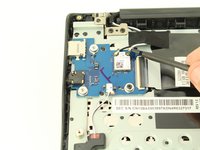
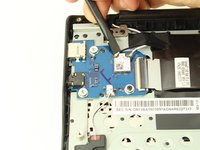
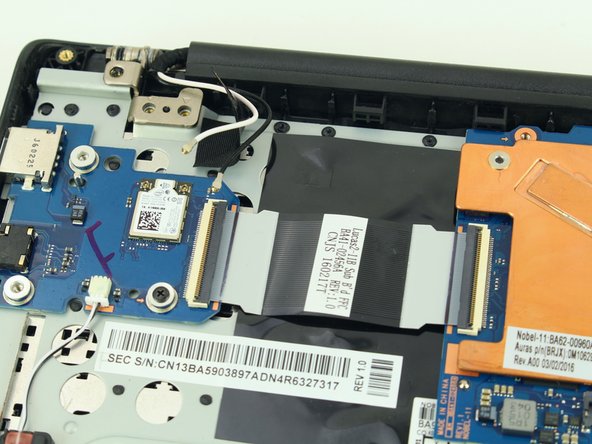
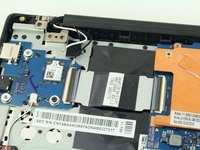
    • Next disconnect the small coaxial cables from the wireless chip on the daughterboard by prying upwards with a spudger.

    Vraag FixBot

    Voeg opmerking toe

  9. Samsung Chromebook 3 Display Replacement: stap 9, afbeelding 1 van 2 Samsung Chromebook 3 Display Replacement: stap 9, afbeelding 2 van 2
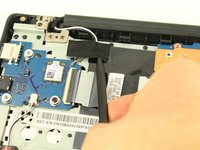
    • Flip up at least one side of the adhesive tape holding the coaxial cables in place. When the display is removed, the cables are coming with it!

    Vraag FixBot

    Voeg opmerking toe

  10. Samsung Chromebook 3 Display Replacement: stap 10, afbeelding 1 van 2 Samsung Chromebook 3 Display Replacement: stap 10, afbeelding 2 van 2
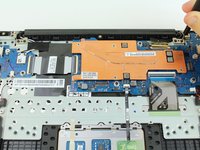
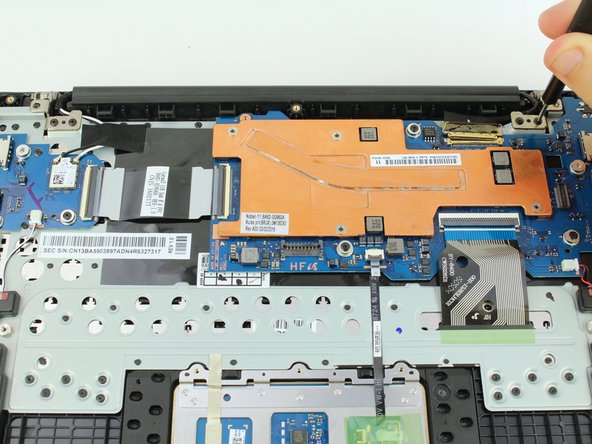
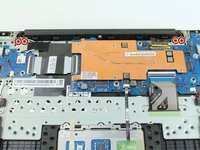
    • Finally, remove the four 4.6mm screws from the display mounts using a Phillips #00 screwdriver.

    • It might be easier to open the laptop before removing these screws as the display will only come off while in the open position.

    Vraag FixBot

    Voeg opmerking toe

  11. Samsung Chromebook 3 Display Replacement: stap 11, afbeelding 1 van 1
    • Open the laptop and remove the display.

    Vraag FixBot

    Voeg opmerking toe

Conclusie

To reassemble your device, follow these instructions in reverse order.

Annuleren: ik heb deze handleiding niet afgemaakt.

4 andere personen hebben deze handleiding voltooid.

Austin Blakely

Lid sinds: 03/11/19

23.014 Reputatie

53 handleidingen geschreven

3Gids Commentaar

Any idea as to what kind of connector the display has to the motherboard? Or how many pins? Trying to tear down the display and see if I can use it as an extra monitor.

Sam Rall - Antwoord Deel
It looks like there are 40 pins on the display connector. I’m not sure what it would be called or if it’s any kind of standard. If you do manage to convert the display to an extra monitor, you should definitely let us know though!

Austin Blakely - Antwoord Deel
Great guide - my 12 year old son was able to get through it with a little help from me. Nice work.

smo2 - Antwoord Deel

Voeg opmerking toe

Weergavestatistieken:

Afgelopen 24 uren: 0

Afgelopen 7 dagen: 13

Afgelopen 30 dagen: 53

Altijd: 2,209