Inleiding
Before attempting this guide, be sure you check out the device troubleshooting page to see if you can get your cd player working that way.
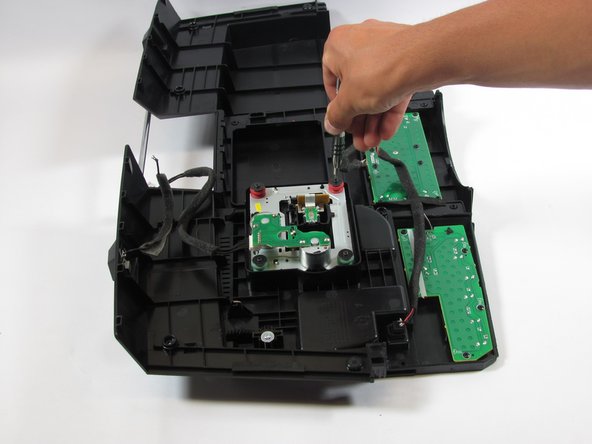
If not, we are going to go ahead and open the device as you will need to swap out your CD Drive for a working one.
Wat je nodig hebt
-
-
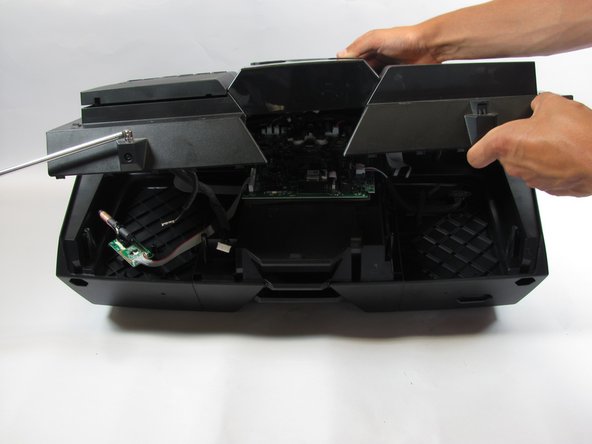
Lift up the handle to reveal the screws.
-
Use your Phillips #2 screwdriver to remove the eight 1/2 inch screws.
-
-
-
-
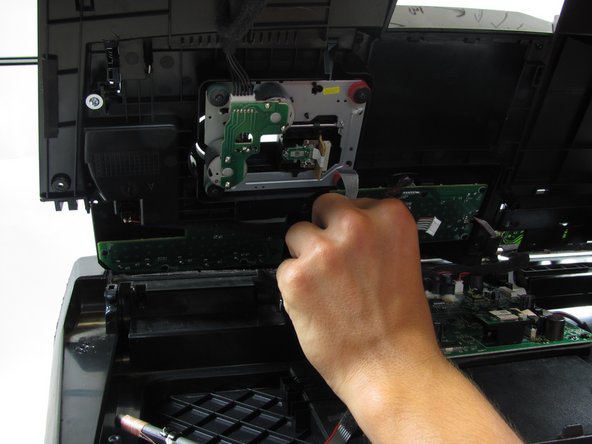
Use your Philips #2 screwdriver to remove the two 1 inch screws on the outermost part of the device.
-
Use your Philips #2 screwdriver to remove the two 3/4 inch screws on the outermost part of the device.
-
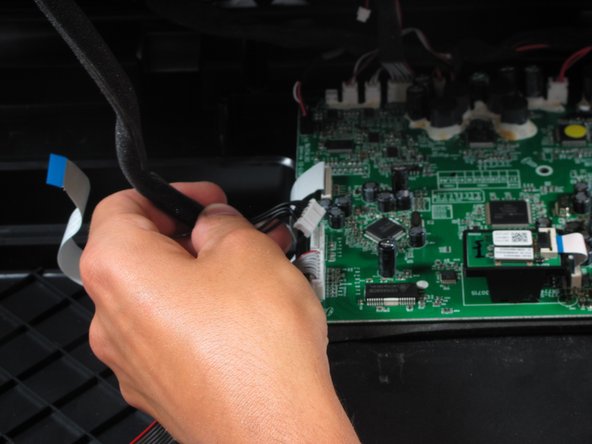
Use your Philips #2 screwdriver to remove the one 5/6 inch screw on the middle part of the device.
-


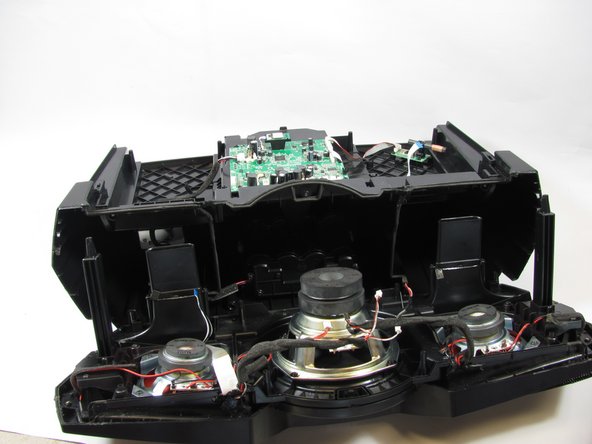


To reassemble your device, follow these instructions in reverse order.
To reassemble your device, follow these instructions in reverse order.
Annuleren: ik heb deze handleiding niet afgemaakt.
2 andere personen hebben deze handleiding voltooid.
