Ga door naar hoofdinhoud
Word lid van de reparatiegemeenschap - Account aanmaken

Ryobi RS290G Motor Replacement

Wat je nodig hebt

    1. Ryobi RS290G Motor Replacement, Top Cap: stap 1, afbeelding 1 van 1
      • Remove two 20mm and one 16mm Phillips #2 screws from the housing assembly and exhaust port.

      Vraag FixBot

      Voeg opmerking toe

    2. Ryobi RS290G Motor Replacement: stap 2, afbeelding 1 van 1
      • Remove the three 16mm Phillips #2 screws from the top cap/upper grip.

      Vraag FixBot

      Voeg opmerking toe

    3. Ryobi RS290G Motor Replacement: stap 3, afbeelding 1 van 1
      • Remove the top cap.

      Vraag FixBot

      Voeg opmerking toe

    1. Ryobi RS290G Motor Replacement, Switch Trigger: stap 4, afbeelding 1 van 1
      • Remove the switch trigger.

      Vraag FixBot

      Voeg opmerking toe

    1. Ryobi RS290G Motor Replacement, Motor: stap 5, afbeelding 1 van 1
      • Remove the two 16mm Phillips #2 screws from the inner housing assembly.

      Vraag FixBot

      Voeg opmerking toe

    2. Ryobi RS290G Motor Replacement: stap 6, afbeelding 1 van 1
      • Remove the two 14mm Phillips #2 screws from the cord clamp.

      Vraag FixBot

      Voeg opmerking toe

    3. Ryobi RS290G Motor Replacement: stap 7, afbeelding 1 van 2 Ryobi RS290G Motor Replacement: stap 7, afbeelding 2 van 2
      • Slide the power switch out of the housing assembly.

      Vraag FixBot

      Voeg opmerking toe

    4. Ryobi RS290G Motor Replacement: stap 8, afbeelding 1 van 1
      • Carefully slide the housing assembly apart, avoiding damage or pulling on wires.

      Vraag FixBot

      Voeg opmerking toe

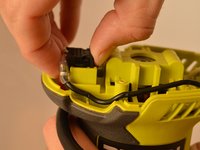
    5. Ryobi RS290G Motor Replacement: stap 9, afbeelding 1 van 2 Ryobi RS290G Motor Replacement: stap 9, afbeelding 2 van 2
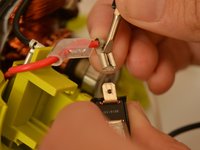
      • Slide off the disconnect terminal for the switch (red lead) from the power switch using the flat end of a spudger.

      Vraag FixBot

      Voeg opmerking toe

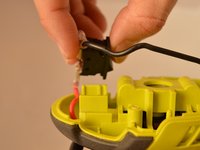
    6. Ryobi RS290G Motor Replacement: stap 10, afbeelding 1 van 2 Ryobi RS290G Motor Replacement: stap 10, afbeelding 2 van 2
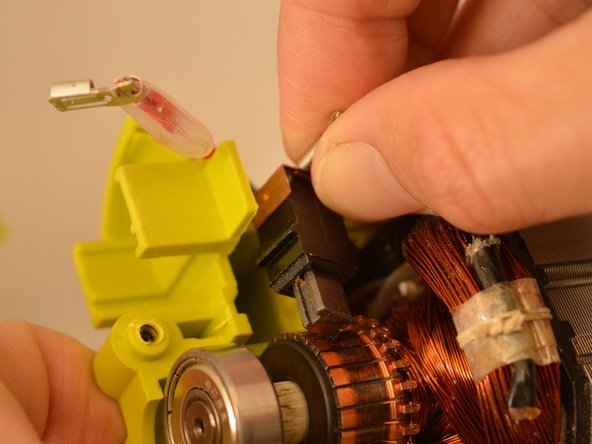
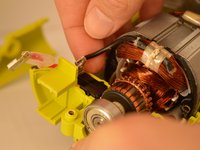
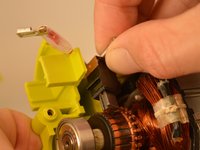
      • Slide out the brush assembly with the black lead from the inner housing assembly.

      Vraag FixBot

      Voeg opmerking toe

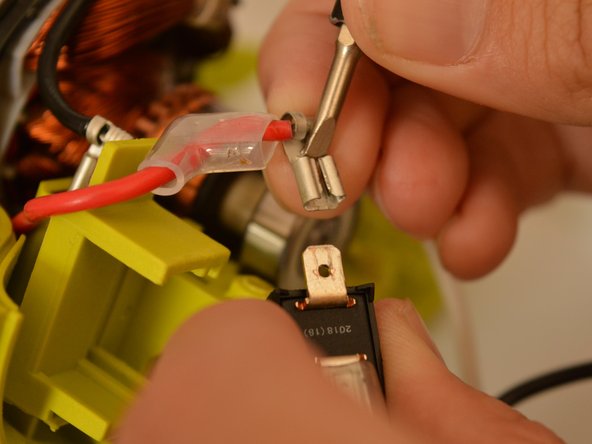
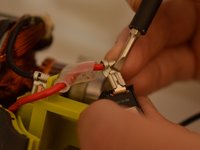
    7. Ryobi RS290G Motor Replacement: stap 11, afbeelding 1 van 1
      • Slide off the disconnect terminal for the brush assembly (black lead) from the brush assembly.

      • You may need an ESD-safe flat edge tool, such as a spudger, to help slide off the disconnect terminal. Be careful not to damage the pieces or yourself.

      Vraag FixBot

      Voeg opmerking toe

    8. Ryobi RS290G Motor Replacement: stap 12, afbeelding 1 van 1
      • Remove the armature assembly, with the motor, out of the inner housing assembly.

      Vraag FixBot

      Voeg opmerking toe

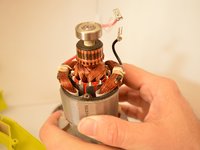
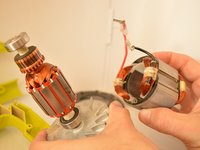
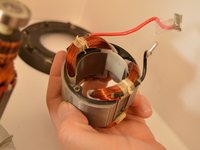
    9. Ryobi RS290G Motor Replacement: stap 13, afbeelding 1 van 3 Ryobi RS290G Motor Replacement: stap 13, afbeelding 2 van 3 Ryobi RS290G Motor Replacement: stap 13, afbeelding 3 van 3
      • Replace the motor (also known as field assembly).

      Vraag FixBot

      Voeg opmerking toe

Conclusie

To reassemble your device, follow these instructions in reverse order.

Annuleren: ik heb deze handleiding niet afgemaakt.

0Gids Commentaar

Voeg opmerking toe

Weergavestatistieken:

Afgelopen 24 uren: 1

Afgelopen 7 dagen: 13

Afgelopen 30 dagen: 38

Altijd: 1,461