Inleiding
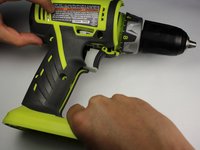
This guide demonstrates how to replace the level gauge of the drill, located along the top of drill. The process requires opening the drill, but does not require removing any of the internal electronic components.
Wat je nodig hebt
-
-
Detach the battery unit from the drill body by pressing the battery release buttons on both sides of the unit and pulling outwards.
 Vraag FixBot
-
-
-
Use a Torx T10 screw driver to unscrew all ten 13.5 mm screws from the drill casing to gain access to the interior.
-
-
-
-
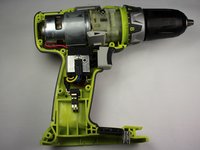
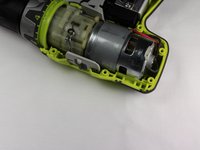
Gently lift the casing from the drill body.
-
Take the casing completely off the drill body to gain access to the interior of the drill.
-
-
-
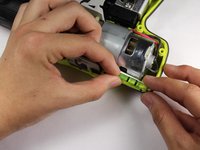
Rotate the Drill 180 degrees so that the top is facing you.
-
Lift the level gauge out from the top corner of the drill.
-


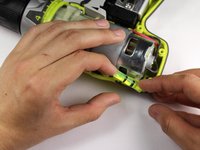
To reassemble your device, follow these instructions in reverse order.

Team

Cal Poly, Team 17-6, Forte Spring 2015 Lid van Cal Poly, Team 17-6, Forte Spring 2015
CPSU-FORTE-S15S17G6
4 Leden
10 handleidingen geschreven