Inleiding
Even a small tear can grow into a big problem when you are out in the wild and exposed to the elements. Fortunately, repairing a tear is simple. A few stitches can have your tent, or just about anything else with a tear, ship-shape in no time.
Wat je nodig hebt
-
-
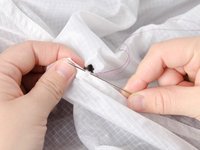
Thread your needle and tie a knot in the end.
-
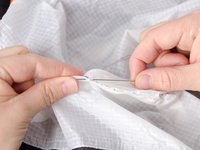
Drive the needle from the back of the material, just before where the tear starts.
-
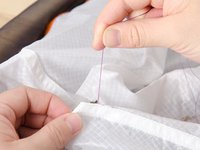
Pull the thread taut.
-
-
-
-
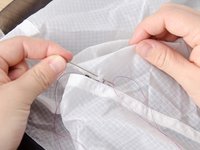
One the last stitch, drive the needle through both sides of the fabric, taking as small of a stitch as possible.
-
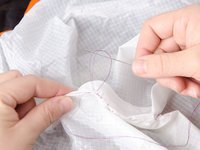
Slowly pull the thread. As you pull, a loop will form. Draw the needle through this loop, and pull the thread taut.
-
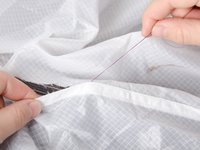
Repeat this step, taking a tiny stitch, drawing the needle through the loop, and pulling taut.
-
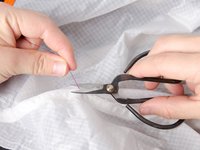
Ensure that the stitches are tight, and cut any excess threads.
-


Annuleren: ik heb deze handleiding niet afgemaakt.
Één andere persoon heeft deze handleiding voltooid.

1Gids Commentaar
Have you seen this product? "fixmytear". It's a repair tape which sticks very well to vinyl, canvas, rubber, leather and most other surfaces. Absolutely life saving tape.