Ga door naar hoofdinhoud
Word lid van de reparatiegemeenschap - Account aanmaken

Repairing Paper Jam

    1. Repairing Paper Jam, Drum Unit and Toner Cartridge: stap 1, afbeelding 1 van 1
      • Press the front cover release button.

      • Keep the button pressed and pull the cover toward yourself.

      Vraag FixBot

      Voeg opmerking toe

    2. Repairing Paper Jam: stap 2, afbeelding 1 van 3 Repairing Paper Jam: stap 2, afbeelding 2 van 3 Repairing Paper Jam: stap 2, afbeelding 3 van 3
      • With the front cover in the downward position, the drum & toner unit will be visible.

      • Grab the black-and-yellow handle on the unit. Lift unit up and pull it out of the printer.

      Vraag FixBot

      Voeg opmerking toe

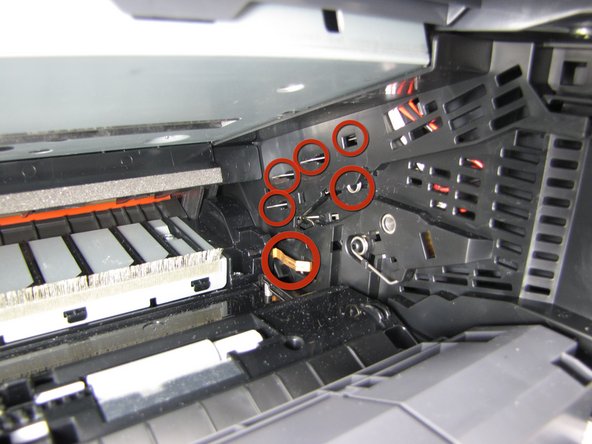
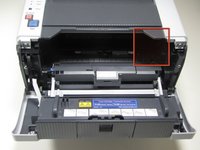
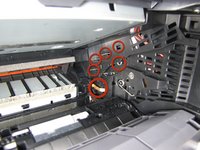
    1. Repairing Paper Jam, Repairing Paper Jam: stap 3, afbeelding 1 van 2 Repairing Paper Jam, Repairing Paper Jam: stap 3, afbeelding 2 van 2
      • DO NOT TOUCH the electrodes on the right inner wall of the printer. Touching these electrodes can cause electrical damage to the printer.

      Vraag FixBot

      Voeg opmerking toe

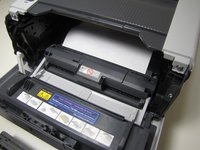
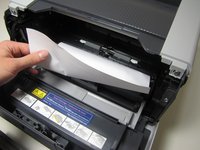
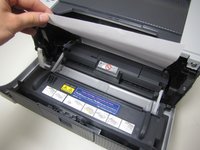
    2. Repairing Paper Jam, Paper Jam Type 1: stap 4, afbeelding 1 van 3 Repairing Paper Jam, Paper Jam Type 1: stap 4, afbeelding 2 van 3 Repairing Paper Jam, Paper Jam Type 1: stap 4, afbeelding 3 van 3
      • If jammed, paper will be visible after removing the drum unit. To clear paper jam, reach into printer and grab a corner of the paper.

      • Proceed to lift paper up and out of the printer.

      • Jammed paper may require an excess amount of force to be removed from printer.

      Vraag FixBot

      Voeg opmerking toe

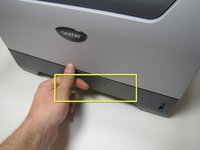
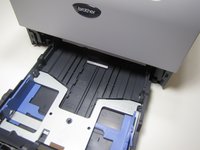
    3. Repairing Paper Jam, Paper Jam Type 2: stap 5, afbeelding 1 van 2 Repairing Paper Jam, Paper Jam Type 2: stap 5, afbeelding 2 van 2
      • Grab onto the lift located on the paper tray near the bottom on the front of the printer.

      • Pull the paper tray completely out of the printer by pulling towards yourself.

      Vraag FixBot

      Voeg opmerking toe

    4. Repairing Paper Jam: stap 6, afbeelding 1 van 2 Repairing Paper Jam: stap 6, afbeelding 2 van 2
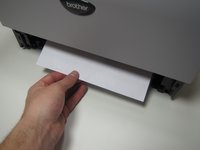
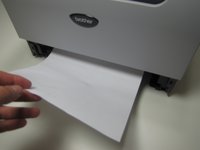
      • If jammed paper is visible, grab onto the paper and remove by pulling up and towards yourself.

      • Jammed paper may require a large amount of force to be removed from printer.

      Vraag FixBot

      Voeg opmerking toe

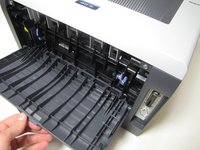
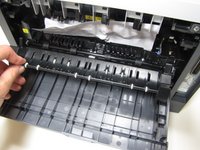
    5. Repairing Paper Jam, Paper Jam Type 3: stap 7, afbeelding 1 van 3 Repairing Paper Jam, Paper Jam Type 3: stap 7, afbeelding 2 van 3 Repairing Paper Jam, Paper Jam Type 3: stap 7, afbeelding 3 van 3
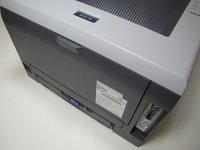
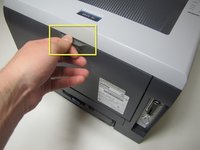
      • Located on the back of the printer, open up the cover by grabbing onto the tab and pulling down.

      Vraag FixBot

      Voeg opmerking toe

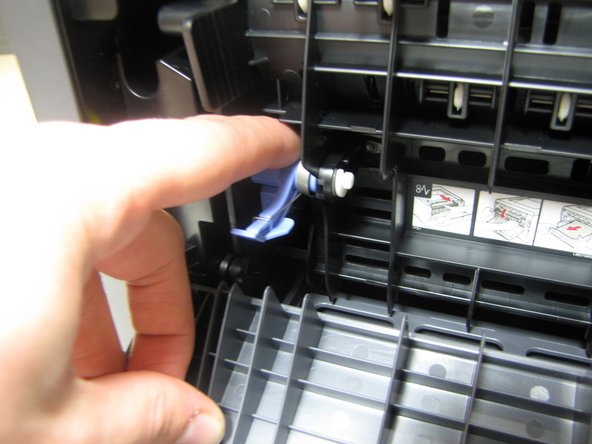
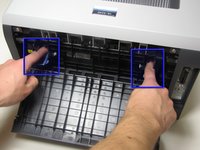
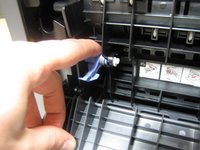
    6. Repairing Paper Jam: stap 8, afbeelding 1 van 3 Repairing Paper Jam: stap 8, afbeelding 2 van 3 Repairing Paper Jam: stap 8, afbeelding 3 van 3
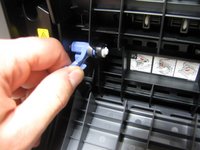
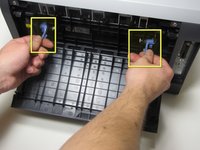
      • In front of you will see two blue tabs, one on the left and right side.

      • First, push the top part of the tab in until the bottom part of the tab lifts up.

      • Grab onto the bottom part of the tab.

      Vraag FixBot

      Voeg opmerking toe

    7. Repairing Paper Jam: stap 9, afbeelding 1 van 2 Repairing Paper Jam: stap 9, afbeelding 2 van 2
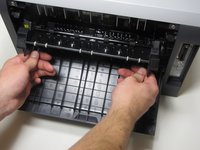
      • Once you have a firm grib of both the right and left tab, lift both tabs up and towards yourself.

      • The fuser cover, which the tabs are connected to, does not come completely out of the printer because it is attached to the bottom by a hinge.

      Vraag FixBot

      Voeg opmerking toe

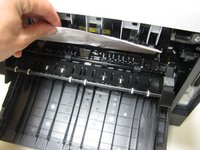
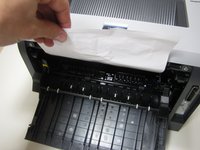
    8. Repairing Paper Jam: stap 10, afbeelding 1 van 3 Repairing Paper Jam: stap 10, afbeelding 2 van 3 Repairing Paper Jam: stap 10, afbeelding 3 van 3
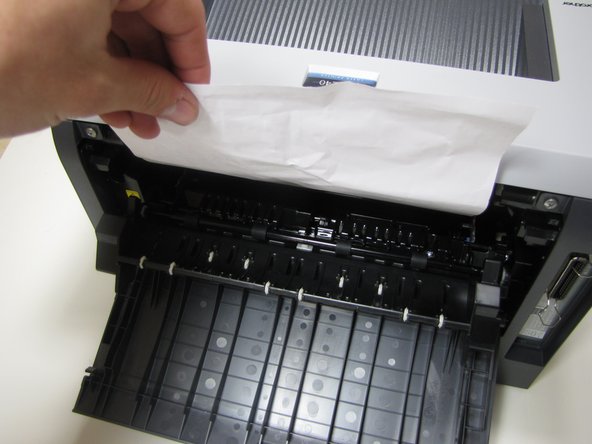
      • If jammed paper is visible, grab onto the top of the paper and pull up until completely removed from printer.

      • Jammed paper may require an excess amount of force to be removed from printer.

      Vraag FixBot

      Voeg opmerking toe

Conclusie

To reassemble your device, follow these instructions in reverse order.

Annuleren: ik heb deze handleiding niet afgemaakt.

2 andere personen hebben deze handleiding voltooid.

Nathan Ruiz

Lid sinds: 01/14/10

186 Reputatie

2 handleidingen geschreven

Team

Cal Poly, Team 4-14, Forte Winter 2010 Lid van Cal Poly, Team 4-14, Forte Winter 2010

CPSU-FORTE-W10S4G14

5 Leden

10 handleidingen geschreven

0Gids Commentaar

Voeg opmerking toe

Weergavestatistieken:

Afgelopen 24 uren: 1

Afgelopen 7 dagen: 9

Afgelopen 30 dagen: 54

Altijd: 15,251