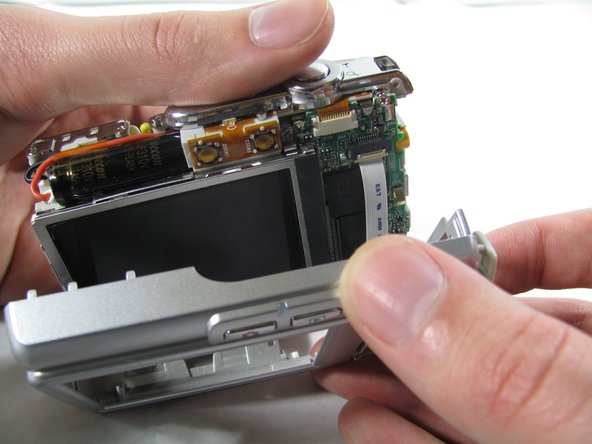
Ga door naar hoofdinhoud

Removing Olympus FE-210 Rear Casing

Wat je nodig hebt

  1. Removing Olympus FE-210 Rear Casing, Battery: stap 1, afbeelding 1 van 2 Removing Olympus FE-210 Rear Casing, Battery: stap 1, afbeelding 2 van 2
    • The battery compartment is located on the bottom side of the camera. Push the button in, and slide the cover to get access to the batteries.
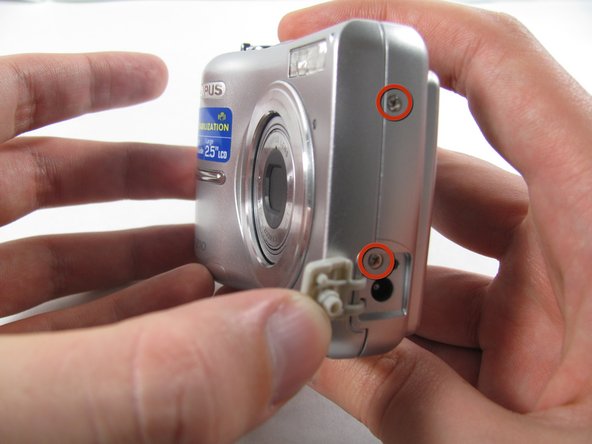
  2. Removing Olympus FE-210 Rear Casing: stap 2, afbeelding 1 van 2 Removing Olympus FE-210 Rear Casing: stap 2, afbeelding 2 van 2
    • The batteries will slide right out.

    • When putting new batteries in, make sure they are pointing the right direction.

  3. Removing Olympus FE-210 Rear Casing, Front Casing: stap 3, afbeelding 1 van 3 Removing Olympus FE-210 Rear Casing, Front Casing: stap 3, afbeelding 2 van 3 Removing Olympus FE-210 Rear Casing, Front Casing: stap 3, afbeelding 3 van 3
    • Remove the 7 screws holding the front case in place, with a #00 screwdriver.

    • Six screws are 3.6 mm.

    • The seventh screw is 3.2 mm.
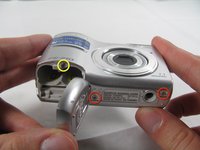
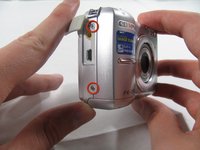
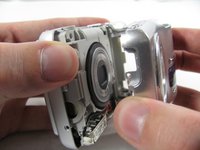
  4. Removing Olympus FE-210 Rear Casing: stap 4, afbeelding 1 van 3 Removing Olympus FE-210 Rear Casing: stap 4, afbeelding 2 van 3 Removing Olympus FE-210 Rear Casing: stap 4, afbeelding 3 van 3
    • Pulling the front case off, requires applying enough strength in the right areas.

    • The front case snaps into place in three places:

    • At the top and bottom of the battery side (opposite of side pictured) of the case.

    • Right in the middle of the DC-in side (side pictured) of the case.

    • Top of the camera, to the left of the power button.

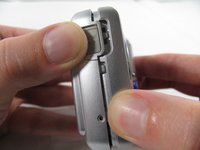
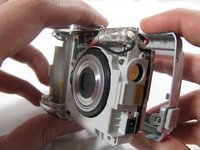
    • Once those places are disconnected, the front case will pop right off.

    • The camera in the first two pictures is upside down. This is the best position to place your thumbs to remove the case.

  5. Removing Olympus FE-210 Rear Casing, Rear Casing: stap 5, afbeelding 1 van 1
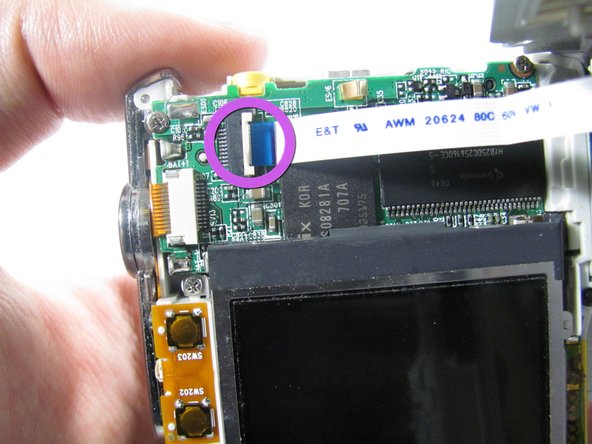
    • Remove the 3.2 mm screw in the battery compartment using a #00 screwdriver.

    • After removal of the screw the case will be loose, but do not tug it off. There is a cord connecting the rear controls to the motherboard.

  6. Removing Olympus FE-210 Rear Casing: stap 6, afbeelding 1 van 3 Removing Olympus FE-210 Rear Casing: stap 6, afbeelding 2 van 3 Removing Olympus FE-210 Rear Casing: stap 6, afbeelding 3 van 3
    • Carefully pull the rear case away from the camera until you have access to the cord connected to the motherboard.

    • Lift the white latch using a fingernail or a spudger.

    • Pull the cord from its connector.

Conclusie

To reassemble your device, follow these instructions in reverse order.

Één andere persoon heeft deze handleiding voltooid.

Matt

Lid sinds: 01/25/11

811 Reputatie

6 handleidingen geschreven

Team

Cal Poly, Team 4-36, Regan Winter 2011 Lid van Cal Poly, Team 4-36, Regan Winter 2011

CPSU-REGAN-W11S4G36

3 Leden

14 handleidingen geschreven

0 opmerkingen

Voeg opmerking toe

Weergavestatistieken:

Afgelopen 24 uren: 0

Afgelopen 7 dagen: 0

Afgelopen 30 dagen: 2

Altijd: 2,576