Ga door naar hoofdinhoud
Word lid van de reparatiegemeenschap - Account aanmaken

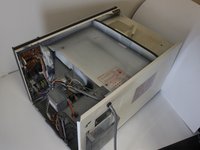
Quasar Microwave Capacitor Replacement

Wat je nodig hebt

  1. Quasar Microwave Capacitor Replacement, Disassembling Quasar Microwave Outer Cover: stap 1, afbeelding 1 van 1
    • Disconnect the power supply cord from the outlet.

    Vraag FixBot

    Voeg opmerking toe

  2. Quasar Microwave Capacitor Replacement: stap 2, afbeelding 1 van 2 Quasar Microwave Capacitor Replacement: stap 2, afbeelding 2 van 2
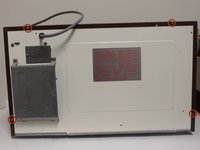
    • Remove the eight screws holding the wood-patterned cover to the microwave frame.

    • The first four screws are located on either side of the microwave front.

    Vraag FixBot
    Voeg opmerking toe

  3. Quasar Microwave Capacitor Replacement: stap 3, afbeelding 1 van 2 Quasar Microwave Capacitor Replacement: stap 3, afbeelding 2 van 2
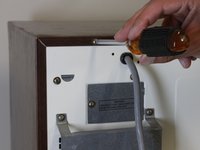
    • Remove the additional four screws securing the wood-paneled case to the microwave frame.

    Vraag FixBot
    Voeg opmerking toe

  4. Quasar Microwave Capacitor Replacement: stap 4, afbeelding 1 van 3 Quasar Microwave Capacitor Replacement: stap 4, afbeelding 2 van 3 Quasar Microwave Capacitor Replacement: stap 4, afbeelding 3 van 3
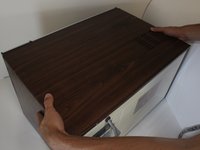
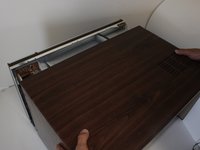
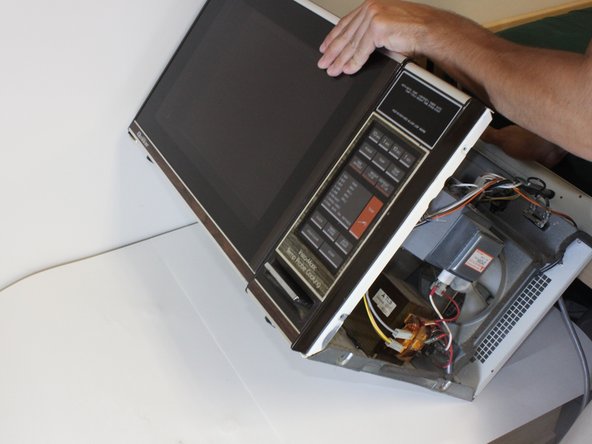
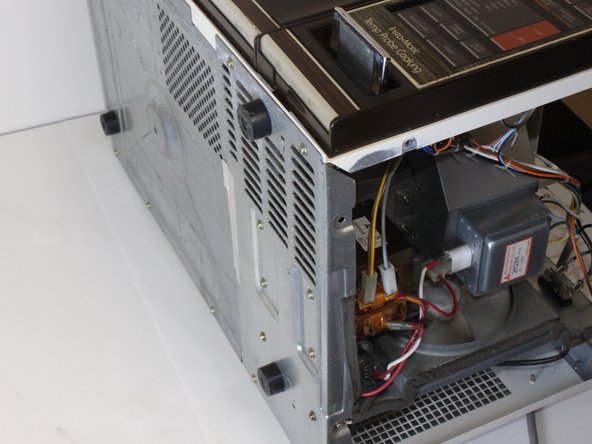
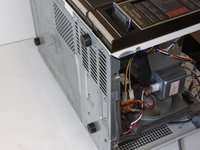
    • Placing your hands on either side of the case, slide the case back gently until you feel it completely separate from the microwave frame.

    • Lift the case upward slowly until the case is free of the microwave.

    Vraag FixBot

    Voeg opmerking toe

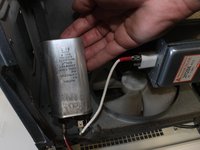
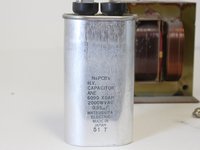
  5. Quasar Microwave Capacitor Replacement, Capacitor: stap 5, afbeelding 1 van 2 Quasar Microwave Capacitor Replacement, Capacitor: stap 5, afbeelding 2 van 2
    • Old electronics collect dust, no matter if they are in active use or being stored. It is recommended to clear out some of the dust prior to affecting any complicated repairs. Use compressed air, and wear a dust mask and goggles. Always use precaution when working with old electronics.

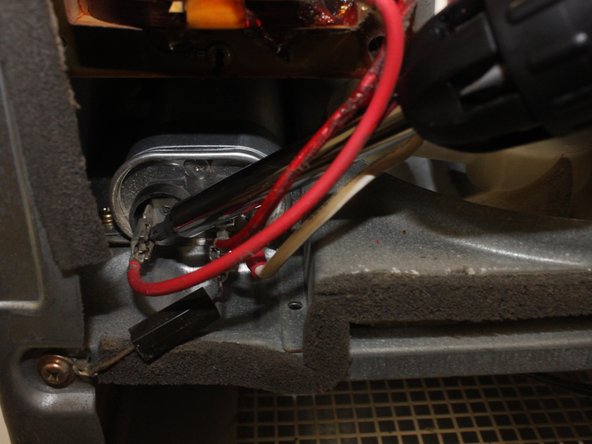
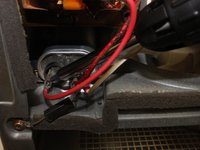
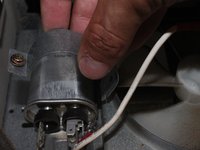
    • The capacitor stores a small amount of electrical energy. Discharge capacitor by placing a screw driver across the terminals. Use a screwdriver with a non-metallic handle and a shaft that is longer than 4” (10.75mm) Touch the metal shaft of the screwdriver simultaneously to both metal terminals of the capacitor. There should be a spark.

    • If the capacitor sparks, you can stop reading here. The spark indicates that the capacitor is working properly. If the capacitor does not spark, read on to Step 6.

    Vraag FixBot

    Voeg opmerking toe

  6. Quasar Microwave Capacitor Replacement: stap 6, afbeelding 1 van 1
    • Place the multimeter on resistance mode and test the resistance of the capacitor.

    • If the resistance increases/decreases, the capacitor is working fine. If the resistance of the capacitor reads 0 or over several kilo ohms, the capacitor needs to be replaced.

    Vraag FixBot
    Voeg opmerking toe

  7. Quasar Microwave Capacitor Replacement: stap 7, afbeelding 1 van 3 Quasar Microwave Capacitor Replacement: stap 7, afbeelding 2 van 3 Quasar Microwave Capacitor Replacement: stap 7, afbeelding 3 van 3
    • Tip the microwave back so it is lying face up. This allows access to the screws beneath the transformer.

    Vraag FixBot
    Voeg opmerking toe

  8. Quasar Microwave Capacitor Replacement: stap 8, afbeelding 1 van 2 Quasar Microwave Capacitor Replacement: stap 8, afbeelding 2 van 2
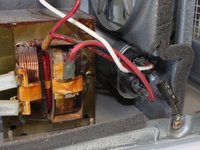
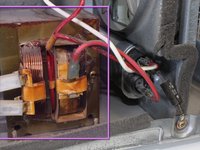
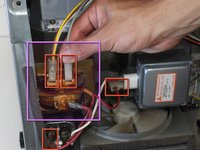
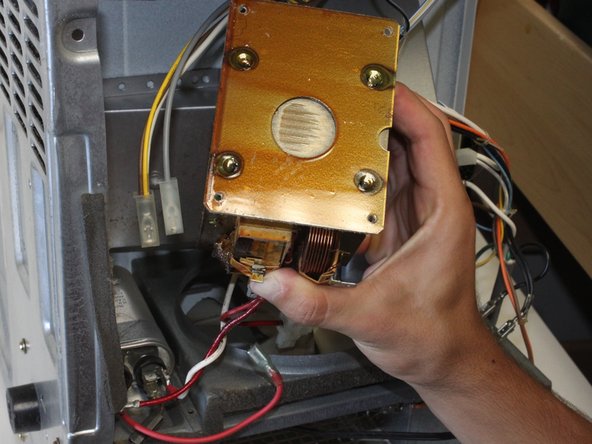
    • Locate the transformer. The capacitor cannot be removed without removing the transformer first.

    • Locate and unhook all wires connecting the transformer to the rest of the microwave.

    • Take note of where each wire connects before disconnecting. Wiring a microwave incorrectly can cause serious damage.

    Vraag FixBot
    Voeg opmerking toe

  9. Quasar Microwave Capacitor Replacement: stap 9, afbeelding 1 van 1
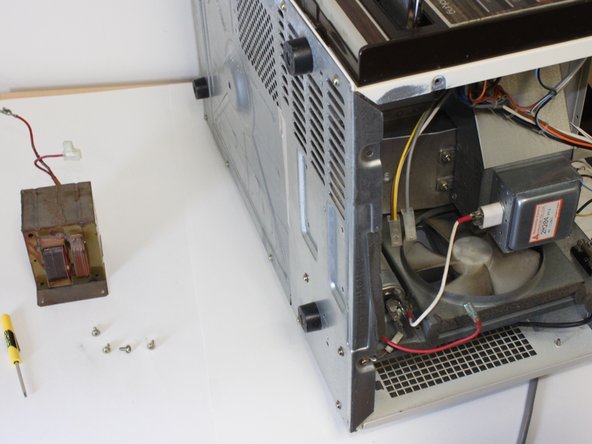
    • Remove the four exterior screws securing the transformer to the microwave frame.

    Vraag FixBot
    Voeg opmerking toe

  10. Quasar Microwave Capacitor Replacement: stap 10, afbeelding 1 van 3 Quasar Microwave Capacitor Replacement: stap 10, afbeelding 2 van 3 Quasar Microwave Capacitor Replacement: stap 10, afbeelding 3 van 3
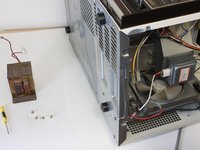
    • Remove the transformer.

    Vraag FixBot
    Voeg opmerking toe

  11. Quasar Microwave Capacitor Replacement: stap 11, afbeelding 1 van 2 Quasar Microwave Capacitor Replacement: stap 11, afbeelding 2 van 2
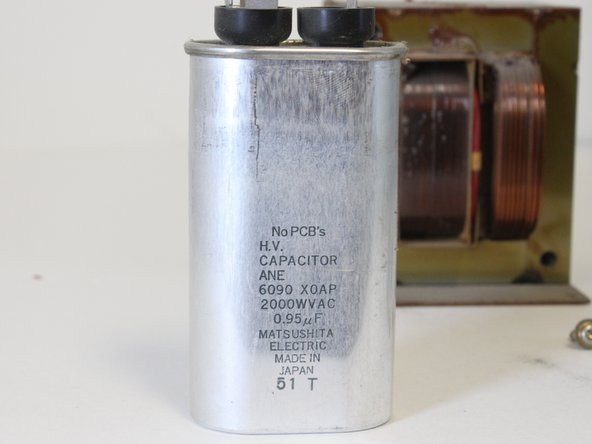
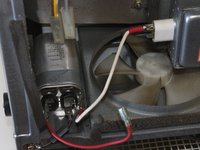
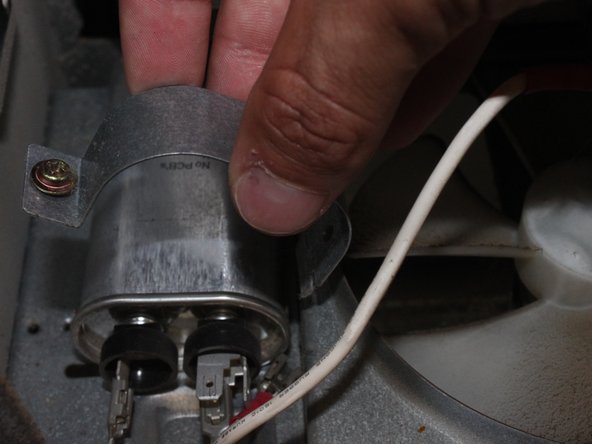
    • The metal band locking the capacitor in place can now be accessed. Locate and remove the screw securing the the metal band.

    • Lift the metal band off the capacitor.

    Vraag FixBot

    Voeg opmerking toe

  12. Quasar Microwave Capacitor Replacement: stap 12, afbeelding 1 van 3 Quasar Microwave Capacitor Replacement: stap 12, afbeelding 2 van 3 Quasar Microwave Capacitor Replacement: stap 12, afbeelding 3 van 3
    • Remove the capacitor.

    Vraag FixBot
    Voeg opmerking toe

  13. Quasar Microwave Capacitor Replacement: stap 13, afbeelding 1 van 1
    • You can now install a replacement capacitor.
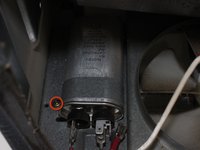
    • Repeat all steps in reverse order to install a capacitor in a Quasar Microwave MQ7774XW (1984).

    Vraag FixBot

    Voeg opmerking toe

Conclusie

To reassemble your device, follow these instructions in reverse order.

Annuleren: ik heb deze handleiding niet afgemaakt.

Één andere persoon heeft deze handleiding voltooid.

Michael

Lid sinds: 09/26/12

237 Reputatie

2 handleidingen geschreven

Team

Cal Poly, Team 2-12, Propen Fall 2012 Lid van Cal Poly, Team 2-12, Propen Fall 2012

CPSU-PROPEN-F12S2G12

3 Leden

12 handleidingen geschreven

0Gids Commentaar

Voeg opmerking toe

Weergavestatistieken:

Afgelopen 24 uren: 3

Afgelopen 7 dagen: 16

Afgelopen 30 dagen: 70

Altijd: 7,546