Ga door naar hoofdinhoud

Polaroid Automatic 100 Bellows Replacement

Wat je nodig hebt

  1. Polaroid Automatic 100 Bellows Replacement, Bellows: stap 1, afbeelding 1 van 3 Polaroid Automatic 100 Bellows Replacement, Bellows: stap 1, afbeelding 2 van 3 Polaroid Automatic 100 Bellows Replacement, Bellows: stap 1, afbeelding 3 van 3
    • Fully extend the bellows by lifting the #1 lever.

    • Remove the camera cover in order to make the camera easier to work with.

    • When collapsing bellows, press down on the metal frame above the bellows.

  2. Polaroid Automatic 100 Bellows Replacement: stap 2, afbeelding 1 van 1
    • Peel the two battery cable tabs off of the bellows.

  3. Polaroid Automatic 100 Bellows Replacement: stap 3, afbeelding 1 van 1
    Gereedschap gebruikt in deze stap:
    Flathead 3/32" or 2.5 mm Screwdriver
    $5.49
    Koop
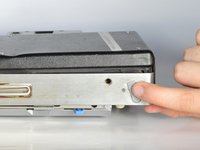
    • Remove one 15.5 mm flat head screw, with a 2.5 flathead screwdriver.

    • Remove two 2 mm flat head screws, with a 2.5 flathead screwdriver. Then carefully remove the cable cover.

    • Use the focus bar to extend bellows even further to access screws easier with the screwdriver.

  4. Polaroid Automatic 100 Bellows Replacement: stap 4, afbeelding 1 van 2 Polaroid Automatic 100 Bellows Replacement: stap 4, afbeelding 2 van 2
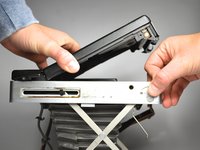
    • Open the back cover by pushing the lever on the bottom towards the left.

  5. Polaroid Automatic 100 Bellows Replacement: stap 5, afbeelding 1 van 1
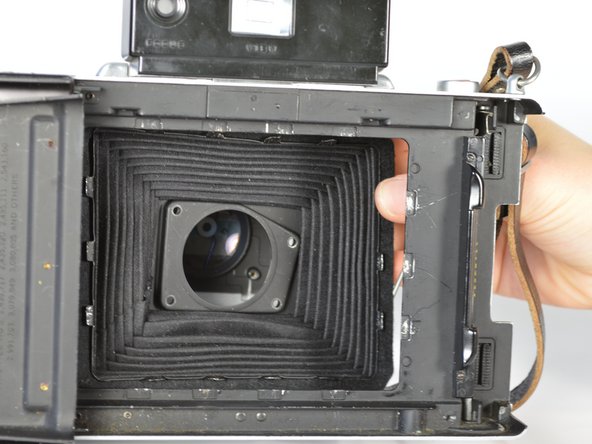
    • Remove the four 3 mm screws, which are attached to the lens of the camera, using a Phillips #0 screwdriver.

    • To make the screws easily accessible, close the bellows by pushing on the metal frame.

    • When reassembling, orient the camera so that screws are screwed in downward and stay in place.

  6. Polaroid Automatic 100 Bellows Replacement: stap 6, afbeelding 1 van 1
    • Carefully use a classic wide metal spudger to bend the tabs of the bellows.

  7. Polaroid Automatic 100 Bellows Replacement: stap 7, afbeelding 1 van 2 Polaroid Automatic 100 Bellows Replacement: stap 7, afbeelding 2 van 2
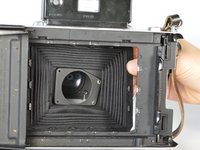
    • Pull the bellow tabs back with long needle nose pliers.

    • Remove the bellows.

Conclusie

To reassemble your device, follow these instructions in reverse order.

2 andere personen hebben deze handleiding voltooid.

Katie Miller

Lid sinds: 04/14/15

680 Reputatie

5 handleidingen geschreven

Team

Cal Poly, Team 4-3, Maness Spring 2015 Lid van Cal Poly, Team 4-3, Maness Spring 2015

CPSU-MANESS-S15S4G3

4 Leden

6 handleidingen geschreven

0 opmerkingen

Voeg opmerking toe

Weergavestatistieken:

Afgelopen 24 uren: 0

Afgelopen 7 dagen: 1

Afgelopen 30 dagen: 9

Altijd: 2,032