Ga door naar hoofdinhoud
Word lid van de reparatiegemeenschap - Account aanmaken

Philips TAS7505 Motherboard Replacement

Wat je nodig hebt

    1. Philips TAS7505 Motherboard Replacement, Philips TAS7505 Outer Shell Disassembly: stap 1, afbeelding 1 van 2 Philips TAS7505 Motherboard Replacement, Philips TAS7505 Outer Shell Disassembly: stap 1, afbeelding 2 van 2
      • Make sure the speaker is turned off before you begin the disassembly.

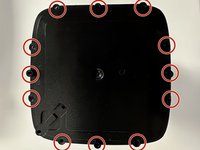
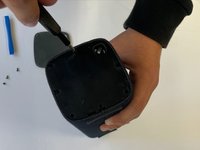
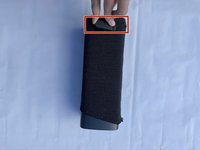
      • Turn the speaker upside down. You will see a rubber base. Use an opening tool to lift up the sides to expose the screws.

      Vraag FixBot

      Voeg opmerking toe

    2. Philips TAS7505 Motherboard Replacement: stap 2, afbeelding 1 van 3 Philips TAS7505 Motherboard Replacement: stap 2, afbeelding 2 van 3 Philips TAS7505 Motherboard Replacement: stap 2, afbeelding 3 van 3
      • There will be 4 exposed screws. Make sure to use the Phillips #0 Screwdriver.

      • When the screws are removed, you can use an opening tool to take off the plastic cover.

      Vraag FixBot

      Voeg opmerking toe

    3. Philips TAS7505 Motherboard Replacement: stap 3, afbeelding 1 van 3 Philips TAS7505 Motherboard Replacement: stap 3, afbeelding 2 van 3 Philips TAS7505 Motherboard Replacement: stap 3, afbeelding 3 van 3
      • Now that you have removed this cover, there is another cover. This cover has a total of 9 screws that can be removed with a Philips #0 screwdriver.

      • Once all these screws are removed, you can take off the cover

      Vraag FixBot

      Voeg opmerking toe

    4. Philips TAS7505 Motherboard Replacement: stap 4, afbeelding 1 van 3 Philips TAS7505 Motherboard Replacement: stap 4, afbeelding 2 van 3 Philips TAS7505 Motherboard Replacement: stap 4, afbeelding 3 van 3
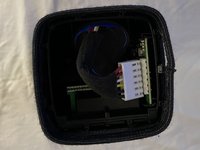
      • You can now see the inside of the speaker but you aren't done yet.

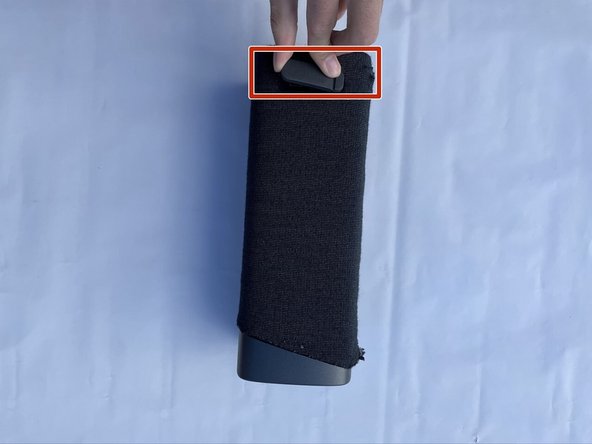
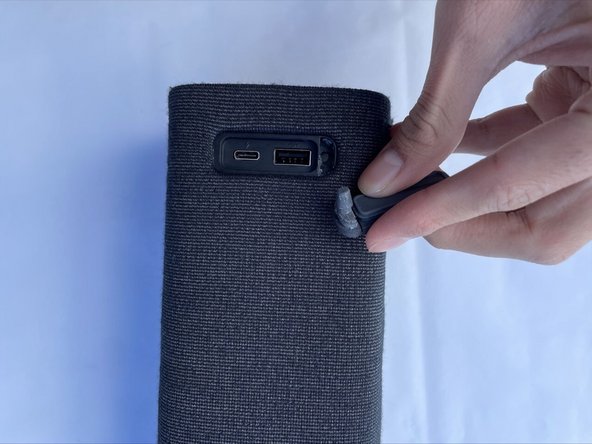
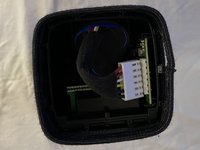
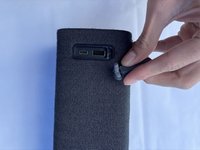
      • Remove both rubber stands that hold up the device horizontally (one of these stands is a cover for the USB ports).

      Vraag FixBot

      Voeg opmerking toe

    5. Philips TAS7505 Motherboard Replacement: stap 5, afbeelding 1 van 1
      • Once you pull these out, you can pull the whole sleeve to expose the infrastructure of the device.

      Vraag FixBot

      Voeg opmerking toe

    1. Philips TAS7505 Motherboard Replacement, Motherboard: stap 6, afbeelding 1 van 3 Philips TAS7505 Motherboard Replacement, Motherboard: stap 6, afbeelding 2 van 3 Philips TAS7505 Motherboard Replacement, Motherboard: stap 6, afbeelding 3 van 3
      • Disconnect the battery from the motherboard by unclipping it from the side not visible to you

      • If you are having difficulties disconnecting the battery you can pull the battery out whole in order to get a better angle to disconnect it

      Vraag FixBot

      Voeg opmerking toe

    2. Philips TAS7505 Motherboard Replacement: stap 7, afbeelding 1 van 1
      • Pull out the motherboard then disconnect the USB-A & USB-C port by pressing the clip

      Vraag FixBot

      Voeg opmerking toe

    3. Philips TAS7505 Motherboard Replacement: stap 8, afbeelding 1 van 2 Philips TAS7505 Motherboard Replacement: stap 8, afbeelding 2 van 2
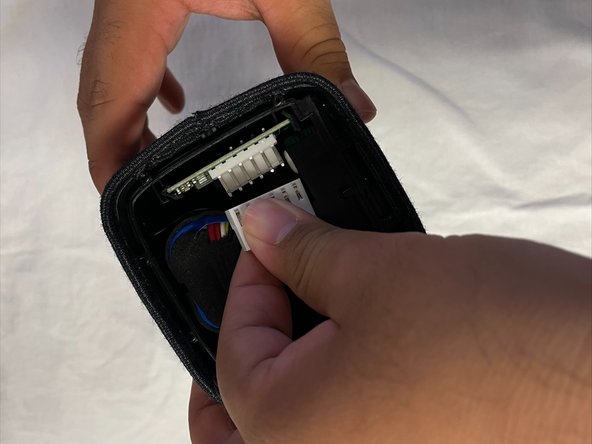
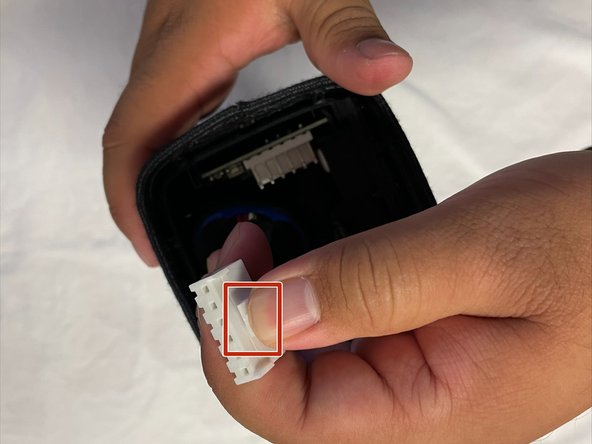
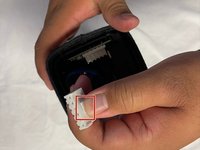
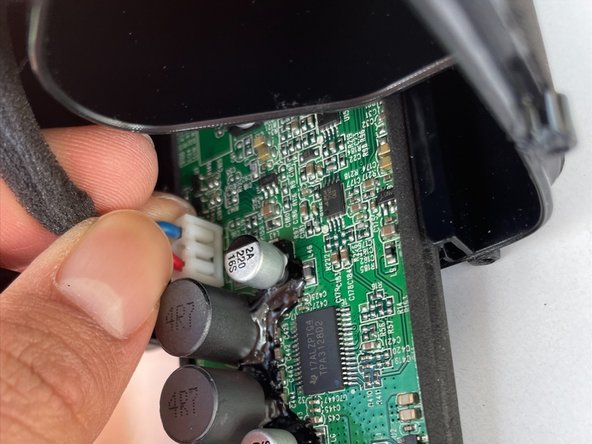
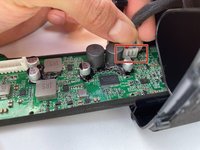
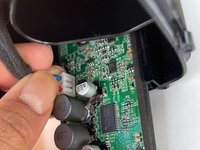
      • Next is to disconnect the speaker

      • pull the motherboard out as much as you can and then wiggle the white box back and forth to get it out

      Vraag FixBot

      Voeg opmerking toe

    4. Philips TAS7505 Motherboard Replacement: stap 9, afbeelding 1 van 2 Philips TAS7505 Motherboard Replacement: stap 9, afbeelding 2 van 2
      Gereedschap gebruikt in deze stap:
      Tweezers
      $4.99
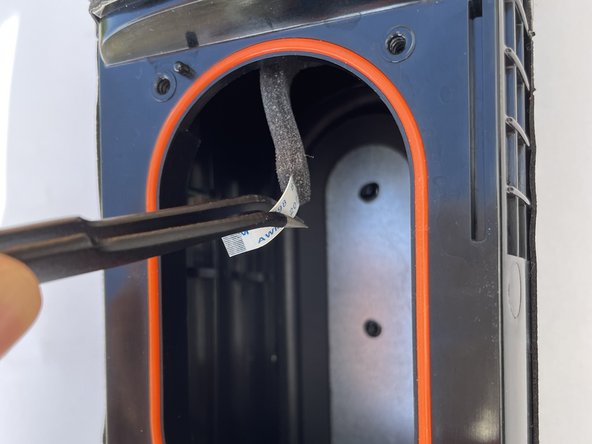
      • Simply remove this white strand with a pair of tweezers.

      Vraag FixBot

      Voeg opmerking toe

    5. Philips TAS7505 Motherboard Replacement: stap 10, afbeelding 1 van 2 Philips TAS7505 Motherboard Replacement: stap 10, afbeelding 2 van 2
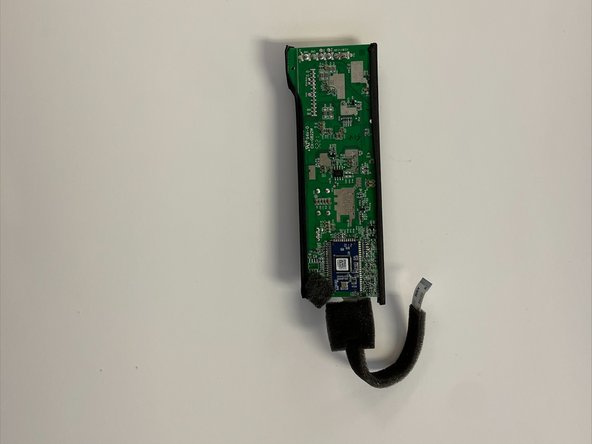
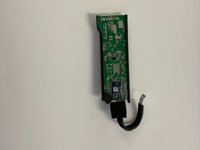
      • This is how the motherboard should be after doing all the steps correctly.

      Vraag FixBot

      Voeg opmerking toe

Conclusie

To reassemble your device, follow these instructions in reverse order.

Annuleren: ik heb deze handleiding niet afgemaakt.

Alejandro

Lid sinds: 09/26/22

133 Reputatie

1 Handleiding geschreven

Team

CSU Los Angeles, Team 5-2, Adachi Fall 2022 Lid van CSU Los Angeles, Team 5-2, Adachi Fall 2022

CSULA-ADACHI-F22S5G2

5 Leden

10 handleidingen geschreven

1Gids Commentaar

The guides are very detailed with many steps and are easy to follow. It looks professional and well-made. Thank you for your contribution to Ifixit!

Dat Nguyen - Antwoord Deel
Voeg opmerking toe

Weergavestatistieken:

Afgelopen 24 uren: 0

Afgelopen 7 dagen: 1

Afgelopen 30 dagen: 30

Altijd: 825