Wat je nodig hebt
-
-
-
Eject the disk tray from the DVD player before removing power supply.
 Vraag FixBot
-
-
-
Evenly lift upward on the disk tray front cover (not slanted, as pictured). This will allow for easier disassembly of the player.
-
-
-
-
-
Remove the three screws running along the back edge of case cover.
-
Remove the two screws from each side of the case cover.
-
-
-
-
Grab edges of the cover with your hands. Pull outward slightly, then straight up.
-
-
-
-
-
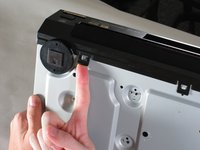
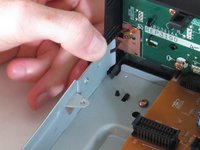
Lift up the five tabs securing the front panel to the chassis. There are three on the bottom, and two on the inside edges of the panel. Panel should then lift off the player.
-
-
-
-
-
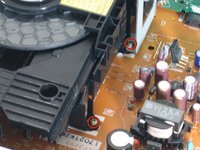
Locate the four screws securing the disk drive assembly. There are two on each side.
-
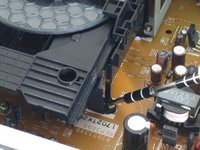
Use a narrow screwdriver to remove all four screws.
-
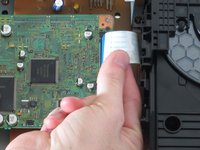
Remove the blue ribbon wire from its connector. When doing this, be cautious to not damage the connector.
-
-
-
Lift assembly by the front to pull metal bracket from the power board.
-
Pull up back end and lift drive out.
-
-
-
With the drive assembly separate from the player, hold as shown and pull the bracket edges away from the disk drive.
-
Lift bracket off and reserve for re-assembly.
-
-






To reassemble your device, follow these instructions in reverse order.
Annuleren: ik heb deze handleiding niet afgemaakt.
2 andere personen hebben deze handleiding voltooid.

Team

Cal Poly, Team 18-20, Garner Spring 2011 Lid van Cal Poly, Team 18-20, Garner Spring 2011
CPSU-GARNER-S11S18G20
4 Leden
36 handleidingen geschreven
