Ga door naar hoofdinhoud
Word lid van de reparatiegemeenschap - Account aanmaken

Oregon Scientific RM318PA Lens Replacement

Wat je nodig hebt

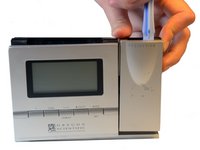
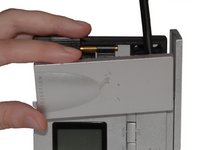
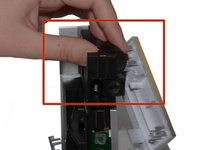
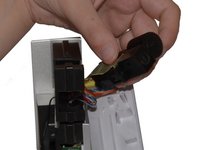
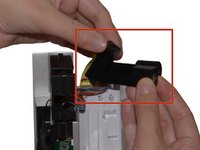
  1. Oregon Scientific RM318PA Lens Replacement, A/C Adapter: stap 1, afbeelding 1 van 3 Oregon Scientific RM318PA Lens Replacement, A/C Adapter: stap 1, afbeelding 2 van 3 Oregon Scientific RM318PA Lens Replacement, A/C Adapter: stap 1, afbeelding 3 van 3
    • Hold clock so the screen is facing away from you.

    • Using your thumbs, push up on battery cover to remove.

    • With your other hand, pull down on the A/C Adapter jack to remove.

    Vraag FixBot

    Voeg opmerking toe

  2. Oregon Scientific RM318PA Lens Replacement, Batteries: stap 2, afbeelding 1 van 1
    • Remove batteries by pushing a battery toward the spring.

    • Lift battery out at an angle. Repeat with second battery.

    Vraag FixBot

    Voeg opmerking toe

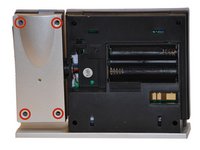
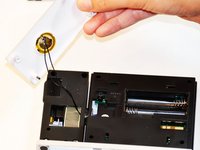
  3. Oregon Scientific RM318PA Lens Replacement, Projection Arm: stap 3, afbeelding 1 van 2 Oregon Scientific RM318PA Lens Replacement, Projection Arm: stap 3, afbeelding 2 van 2
    • Use a Phillips #00 Screwdriver to remove the four (4) screws from the back of the projection arm.

    • Once screws are removed, lift the back up and off of the projection arm.

    Vraag FixBot

    Voeg opmerking toe

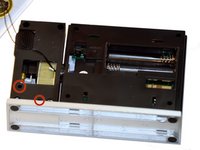
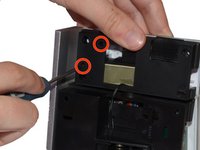
  4. Oregon Scientific RM318PA Lens Replacement, Screws Projection Arm: stap 4, afbeelding 1 van 2 Oregon Scientific RM318PA Lens Replacement, Screws Projection Arm: stap 4, afbeelding 2 van 2
    • Use a Phillips #00 Screwdriver to remove two (2) screws from back of projection arm.

    Vraag FixBot

    Voeg opmerking toe

  5. Oregon Scientific RM318PA Lens Replacement, Front of the Projection Arm: stap 5, afbeelding 1 van 2 Oregon Scientific RM318PA Lens Replacement, Front of the Projection Arm: stap 5, afbeelding 2 van 2
    • Use a Plastic Opening Tool to pry open the front of the projection arm casing. Start at the top of the projection arm.

    • Once top is partially open, use a Spudger to pry at the side of the projection arm.

    Vraag FixBot

    Voeg opmerking toe

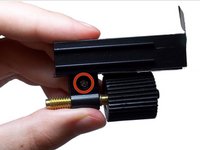
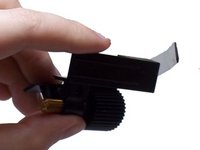
  6. Oregon Scientific RM318PA Lens Replacement, Projection Beam: stap 6, afbeelding 1 van 3 Oregon Scientific RM318PA Lens Replacement, Projection Beam: stap 6, afbeelding 2 van 3 Oregon Scientific RM318PA Lens Replacement, Projection Beam: stap 6, afbeelding 3 van 3
    • Turn the clock on its side. Slide the focus wheel forward with your thumb.

    • The Projection Beam and Focus Wheel Component should now be free of Projection Arm.

    • Hold the Component in one hand and lift the Projection Beam up and away from the Focus Wheel.

    Vraag FixBot

    Voeg opmerking toe

  7. Oregon Scientific RM318PA Lens Replacement, The Lens: stap 7, afbeelding 1 van 1
    • The Lens is attached to the Focus Knob and is now accessible for replacement purposes.

    Vraag FixBot

    Voeg opmerking toe

  8. Oregon Scientific RM318PA Lens Replacement, Tape: stap 8, afbeelding 1 van 1
    • Apply tape to the lens for safe removal and prevention of injury.

    Vraag FixBot

    Voeg opmerking toe

  9. Oregon Scientific RM318PA Lens Replacement, Focus Knob: stap 9, afbeelding 1 van 2 Oregon Scientific RM318PA Lens Replacement, Focus Knob: stap 9, afbeelding 2 van 2
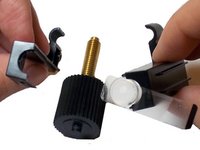
    • Detach the focus knob from the internal casing of the lens by removing the screw from the base of the focus knob grip.

    • Pry apart the pieces of casing holding the focus knob in place and remove the knob.

    Vraag FixBot

    Voeg opmerking toe

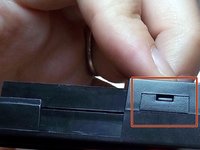
  10. Oregon Scientific RM318PA Lens Replacement, Internal Casing: stap 10, afbeelding 1 van 3 Oregon Scientific RM318PA Lens Replacement, Internal Casing: stap 10, afbeelding 2 van 3 Oregon Scientific RM318PA Lens Replacement, Internal Casing: stap 10, afbeelding 3 van 3
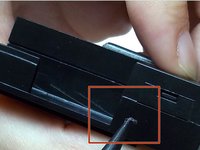
    • Insert the spudger into the opening above the hinge on the side of the casing.

    • Press down firmly until the case opens.

    Vraag FixBot

    Voeg opmerking toe

  11. Oregon Scientific RM318PA Lens Replacement, Lens Removal: stap 11, afbeelding 1 van 2 Oregon Scientific RM318PA Lens Replacement, Lens Removal: stap 11, afbeelding 2 van 2
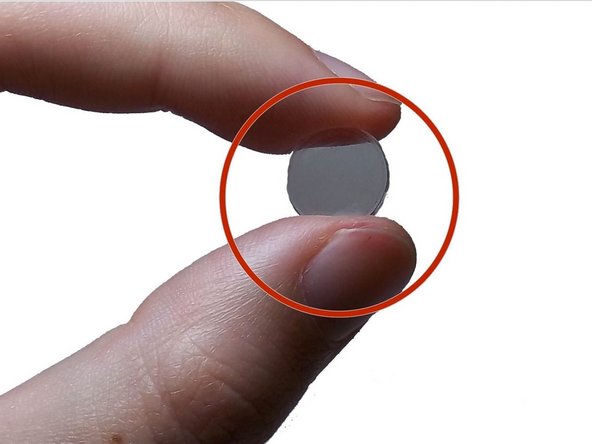
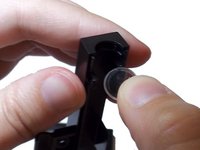
    • Pull apart the casing and gently slide lens from pocket.

    • Be sure to replace with a concave lens.

    Vraag FixBot

    Voeg opmerking toe

Conclusie

To reassemble your device, follow these instructions in reverse order.

Annuleren: ik heb deze handleiding niet afgemaakt.

Één andere persoon heeft deze handleiding voltooid.

Maxine Holden

Lid sinds: 10/27/14

500 Reputatie

4 handleidingen geschreven

1Gids Commentaar

Hi, I’ve this alarm clock with missing piezo/speaker, can anyone take a picture of the main board showing the pads for it?

Mastto geppetto - Antwoord Deel

Voeg opmerking toe

Weergavestatistieken:

Afgelopen 24 uren: 0

Afgelopen 7 dagen: 2

Afgelopen 30 dagen: 33

Altijd: 3,147