Inleiding
Use this guide to replace the Ballast on the Optoma HD72. The ballast is the focal point of several crucial functions within the Optoma HD72. The ballast delivers the initial high-voltage surge required to ignite the lamp and begin emitting light, as well as helping to maintain constant brightness and color performance in the Optoma HD72. The following signs could point to a problem and need to replace the ballast.
The following symptoms may indicate a problem or need for replacement with the power supply.
- Failure to power on: The ballast is not producing the necessary power to the lamp.
- Flickering Images: The ballast should maintain a stable current and voltage to the lamp. If not, the image will become unstable.
- Reduced Brightness: The projection lamp does not receive the full power it requires.
- Overheating: The ballast manages the lamp’s temperature.
A few warnings to consider when dissembling this device:
- Electrical hazards: The Optoma HD72 contains high-voltage components, so be wary of electrical shock by ensuring the device has been turned off for at least 5-10 minutes.
- The projection lamp may be extremely hot, so giving the projector an optimal amount of time to be turned off before disassembly is very important.
- The ballast is delicate and can be easily damaged if not handled with care.
Wat je nodig hebt
-
-
Use a Phillips screwdriver to remove the five 2 mm screws on the underside of the device.
 Vraag FixBot
-
-
-
Flip the device over and slightly lift the upper case, with care not to strain the two cables.
-
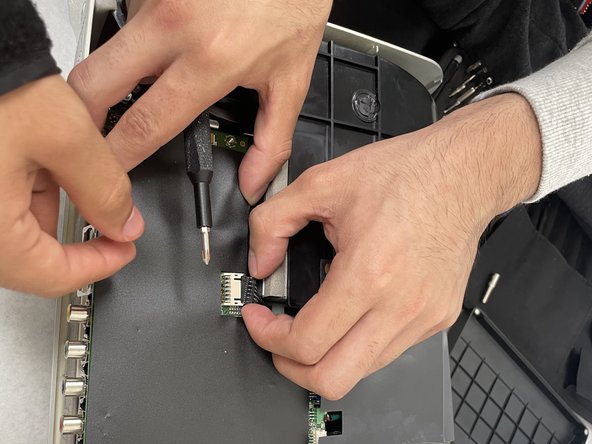
Disconnect the two cables that connect the top case to the motherboard.
-
Lift the upper case up and off.
-
-
-
-
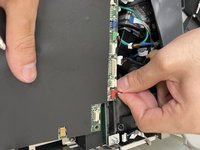
Disconnect all of the cables that are connected to the motherboard.
-
-
-
Remove the four 2 mm Phillips screws that secure the motherboard.
-
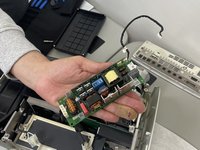
Lift the motherboard up and out of the chassis.
-
-
-
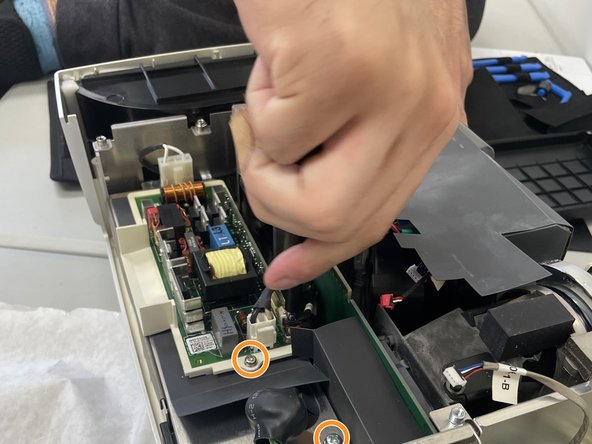
Remove the two 2 mm Phillips screws that secure the power supply.
-
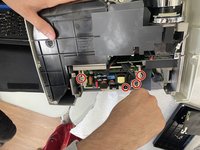
Remove the two 2 mm Phillips screws that secure the ballast to the power supply.
-
Disconnect the bundles of detachable wires from the ballast.
-
Lift the ballast out of the device.
-


To reassemble your device, follow these instructions in reverse order.

Team

University of North Texas, Team 2-5, Kilpatrick Spring 2024 Lid van University of North Texas, Team 2-5, Kilpatrick Spring 2024
UNT-KILPATRICK-S24S2G5
3 Leden
10 handleidingen geschreven