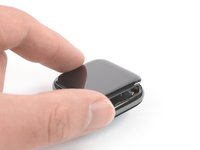
Ga door naar hoofdinhoud
Word lid van de reparatiegemeenschap - Account aanmaken

Opening Procedure

Wat je nodig hebt

  1. Opening Procedure, Display Opening: stap 1, afbeelding 1 van 2 Opening Procedure, Display Opening: stap 1, afbeelding 2 van 2
    Vraag FixBot

    Voeg opmerking toe

  2. Opening Procedure, Safety Requirements: stap 2, afbeelding 1 van 3 Opening Procedure, Safety Requirements: stap 2, afbeelding 2 van 3 Opening Procedure, Safety Requirements: stap 2, afbeelding 3 van 3
    • Because the gap between the screen and watch body is so thin, a sharp blade is needed to separate the two. Read the following warnings carefully before proceeding.

    • Protect your fingers by keeping them completely clear of the knife. If in doubt, protect your free hand with a heavy glove, such as a leather shop glove or gardening glove.

    • Be careful not to apply too much pressure, as this might cause the knife to slip and cut you, or damage the watch.

    • Wear eye protection. The knife or glass may break, sending pieces flying.

    • Attach or remove the watch band as needed to provide more control as you make repairs.

    Vraag FixBot

    Voeg opmerking toe

  3. Opening Procedure: stap 3, afbeelding 1 van 1
    • Prepare an iOpener (or use a hair dryer or heat gun) and heat the face of the watch to loosen the display adhesive.

    • Leave the iOpener on the watch for at least two minutes to fully heat the screen and soften the adhesive holding it to the case.

    • You may need to reheat the iOpener and repeat this procedure several times until the display adhesive softens.

    Vraag FixBot

    Voeg opmerking toe

  4. Opening Procedure: stap 4, afbeelding 1 van 3 Opening Procedure: stap 4, afbeelding 2 van 3 Opening Procedure: stap 4, afbeelding 3 van 3
    • Take your time and work carefully to avoid scratching the watch body with your iFlex.

    • Don't insert the iFlex more than 1/16th of an inch (~2 mm) to avoid damaging the force touch sensor.

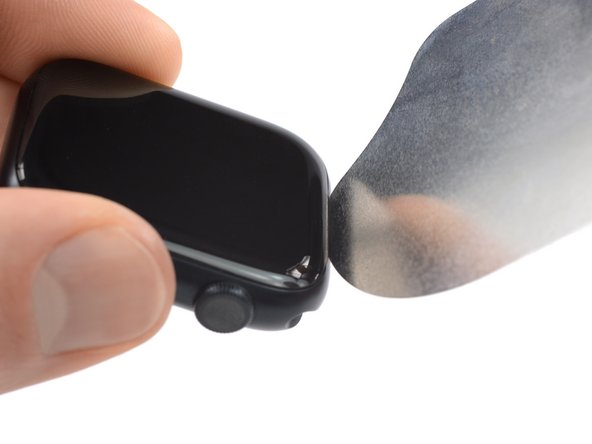
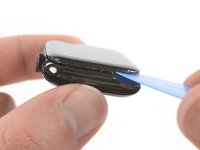
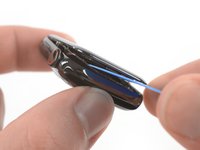
    • Insert the iFlex into the thin gap between the display and frame at the edge adjacent to the digital crown.

    • Tilt the iFlex down to pry the display open slightly and create a gap between the screen and the watch body.

    Vraag FixBot

    Voeg opmerking toe

  5. Opening Procedure: stap 5, afbeelding 1 van 2 Opening Procedure: stap 5, afbeelding 2 van 2
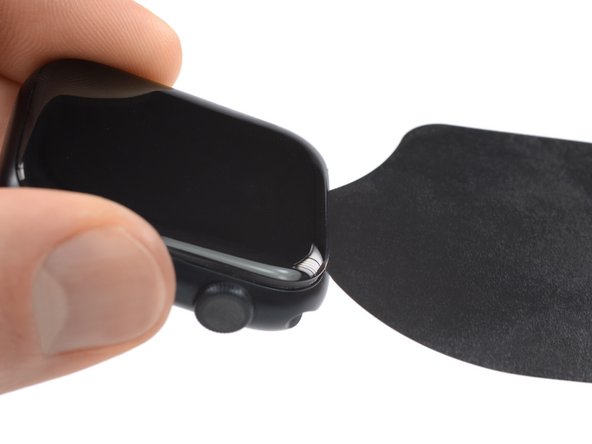
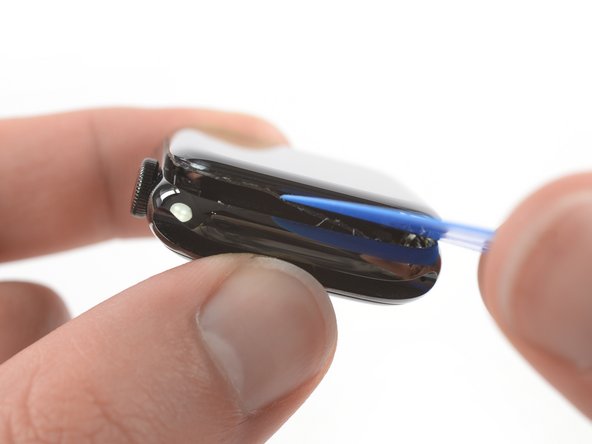
    • Once you've opened a small gap with the curved blade, remove the blade and insert the thinner edge of an opening tool into the gap.

    • Push the opening tool into the gap, using your thumb as a pivot to lift the display open a bit farther.

    • Don't try to fully open or detach the display yet.

    Vraag FixBot

    Voeg opmerking toe

  6. Opening Procedure: stap 6, afbeelding 1 van 3 Opening Procedure: stap 6, afbeelding 2 van 3 Opening Procedure: stap 6, afbeelding 3 van 3
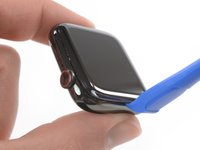
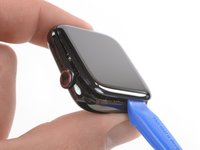
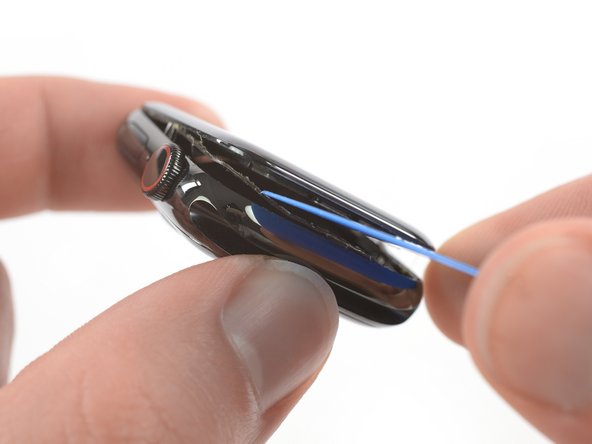
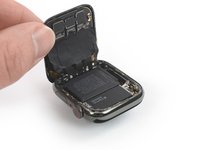
    • It's likely that the force touch sensor will stick to the display frame instead to the watch's body. In this case, insert an opening pick under the display and carefully separate the Force Touch gasket from the display.

    • To preserve the Force Touch gasket, pry carefully under the edge of the display. If the Force Touch gasket splits when lifting the display, or if you separate the gasket layers, you'll also need to replace the Force Touch gasket itself.

    • Slide the pick around the display to separate the adhesive between the Force Touch gasket and the display.

    • Don't insert the opening pick deeper than 1/16th of an inch (~2 mm) to avoid damaging other components.

    Vraag FixBot

    Voeg opmerking toe

  7. Opening Procedure: stap 7, afbeelding 1 van 2 Opening Procedure: stap 7, afbeelding 2 van 2
    • Avoid tensioning the display cables when folding the screen to the back.

    • Carefully lift the display open like a book.

    Vraag FixBot

    Voeg opmerking toe

Conclusie

To reassemble your device, follow these instructions in reverse order. Apply a little bit of high isopropyl alcohol (>90%) to a Q-tip or use a cleaning pad to gently remove the leftover adhesive on top of the Force Touch gasket before installing new adhesive.

Opening didn’t go as planned? Check out our Answers community for troubleshooting help.

Annuleren: ik heb deze handleiding niet afgemaakt.

10 andere personen hebben deze handleiding voltooid.

Dominik Schnabelrauch

Lid sinds: 11/23/16

259.250 Reputatie

682 handleidingen geschreven

Team

iFixit Lid van iFixit

Staff

122 Leden

25.949 handleidingen geschreven

0Gids Commentaar

Voeg opmerking toe

Weergavestatistieken:

Afgelopen 24 uren: 4

Afgelopen 7 dagen: 49

Afgelopen 30 dagen: 151

Altijd: 12,871