Ga door naar hoofdinhoud
Word lid van de reparatiegemeenschap - Account aanmaken

One Education Infinity:One Display Assembly Replacement

Wat je nodig hebt

    1. One Education Infinity:One Display Assembly Replacement, Top Case: stap 1, afbeelding 1 van 3 One Education Infinity:One Display Assembly Replacement, Top Case: stap 1, afbeelding 2 van 3 One Education Infinity:One Display Assembly Replacement, Top Case: stap 1, afbeelding 3 van 3
      • Insert a Jimmy or other prying tool into the seam between the screen and back case.

      • Trace around the edges until all clips are released.

      • Lift the back case away from the tablet.

      Vraag FixBot

      Voeg opmerking toe

    1. One Education Infinity:One Display Assembly Replacement, Speaker: stap 2, afbeelding 1 van 2 One Education Infinity:One Display Assembly Replacement, Speaker: stap 2, afbeelding 2 van 2
      • Use a spudger to release the speaker wires by pushing the bundled cabled connector away from the motherboard.

      • Be sure to pull out the white connector instead of the individual wires to avoid damage to the device.

      Vraag FixBot

      Voeg opmerking toe

    2. One Education Infinity:One Display Assembly Replacement: stap 3, afbeelding 1 van 1
      • Use a spudger to lift the speakers out of the device.

      Vraag FixBot

      Voeg opmerking toe

    1. One Education Infinity:One Display Assembly Replacement, Battery: stap 4, afbeelding 1 van 2 One Education Infinity:One Display Assembly Replacement, Battery: stap 4, afbeelding 2 van 2
      • Use a spudger to disconnect the black bundled cable connector from the motherboard.

      Vraag FixBot

      Voeg opmerking toe

    2. One Education Infinity:One Display Assembly Replacement: stap 5, afbeelding 1 van 3 One Education Infinity:One Display Assembly Replacement: stap 5, afbeelding 2 van 3 One Education Infinity:One Display Assembly Replacement: stap 5, afbeelding 3 van 3
      • Use a spudger to lift the black tab on top of the ZIF connector.

      • Slide the ribbon cable out of the connector.

      Vraag FixBot

      Voeg opmerking toe

    3. One Education Infinity:One Display Assembly Replacement: stap 6, afbeelding 1 van 3 One Education Infinity:One Display Assembly Replacement: stap 6, afbeelding 2 van 3 One Education Infinity:One Display Assembly Replacement: stap 6, afbeelding 3 van 3
      • Use a spudger to flip up the black retaining flap on the ZIF connector.

      • Pull the folded ribbon cable straight out of the connector.

      • This ribbon cable must be disconnected before removing the battery because it is attached to the battery with adhesive.

      Vraag FixBot

      Voeg opmerking toe

    4. One Education Infinity:One Display Assembly Replacement: stap 7, afbeelding 1 van 1
      • Use a spudger to pry the battery away from the device.

      • Always use ESD safe tools when working with delicate electrical components.

      Vraag FixBot

      Voeg opmerking toe

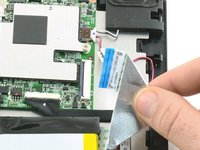
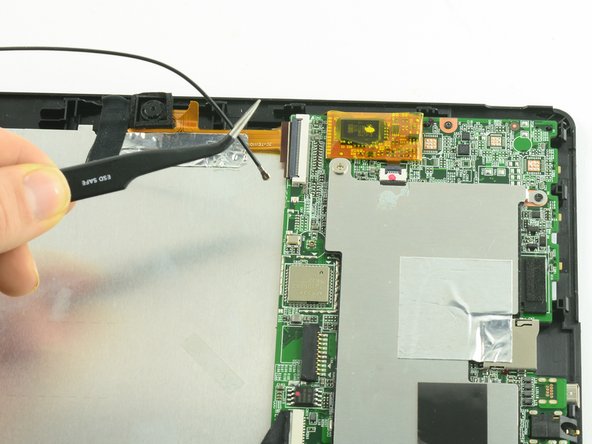
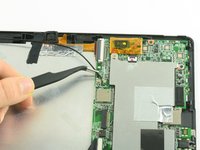
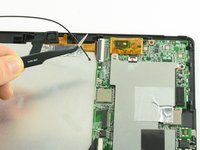
    1. One Education Infinity:One Display Assembly Replacement, Antenna: stap 8, afbeelding 1 van 2 One Education Infinity:One Display Assembly Replacement, Antenna: stap 8, afbeelding 2 van 2
      Gereedschap gebruikt in deze stap:
      Tweezers
      $4.99
      • Use ESD safe tweezers to disconnect the antenna from the motherboard.

      Vraag FixBot

      Voeg opmerking toe

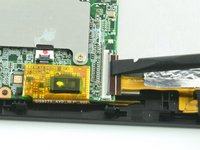
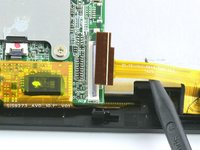
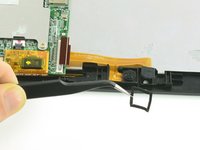
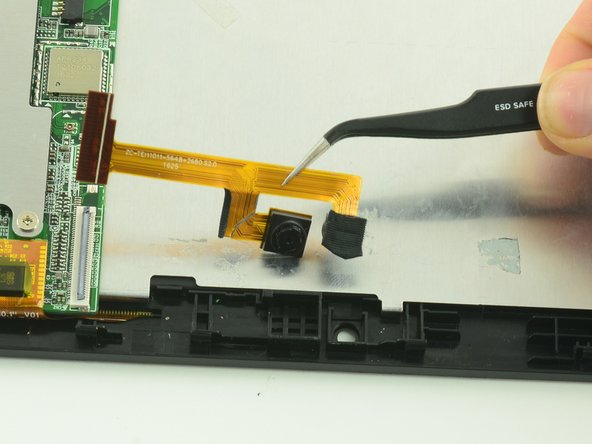
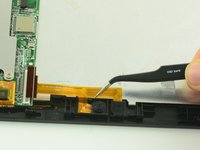
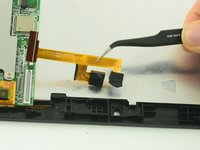
    1. One Education Infinity:One Display Assembly Replacement, Camera Assembly: stap 9, afbeelding 1 van 3 One Education Infinity:One Display Assembly Replacement, Camera Assembly: stap 9, afbeelding 2 van 3 One Education Infinity:One Display Assembly Replacement, Camera Assembly: stap 9, afbeelding 3 van 3
      • Use a spudger to flip up the black flap on the camera's ZIF connector.

      • Pull the ribbon cable straight out of the connector.

      Vraag FixBot

      Voeg opmerking toe

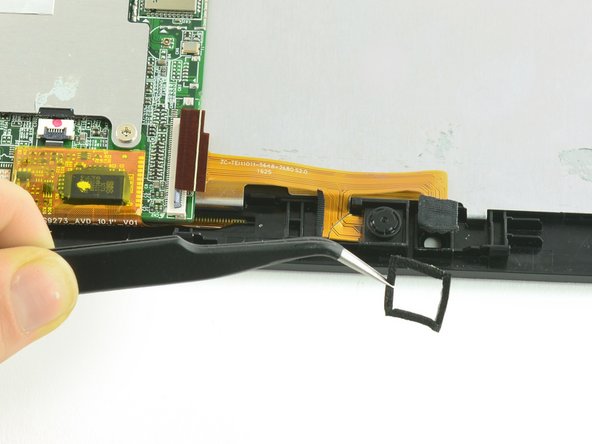
    2. One Education Infinity:One Display Assembly Replacement: stap 10, afbeelding 1 van 2 One Education Infinity:One Display Assembly Replacement: stap 10, afbeelding 2 van 2
      Gereedschap gebruikt in deze stap:
      Tweezers
      $4.99
      • Use tweezers to remove the black cushion surrounding the camera lens.

      Vraag FixBot

      Voeg opmerking toe

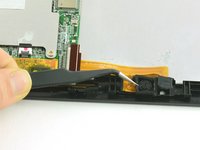
    3. One Education Infinity:One Display Assembly Replacement: stap 11, afbeelding 1 van 2 One Education Infinity:One Display Assembly Replacement: stap 11, afbeelding 2 van 2
      • Use tweezers to lift the camera assembly away from the device.

      • Lift straight up to avoid tearing the delicate ribbon cable on the retaining wall.

      Vraag FixBot

      Voeg opmerking toe

    1. One Education Infinity:One Display Assembly Replacement, Motherboard: stap 12, afbeelding 1 van 3 One Education Infinity:One Display Assembly Replacement, Motherboard: stap 12, afbeelding 2 van 3 One Education Infinity:One Display Assembly Replacement, Motherboard: stap 12, afbeelding 3 van 3
      • Use a spudger to flip up the black flap on the camera's ZIF connector.

      • Pull the ribbon cable straight out of the connector.

      Vraag FixBot

      Voeg opmerking toe

    2. One Education Infinity:One Display Assembly Replacement: stap 13, afbeelding 1 van 1
      Gereedschap gebruikt in deze stap:
      Tweezers
      $4.99
      • Use tweezers to pull the dock connection cable away from the motherboard.

      Vraag FixBot

      Voeg opmerking toe

    3. One Education Infinity:One Display Assembly Replacement: stap 14, afbeelding 1 van 1
      • Use a Phillips #00 screwdriver to unscrew the two 3.4 mm screws.

      • Use a Phillips #000 screwdriver to unscrew the one 4.2mm screw.

      Vraag FixBot

      Voeg opmerking toe

    4. One Education Infinity:One Display Assembly Replacement: stap 15, afbeelding 1 van 1
      • Lift the protective shield away from the motherboard.

      Vraag FixBot

      Voeg opmerking toe

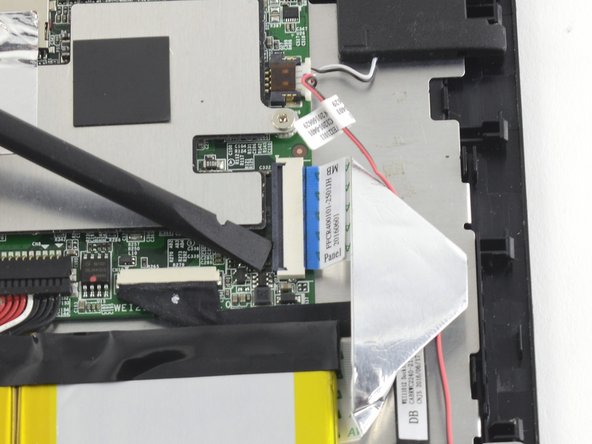
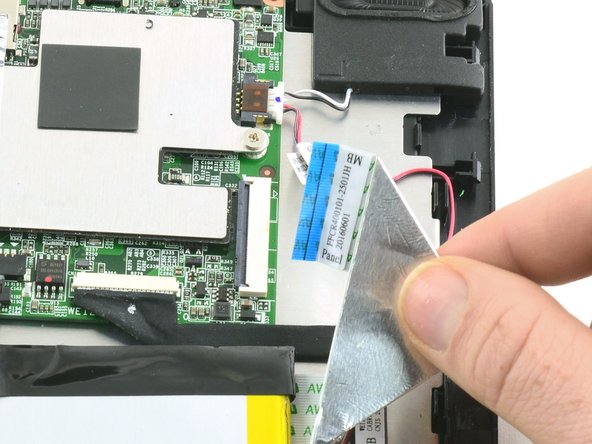
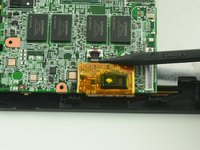
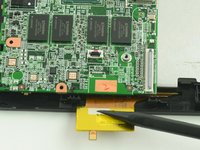
    5. One Education Infinity:One Display Assembly Replacement: stap 16, afbeelding 1 van 3 One Education Infinity:One Display Assembly Replacement: stap 16, afbeelding 2 van 3 One Education Infinity:One Display Assembly Replacement: stap 16, afbeelding 3 van 3
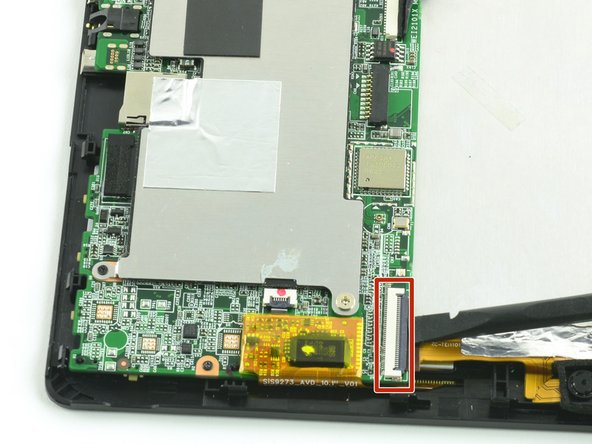
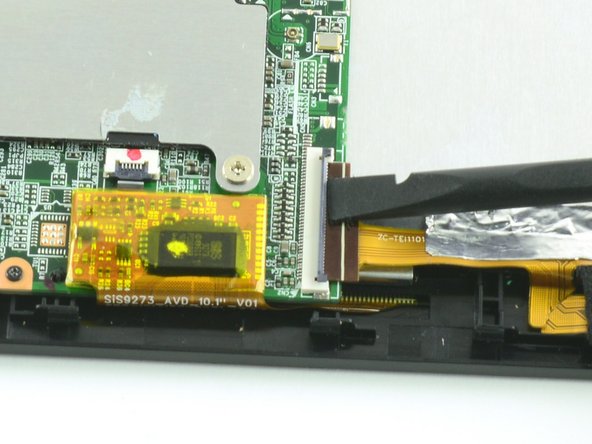
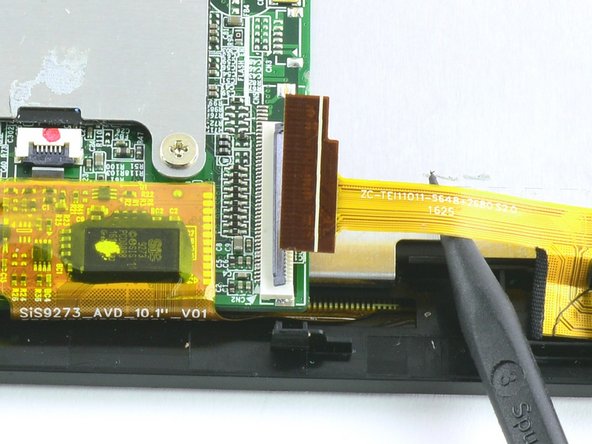
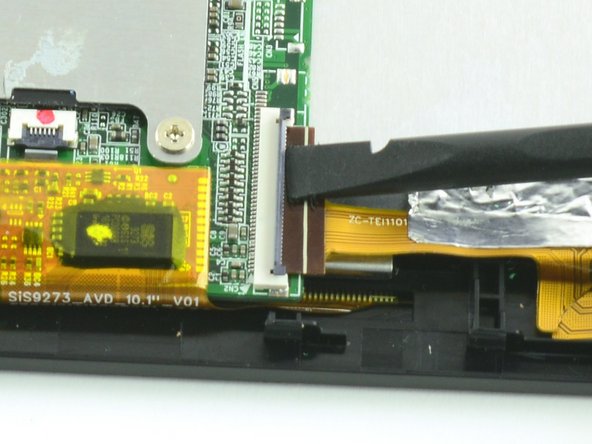
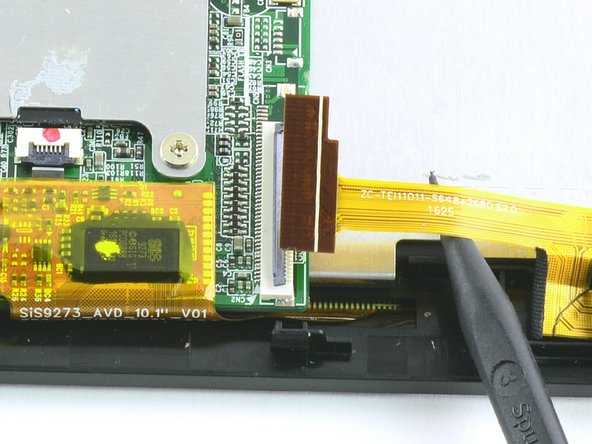
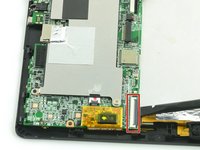
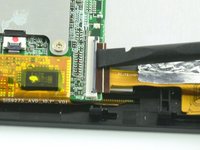
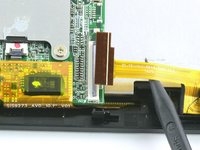
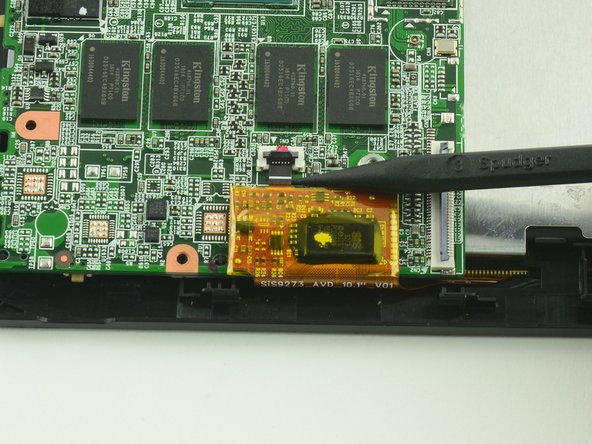
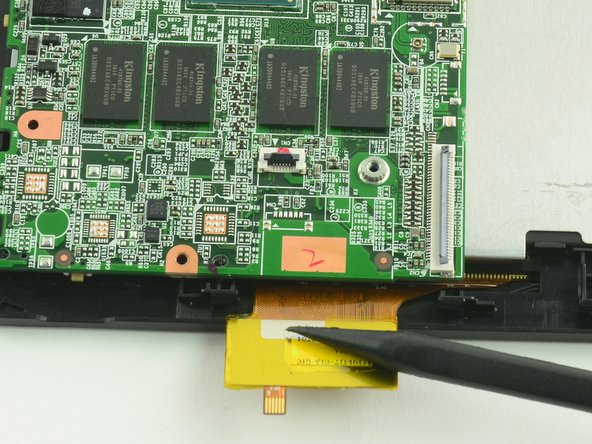
      • With the flat end of a spudger, flip up the black flap on the display's ZIF connector.

      • Insert the pointed end of the spudger between the cable and the motherboard and gently pull the cable straight out of the connector.

      • During reassembly, be sure to insert the cable into the connector up to the white line on the cable and then close the retaining flap.

      Vraag FixBot

      Voeg opmerking toe

    6. One Education Infinity:One Display Assembly Replacement: stap 17, afbeelding 1 van 1
      • Gently lift the motherboard away from the display assembly.

      Vraag FixBot

      Voeg opmerking toe

    1. One Education Infinity:One Display Assembly Replacement, Display Assembly: stap 18, afbeelding 1 van 1
      • Unscrew the five 4.2mm screws with a Phillips #000 screwdriver.

      Vraag FixBot

      Voeg opmerking toe

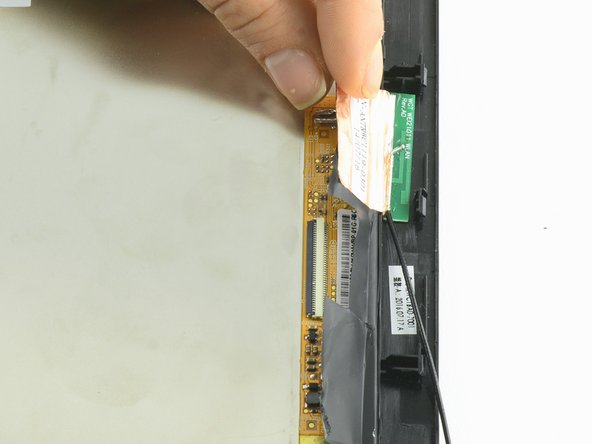
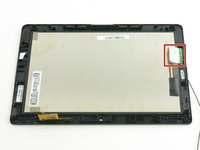
    2. One Education Infinity:One Display Assembly Replacement: stap 19, afbeelding 1 van 2 One Education Infinity:One Display Assembly Replacement: stap 19, afbeelding 2 van 2
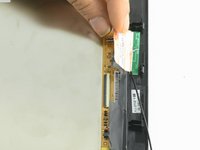
      • Peel the protective flap away from the display.

      Vraag FixBot

      Voeg opmerking toe

    3. One Education Infinity:One Display Assembly Replacement: stap 20, afbeelding 1 van 2 One Education Infinity:One Display Assembly Replacement: stap 20, afbeelding 2 van 2
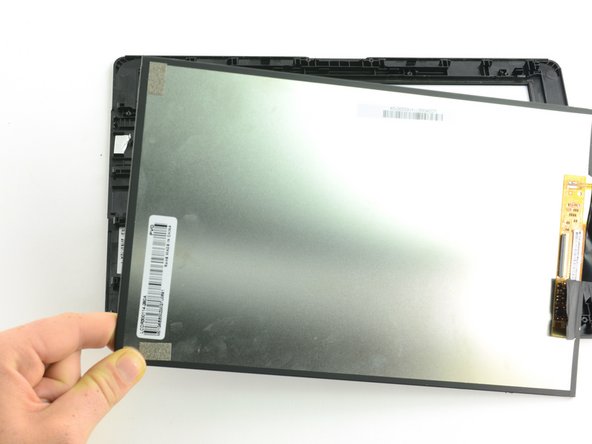
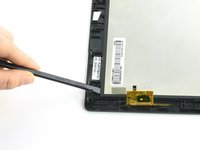
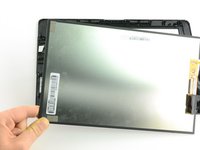
      • Use a spudger to lift the digitizer away from the screen.

      • Grasp the edge of the digitizer and lift straight up to remove.

      Vraag FixBot

      Voeg opmerking toe

Conclusie

To reassemble your device, follow these instructions in reverse order.

Annuleren: ik heb deze handleiding niet afgemaakt.

Taylor Bratsch

Lid sinds: 09/06/16

6.168 Reputatie

14 handleidingen geschreven

0Gids Commentaar

Voeg opmerking toe

Weergavestatistieken:

Afgelopen 24 uren: 2

Afgelopen 7 dagen: 8

Afgelopen 30 dagen: 17

Altijd: 625