Ga door naar hoofdinhoud
Word lid van de reparatiegemeenschap - Account aanmaken

Onda V701 Front- Facing Camera Replacement

Wat je nodig hebt

    1. Onda V701 Front- Facing Camera Replacement, Back Panel: stap 1, afbeelding 1 van 3 Onda V701 Front- Facing Camera Replacement, Back Panel: stap 1, afbeelding 2 van 3 Onda V701 Front- Facing Camera Replacement, Back Panel: stap 1, afbeelding 3 van 3
      • Ensure device is powered off before disassembly.

      • Remove the 4 rubber screw plugs using a spudger.

      Vraag FixBot
      Voeg opmerking toe

    2. Onda V701 Front- Facing Camera Replacement: stap 2, afbeelding 1 van 3 Onda V701 Front- Facing Camera Replacement: stap 2, afbeelding 2 van 3 Onda V701 Front- Facing Camera Replacement: stap 2, afbeelding 3 van 3
      • Remove the four 4.8mm mounting screws using a PH00 screwdriver.

      Vraag FixBot
      Voeg opmerking toe

    3. Onda V701 Front- Facing Camera Replacement: stap 3, afbeelding 1 van 2 Onda V701 Front- Facing Camera Replacement: stap 3, afbeelding 2 van 2
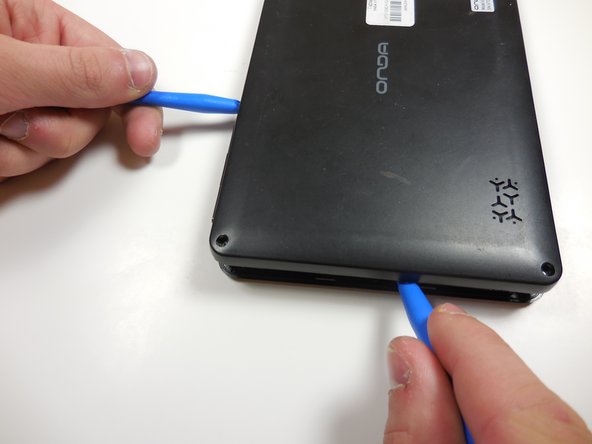
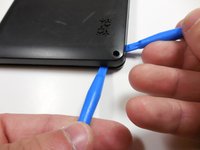
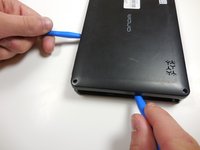
      • Starting at one corner, gently pry the back panel assembly from the screen assembly using two plastic opening tools.

      • Slide the opening tools around the perimeter of the device to separate the back panel assembly from the screen assembly.

      Vraag FixBot

      Voeg opmerking toe

    4. Onda V701 Front- Facing Camera Replacement: stap 4, afbeelding 1 van 2 Onda V701 Front- Facing Camera Replacement: stap 4, afbeelding 2 van 2
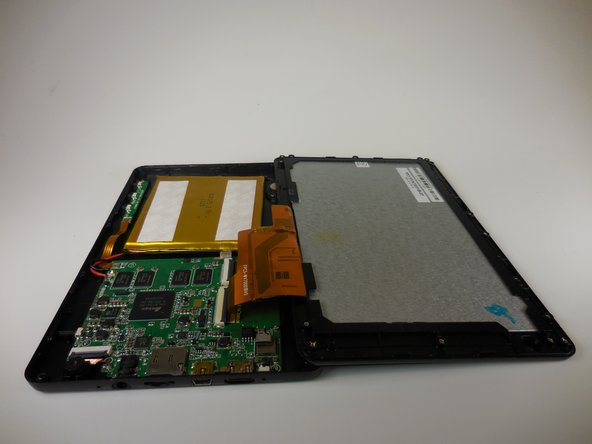
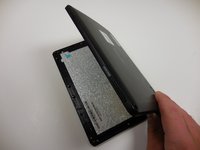
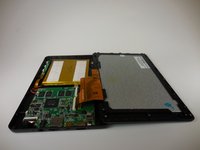
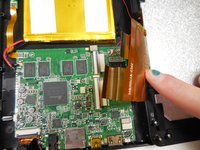
      • Gently lift the screen assembly away from the back cover assembly.

      • Be careful when separating the two pieces as the screen assembly is still connected to the mother board by two ribbon cables.

      Vraag FixBot

      Voeg opmerking toe

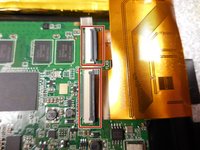
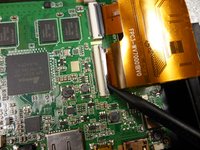
    5. Onda V701 Front- Facing Camera Replacement: stap 5, afbeelding 1 van 3 Onda V701 Front- Facing Camera Replacement: stap 5, afbeelding 2 van 3 Onda V701 Front- Facing Camera Replacement: stap 5, afbeelding 3 van 3
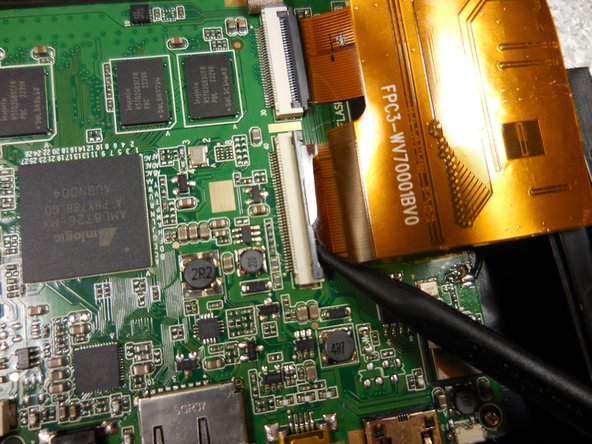
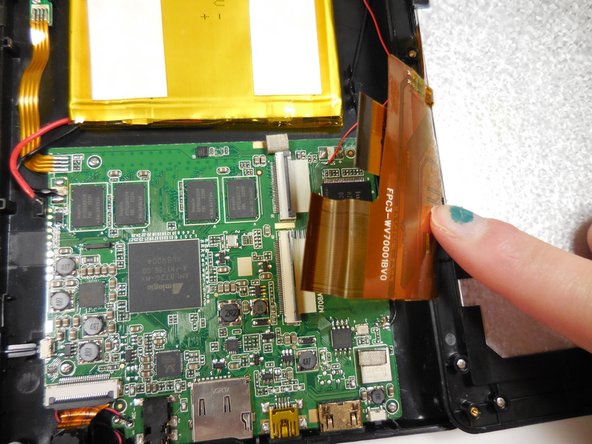
      • Disconnect the two ribbon connectors by flipping the gray tabs up with a fingernail or a spudger.

      • Remove the ribbon cables.

      Vraag FixBot

      Voeg opmerking toe

    1. Onda V701 Front- Facing Camera Replacement, Front- Facing Camera: stap 6, afbeelding 1 van 2 Onda V701 Front- Facing Camera Replacement, Front- Facing Camera: stap 6, afbeelding 2 van 2
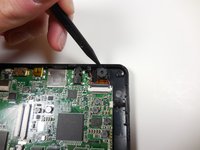
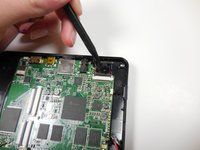
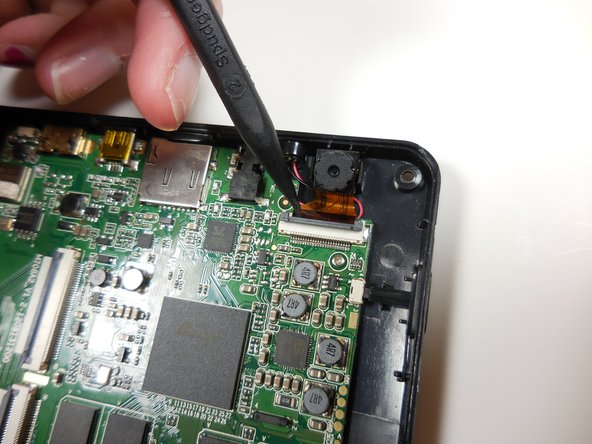
      • Gently pry the front-facing camera away from the back panel using a spudger.

      Vraag FixBot

      Voeg opmerking toe

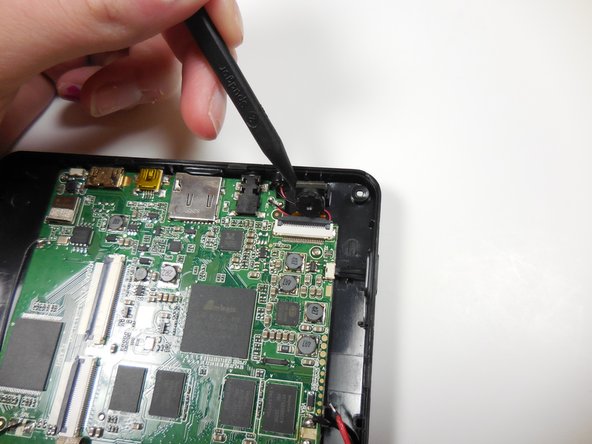
    2. Onda V701 Front- Facing Camera Replacement: stap 7, afbeelding 1 van 2 Onda V701 Front- Facing Camera Replacement: stap 7, afbeelding 2 van 2
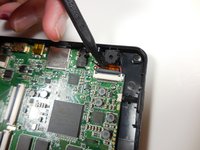
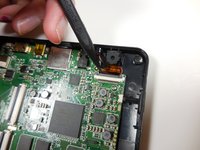
      • Flip the gray locking tab of the ribbon connector up using a spudger.

      • Remove the ribbon cable from the connector.

      Vraag FixBot

      Voeg opmerking toe

    3. Onda V701 Front- Facing Camera Replacement: stap 8, afbeelding 1 van 1
      • Remove the front-facing camera assembly.

      Vraag FixBot

      Voeg opmerking toe

Conclusie

To reassemble your device, follow these instructions in reverse order.

Annuleren: ik heb deze handleiding niet afgemaakt.

Bradley Huber

Lid sinds: 03/11/15

366 Reputatie

3 handleidingen geschreven

Team

Colorado Springs, Team 4-6, Panko Spring 2015 Lid van Colorado Springs, Team 4-6, Panko Spring 2015

UCCS-PANKO-S15S4G6

3 Leden

10 handleidingen geschreven

0Gids Commentaar

Voeg opmerking toe

Weergavestatistieken:

Afgelopen 24 uren: 0

Afgelopen 7 dagen: 3

Afgelopen 30 dagen: 22

Altijd: 509