Ga door naar hoofdinhoud

Omaker M4 Motherboard Replacement

Wat je nodig hebt

  1. Omaker M4 Motherboard Replacement, Back Case: stap 1, afbeelding 1 van 1
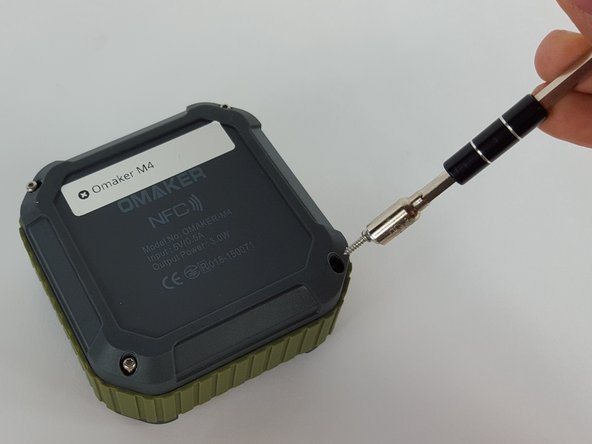
    • Flip the device over so the front of the speaker is facing down. Make sure to place the speaker on a flat surface

  2. Omaker M4 Motherboard Replacement: stap 2, afbeelding 1 van 2 Omaker M4 Motherboard Replacement: stap 2, afbeelding 2 van 2
    • Use a T6 Torx screwdriver to remove the four 9mm screws from the back of the device.

  3. Omaker M4 Motherboard Replacement: stap 3, afbeelding 1 van 2 Omaker M4 Motherboard Replacement: stap 3, afbeelding 2 van 2
    • Use a magnet to remove the screws after unscrewing them and place them aside.

  4. Omaker M4 Motherboard Replacement: stap 4, afbeelding 1 van 1
    • Carefully remove the back cover without breaking the battery wire.

  5. Omaker M4 Motherboard Replacement: stap 5, afbeelding 1 van 2 Omaker M4 Motherboard Replacement: stap 5, afbeelding 2 van 2
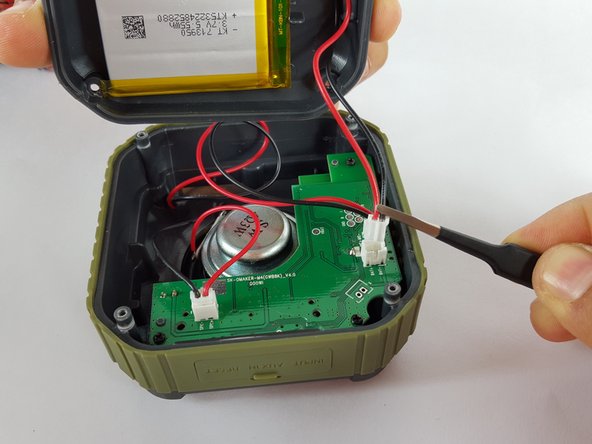
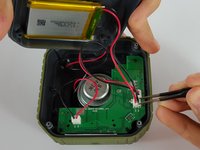
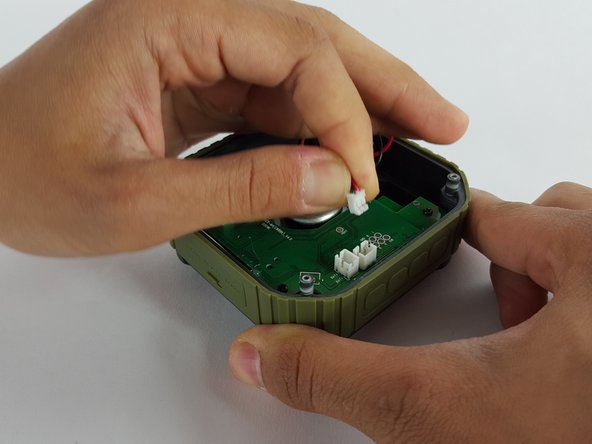
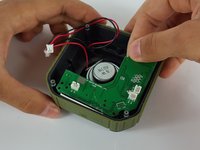
    • Remove the end of the battery connection from the motherboard by holding the end of the wire and carefully pulling it out of the socket using tweezers.

    • The battery is still attached to the back cover.

  6. Omaker M4 Motherboard Replacement, Motherboard: stap 6, afbeelding 1 van 2 Omaker M4 Motherboard Replacement, Motherboard: stap 6, afbeelding 2 van 2
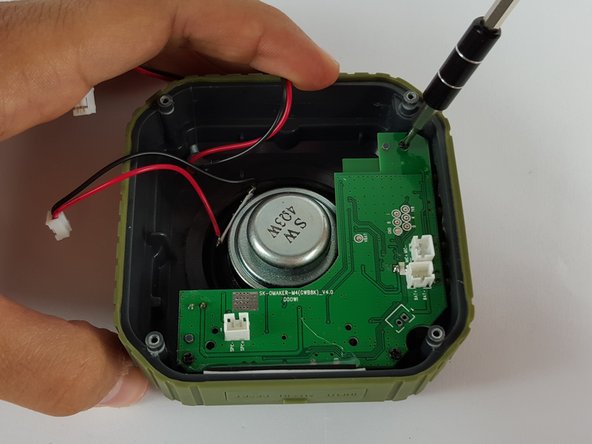
    • Remove the mic wire by carefully pulling the plug out of the socket.

  7. Omaker M4 Motherboard Replacement: stap 7, afbeelding 1 van 1
    • Remove the speaker wire by carefully pulling the plug out of the socket on the motherboard.

  8. Omaker M4 Motherboard Replacement: stap 8, afbeelding 1 van 2 Omaker M4 Motherboard Replacement: stap 8, afbeelding 2 van 2
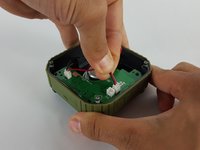
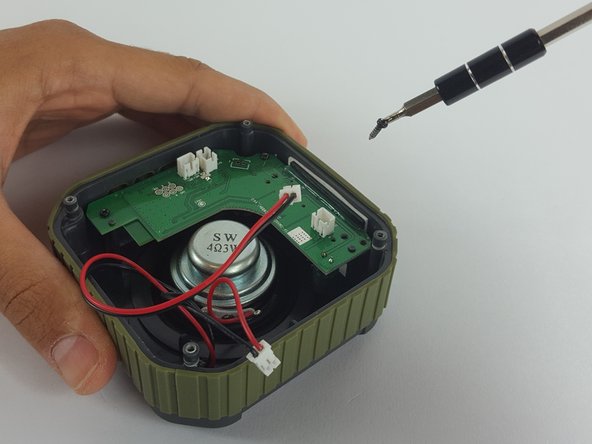
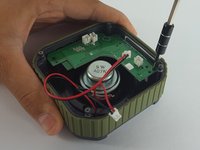
    • Use Phillips PH00 screwdriver to remove the three screws holding the motherboard in place.

  9. Omaker M4 Motherboard Replacement: stap 9, afbeelding 1 van 2 Omaker M4 Motherboard Replacement: stap 9, afbeelding 2 van 2
    • Remove the screws using the screwdriver.

    • Since the screws that hold the motherboard in place are smaller, the screwdriver is able to pick them up.

  10. Omaker M4 Motherboard Replacement: stap 10, afbeelding 1 van 2 Omaker M4 Motherboard Replacement: stap 10, afbeelding 2 van 2
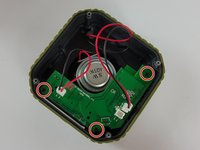
    • Carefully remove the motherboard with your hand by lifting it from the device.

Conclusie

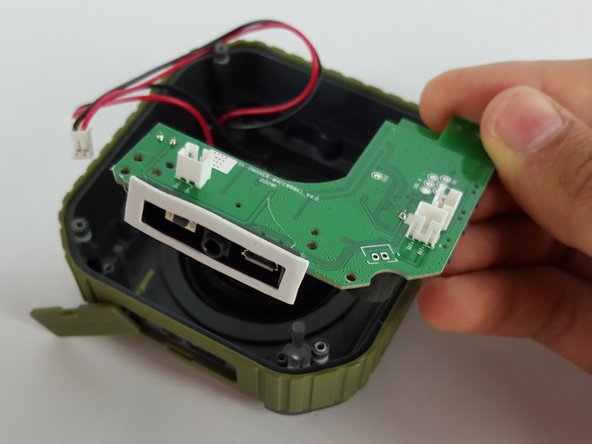
To reassemble your device, follow these instructions in reverse order.

2 andere personen hebben deze handleiding voltooid.

[deleted]

Lid sinds: 02/17/16

679 Reputatie

4 handleidingen geschreven

0 opmerkingen

Voeg opmerking toe

Weergavestatistieken:

Afgelopen 24 uren: 0

Afgelopen 7 dagen: 0

Afgelopen 30 dagen: 1

Altijd: 1,144