Inleiding
Is your camera still working but you can't see the pictures due to a broken screen? Follow this guide to replace the broken display on your Olympus Stylus 410. The Olympus Stylus 410 uses a 1.8-inch LCD panel, which was commonly found in cameras of this type from the early 2000s. Olympus cameras using the same 1.8-inch LCD display include the Olympus Stylus Epic and the Olympus Mju.
If the display on your camera is shattered or broken, follow the shattered glass displays guide to safely prepare the camera before repair, ensuring you avoid any risk of injury from broken glass.
Before you begin, remove the battery and SD (memory) card.
Wat je nodig hebt
-
-
-
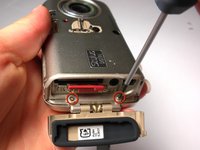
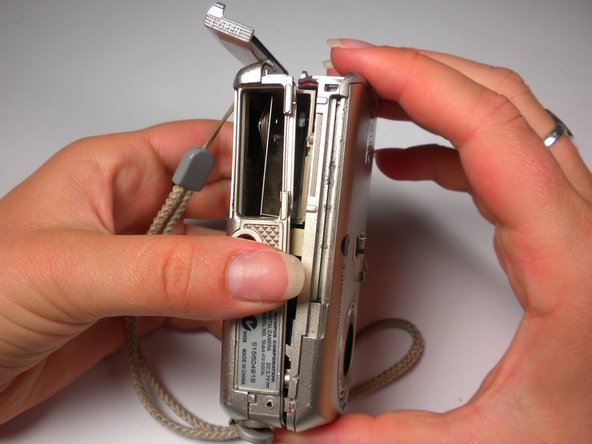
Locate the 2 screws on the bottom of the slider.
-
Remove both screws with a #00 Phillips screwdriver.
 Vraag FixBot
-
-
-
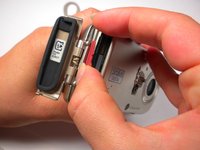
Gently pull on the bottom of the slider until it comes off the lower track.
-
There is a little piece that connects the slider to the track. Be sure not to lose this as it is needed to put the slider back on.
-
-
-
-
-
Locate the 3 screws on the outer metal band and remove them with a #00 Phillips screwdriver.
-
-
-
-
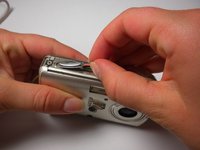
Use the spudger to peel off the outer metal band, starting from the bottom of the camera.
-
-
-
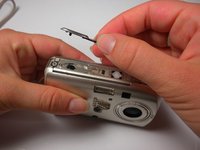
The shutter button can now be removed. It is not connected to the camera and can be lifted off.
-
-
-
Remove the memory card.
-
Locate and remove the 2 screws using a #00 Phillips screwdriver.
-
-
-
Use a spudger around the edge of the case to loosen it.
-
Carefully wiggle the back case off. This may require a fair amount of force.
-
-
-
Locate the 3 internal screws holding on the front of the case. Remove them with a #00 Phillips screwdriver.
-
-
-
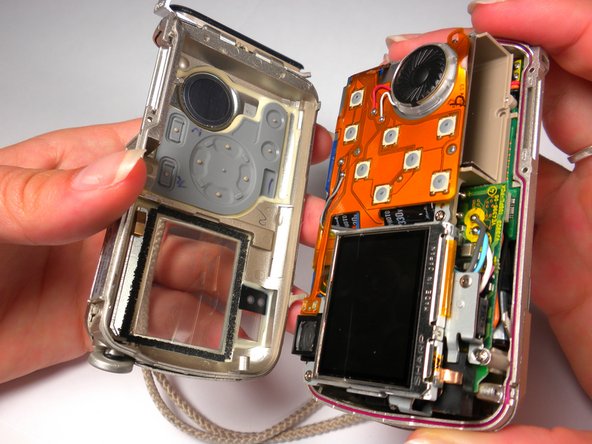
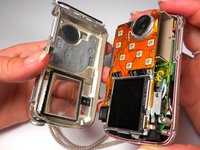
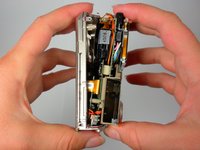
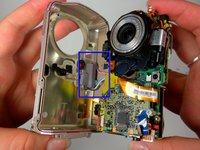
While grasping the interior and the front case, gently pull until they start to come apart. Some light wiggling may be required.
-
Be careful not to completely pull the front case off because it will still be connected with wires.
-
-
-
-
-
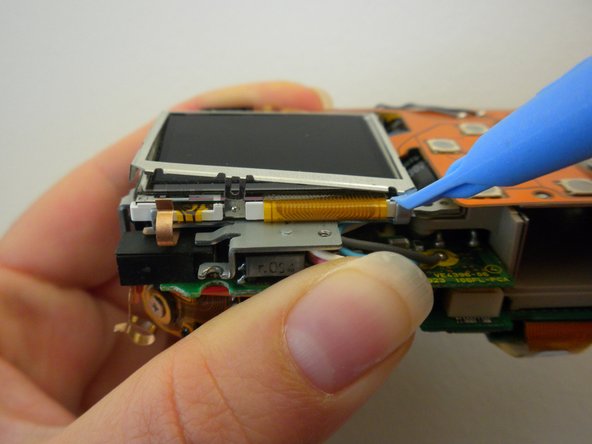
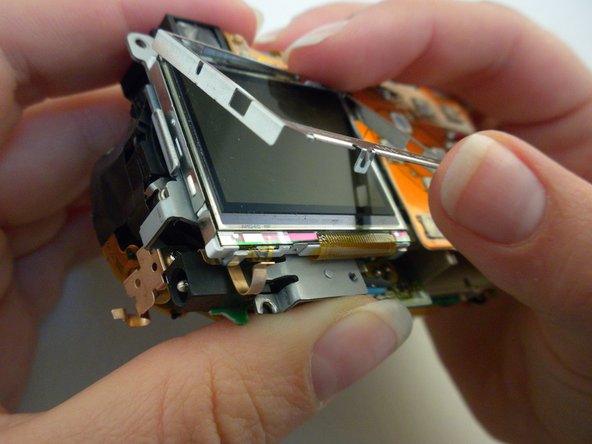
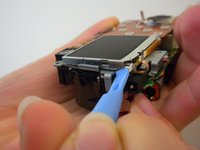
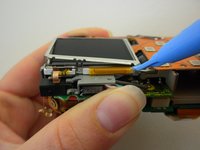
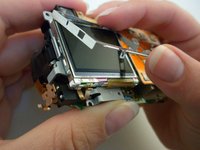
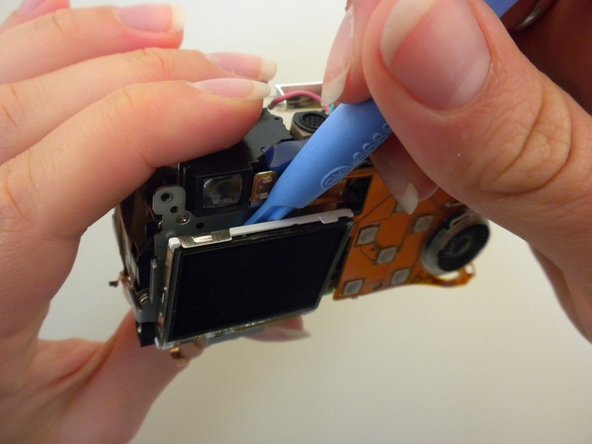
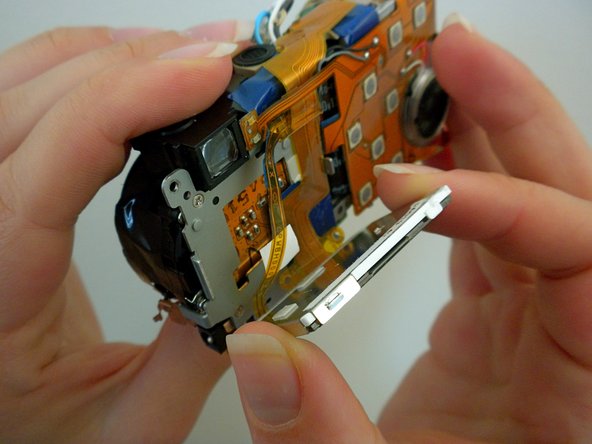
Remove the metal frame from the LCD screen using an opening tool.
-
-
-
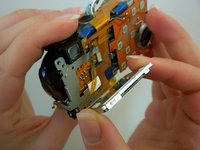
This is what the camera will look like now that the LCD screen is removed.
-
-










To reassemble your device, follow these instructions in reverse order.

Team

Cal Poly, Team 6-13, Maness Spring 2010 Lid van Cal Poly, Team 6-13, Maness Spring 2010
CPSU-MANESS-S10S6G13
5 Leden
27 handleidingen geschreven
