Ga door naar hoofdinhoud
Word lid van de reparatiegemeenschap - Account aanmaken

Nokia 2128i Logic Board Replacement

Wat je nodig hebt

    1. Nokia 2128i Logic Board Replacement, Battery: stap 1, afbeelding 1 van 3 Nokia 2128i Logic Board Replacement, Battery: stap 1, afbeelding 2 van 3 Nokia 2128i Logic Board Replacement, Battery: stap 1, afbeelding 3 van 3
      • Be sure cell phone is off before you begin to disassemble the phone.

      • Press the button on the bottom of the back of the cell phone.

      • Slide rear panel down and remove it.

      Vraag FixBot

      Voeg opmerking toe

    2. Nokia 2128i Logic Board Replacement: stap 2, afbeelding 1 van 3 Nokia 2128i Logic Board Replacement: stap 2, afbeelding 2 van 3 Nokia 2128i Logic Board Replacement: stap 2, afbeelding 3 van 3
      • Using your fingernail, pry the back of the battery upwards and pull out.

      Vraag FixBot

      Voeg opmerking toe

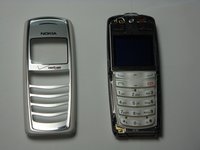
    1. Nokia 2128i Logic Board Replacement, Faceplate: stap 3, afbeelding 1 van 3 Nokia 2128i Logic Board Replacement, Faceplate: stap 3, afbeelding 2 van 3 Nokia 2128i Logic Board Replacement, Faceplate: stap 3, afbeelding 3 van 3
      • Insert the plastic opening tool under the faceplate.

      • Separate the faceplate from main body by twisting the prying tool with some force.

      • The faceplate is held by three plastic fasteners, so pry evenly on both sides of phone.

      Vraag FixBot

      Voeg opmerking toe

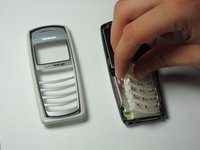
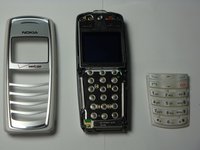
    1. Nokia 2128i Logic Board Replacement, Keypad: stap 4, afbeelding 1 van 3 Nokia 2128i Logic Board Replacement, Keypad: stap 4, afbeelding 2 van 3 Nokia 2128i Logic Board Replacement, Keypad: stap 4, afbeelding 3 van 3
      • With the faceplate removed, simply peel off rubber key pad and remove.

      Vraag FixBot

      Voeg opmerking toe

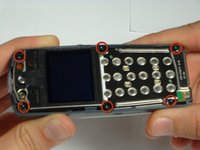
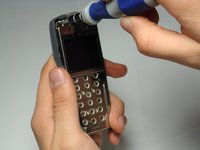
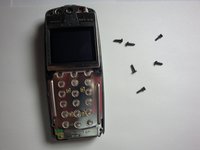
    1. Nokia 2128i Logic Board Replacement, Motherboard Assembly: stap 5, afbeelding 1 van 3 Nokia 2128i Logic Board Replacement, Motherboard Assembly: stap 5, afbeelding 2 van 3 Nokia 2128i Logic Board Replacement, Motherboard Assembly: stap 5, afbeelding 3 van 3
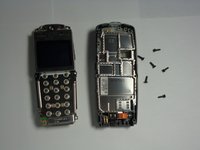
      • Locate and remove the six screws on the front of the phone using a T6 Torx.

      • All 6 screws are 6.9mm long.

      Vraag FixBot

      Voeg opmerking toe

    2. Nokia 2128i Logic Board Replacement: stap 6, afbeelding 1 van 3 Nokia 2128i Logic Board Replacement: stap 6, afbeelding 2 van 3 Nokia 2128i Logic Board Replacement: stap 6, afbeelding 3 van 3
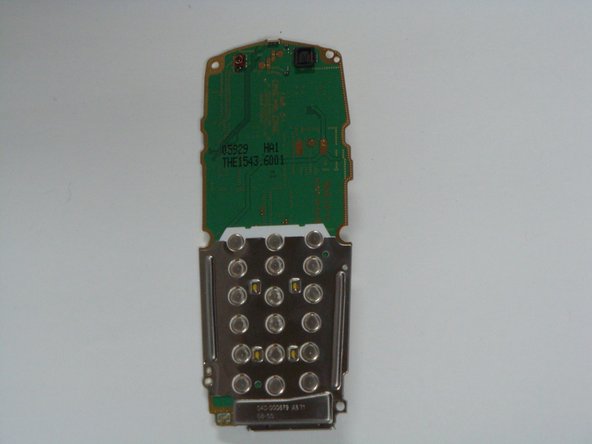
      • After removing screws, lift the motherboard assembly straight off the cell phone body.

      Vraag FixBot

      Voeg opmerking toe

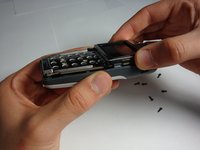
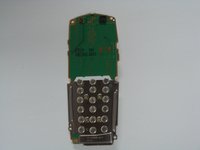
    1. Nokia 2128i Logic Board Replacement, Logic Board: stap 7, afbeelding 1 van 3 Nokia 2128i Logic Board Replacement, Logic Board: stap 7, afbeelding 2 van 3 Nokia 2128i Logic Board Replacement, Logic Board: stap 7, afbeelding 3 van 3
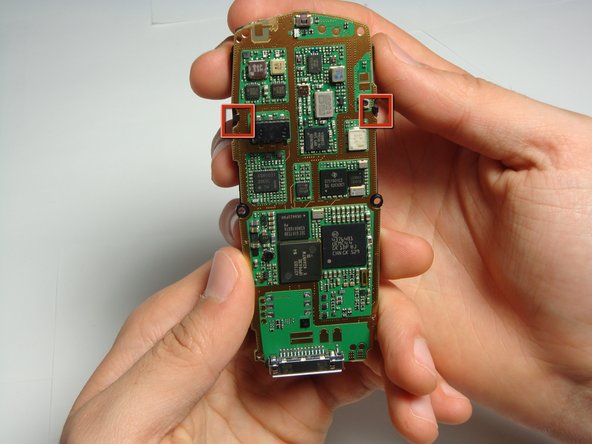
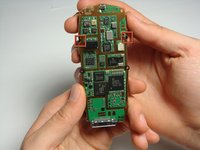
      • Locate the two plastic LCD unit hooks.

      • Pry hooks outward.

      Vraag FixBot

      Voeg opmerking toe

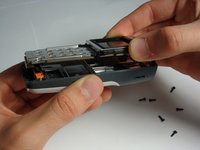
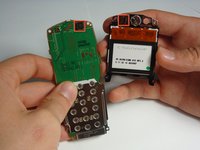
    2. Nokia 2128i Logic Board Replacement: stap 8, afbeelding 1 van 3 Nokia 2128i Logic Board Replacement: stap 8, afbeelding 2 van 3 Nokia 2128i Logic Board Replacement: stap 8, afbeelding 3 van 3
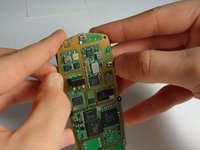
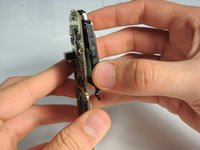
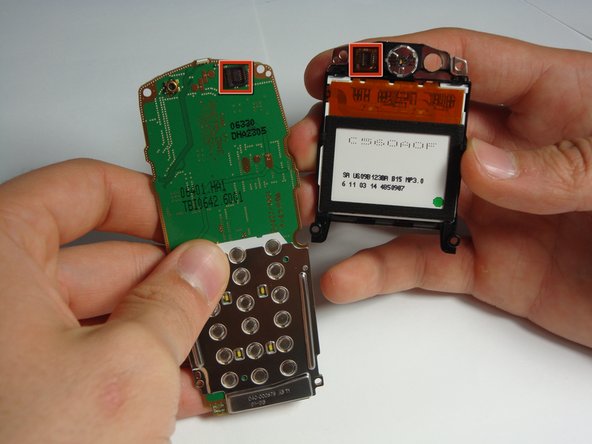
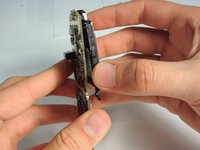
      • Gently pull LCD unit away from the logic board.

      • Be careful not to damage the connection on the top, right hand side of the logic board.

      Vraag FixBot

      Voeg opmerking toe

Conclusie

To reassemble your device, follow these instructions in reverse order.

Annuleren: ik heb deze handleiding niet afgemaakt.

Chad

Lid sinds: 10/29/10

28 Reputatie

5 handleidingen geschreven

Team

Cal Poly, Team 20-8, Maness Fall 2010 Lid van Cal Poly, Team 20-8, Maness Fall 2010

CPSU-MANESS-F10S20G8

4 Leden

96 handleidingen geschreven

0Gids Commentaar

Voeg opmerking toe

Weergavestatistieken:

Afgelopen 24 uren: 1

Afgelopen 7 dagen: 6

Afgelopen 30 dagen: 36

Altijd: 1,670