Ga door naar hoofdinhoud
Word lid van de reparatiegemeenschap - Account aanmaken

Nokia 1100b RH-36 Screen Replacement

Wat je nodig hebt

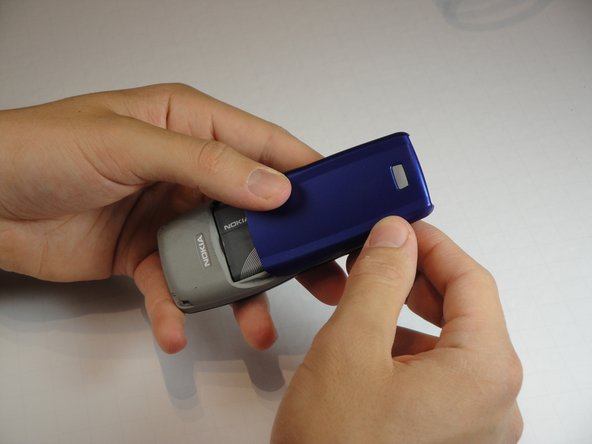
    1. Nokia 1100b RH-36 Screen Replacement, Battery Cover: stap 1, afbeelding 1 van 2 Nokia 1100b RH-36 Screen Replacement, Battery Cover: stap 1, afbeelding 2 van 2
      • Flip the phone over so that the screen faces down.

      • Press the gray button on the battery cover and slide it down off the back of the phone.

      Vraag FixBot

      Voeg opmerking toe

    2. Nokia 1100b RH-36 Screen Replacement, Battery: stap 2, afbeelding 1 van 1
      • Wedge the flat end of the spudger into the small indent next to the Nokia logo on the battery.

      • Gently pry the battery out of the phone.

      Vraag FixBot

      Voeg opmerking toe

    1. Nokia 1100b RH-36 Screen Replacement, Front Cover: stap 3, afbeelding 1 van 2 Nokia 1100b RH-36 Screen Replacement, Front Cover: stap 3, afbeelding 2 van 2
      • Firmly grip the back of the casing.

      • Separate the front and back casings either by pulling them apart from the middle or gently prying the front off with your fingers from the bottom.

      • Be sure not to bend the casing too much when prying from the bottom. Failure to do so may cause it to crack.

      Vraag FixBot

      Voeg opmerking toe

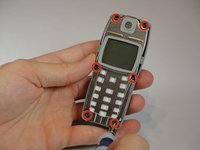
    1. Nokia 1100b RH-36 Screen Replacement, Inner Casing: stap 4, afbeelding 1 van 2 Nokia 1100b RH-36 Screen Replacement, Inner Casing: stap 4, afbeelding 2 van 2
      • Remove the six 6mm T6 Torx screws around the edge of the front of the phone.

      • Remove the metal frame holding the screen and speaker.

      Vraag FixBot

      Voeg opmerking toe

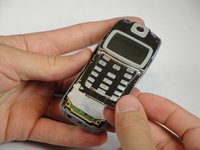
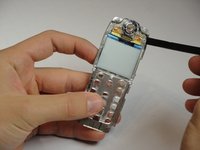
    1. Nokia 1100b RH-36 Screen Replacement, Screen: stap 5, afbeelding 1 van 2 Nokia 1100b RH-36 Screen Replacement, Screen: stap 5, afbeelding 2 van 2
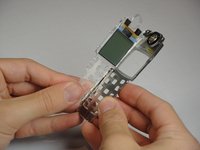
      • Flip over the metal frame you just removed.

      • Using the flat end of the spudger, pry apart the inner clear plastic frame with screen attached from the metal frame.

      • Remove the screen bearing plastic frame.

      Vraag FixBot

      Voeg opmerking toe

Conclusie

To reassemble your device, follow these instructions in reverse order.

Annuleren: ik heb deze handleiding niet afgemaakt.

2 andere personen hebben deze handleiding voltooid.

JSwan

Lid sinds: 04/12/13

811 Reputatie

6 handleidingen geschreven

Team

Cal Poly, Team 10-43, Amido Spring 2013 Lid van Cal Poly, Team 10-43, Amido Spring 2013

CPSU-AMIDO-S13S10G43

4 Leden

49 handleidingen geschreven

0Gids Commentaar

Voeg opmerking toe

Weergavestatistieken:

Afgelopen 24 uren: 0

Afgelopen 7 dagen: 6

Afgelopen 30 dagen: 30

Altijd: 2,464