Deze vertaling is door een computer gegenereerd en is nog niet door iemand nagekeken. Spreek je deze taal? Bekijk het hier.
Inleiding
Deze handleiding beschrijft de vervanging van het moederbord van een Nintendo Wii mini. De stappen die in de afbeeldingen worden getoond, betreffen het demontageproces; de vervanging en hermontage zijn net zo eenvoudig als het uitvoeren van de stappen in omgekeerde volgorde.
Een antistatische polsband wordt aanbevolen bij het hanteren van gevoelige elektronica.
Het vervangen van een moederbord kan nodig zijn bij de volgende symptomen van uw Wii mini: de Wii schakelt niet in of start niet op nadat is vastgesteld dat de voeding naar behoren werkt.
Wat je nodig hebt
-
-
-
Verwijder de twee rubberen voetjes aan de achterkant van de console om de verborgen schroeven bloot te leggen.
-
Verwijder de vier 6 mm kruiskopschroeven.
 Vraag FixBot
-
-
-
Zet de Wii mini rechtop. Haal vervolgens een plastic Openingsgereedschap langs de middelste rand van de console om het bovenste deel los te maken.
-
Til voorzichtig de bovenste bedekking van de console op en leg deze opzij.
-
-
-
-
Gereedschap gebruikt in deze stap:Tweezers$4.99
-
Draai de Wii mini om zodat de achterkant van het apparaat naar je toe wijst.
-
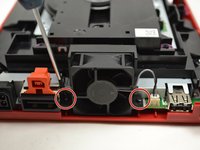
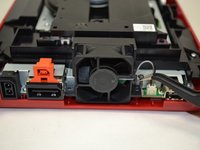
Gebruik een Phillips #0-kruiskopschroevendraaier om de twee schroeven van 6 mm aan weerszijden van het ventilatordeel los te schroeven.
-
-
-
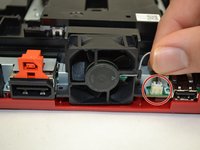
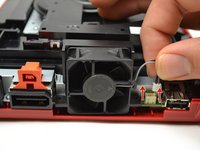
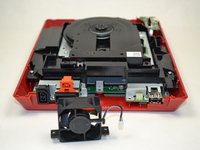
Gebruik je vingers om de bovenkant van de (kabel)aansluiting voorzichtig recht omhoog te trekken om de ventilator los te maken van de console.
-
Verwijder de ventilator en leg deze opzij.
-
-
-
-
-
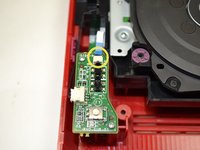
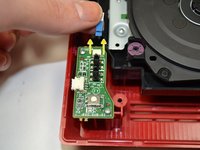
Schuif met je vingers de blauwe lintkabel uit de bovenkant van het voedingsbord.
-
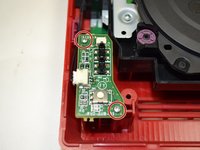
Gebruik een Phillips #0-kruiskopschroevendraaier om de twee schroeven van 4 mm aan de boven- en onderkant van het voedingsbord los te draaien.
-
-
-
-
Trek voorzichtig met uw vingers aan de kabelaansluiting om de stroomplaat los te koppelen van de discdrive.
-
-
-
-
-
Draai de vier 6 mm kruiskopschroeven los met een kruiskopschroevendraaier (maat Phillips #0).
-
-
-
-
-
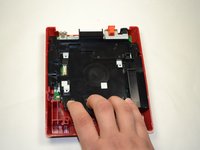
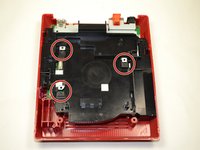
Gebruik een kruiskopschroevendraaier #0 om de 6 mm schroef aan de bovenkant van de zwarte lade los te schroeven.
-
-
-
Trek de zwarte kunststof lade met uw vingers naar u toe om deze los te maken van de console.
-
Zorg ervoor dat de zwarte vierkante onderdelen los zijn van de metalen vierkante onderdelen voordat u probeert de lade eruit te tillen.
-
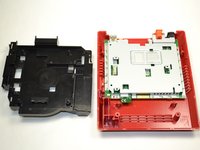
Zodra deze los zijn, tilt u de kunststof lade uit de console en legt u deze opzij.
-
-
-
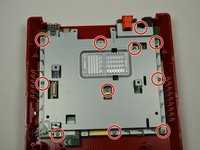
Gebruik een Phillips-kruiskopschroevendraaier #0 om de elf 5 mm schroeven te verwijderen die de zilveren metalen plaat aan de console bevestigen.
-
-
-
Til de metalen plaat eruit en leg deze opzij.
-
-
-
Til het moederbord uit het apparaat en leg het opzij.
-
-








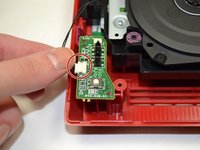
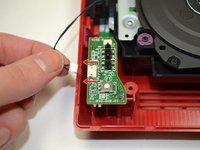


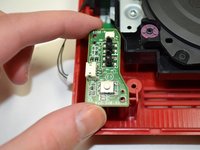
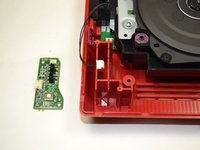


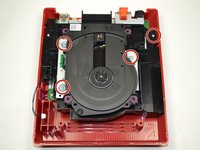
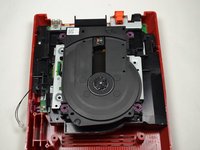


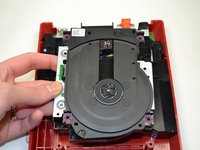
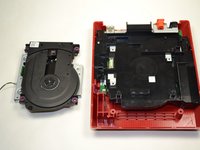




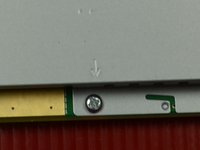


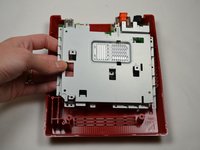
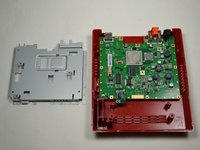

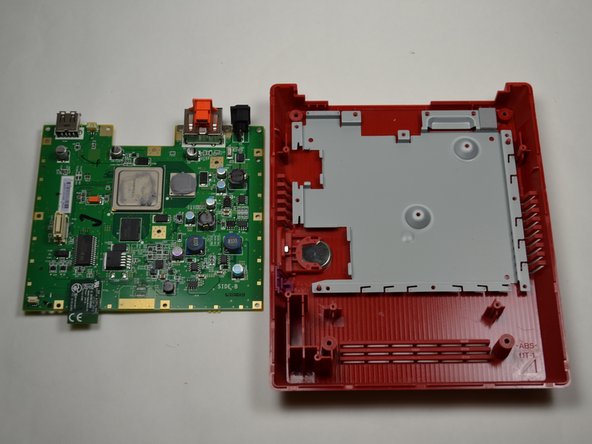
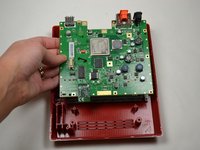
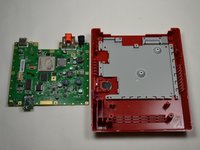
Volg deze instructies in omgekeerde volgorde om uw apparaat weer in elkaar te zetten.
Annuleren: ik heb deze handleiding niet afgemaakt.
11 andere personen hebben deze handleiding voltooid.

Team

1Gids Commentaar
Can you fit a Wii Motherboard inside this casing, and use the dvd drive, if so I have a few wiis with broken DVD drives I would like to repair and this would be a cheap solution.
