Deze vertaling is door een computer gegenereerd en is nog niet door iemand nagekeken. Spreek je deze taal? Bekijk het hier.
Inleiding
Gebruik deze handleiding om een nieuw dvd-station in een Nintendo Wii U te plaatsen.
Wat je nodig hebt
-
-
-
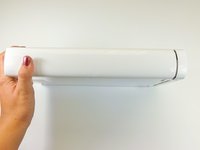
Met de onderkant van de console naar boven gericht, verwijder je de volgende 6 schroeven die verborgen zitten onder de witte vierkante stickers:
-
Drie 5,1 mm Phillips-kruiskopschroeven #000
-
Twee 6,1 mm Tri-wing Y0-schroeven
-
Eén 13,2 mm Tri-wing Y1-schroef
 Vraag FixBot
-
-
-
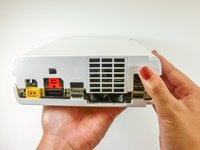
Draai de console 180 graden zodat de ventilatieroosters naar je toe wijzen.
-
Verwijder de twee 7,1 mm Phillips-kruiskopschroeven.
-
-
-
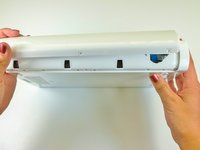
Schuif de achterbehuizing aan de kant tegenover de ventilatieopeningen naar de achterkant van de console en trek deze omhoog om hem los te maken.
-
-
-
Verwijder de drie 13,2 mm Tri-wing Y1-schroeven aan de onderkant van de console onder de eerder verwijderde behuizing.
-
-
-
-
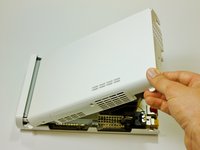
Til aan de achterkant van de console de bovenste bedekking op en maak deze los.
-
-
-
-
-
Draai het apparaat zo dat de frontplaat naar je toe gericht is.
-
Verwijder aan weerszijden van de console de 3,5 mm kruiskopschroef (#0) die het dvd-station met de frontplaat verbindt.
-
-
-
Draai het apparaat zo dat de voorplaat aan de rechterkant zit en de lintkabel zichtbaar is.
-
De lintkabel is met het systeem verbonden door een vergrendeling die het blauwe lipje vasthoudt. Klap deze vergrendeling omhoog om hem te ontgrendelen.
-
Til het blauwe lipje op om de lintkabel los te maken.
-
-
-
-
-
Verwijder aan weerszijden van de dvd-speler de twee 4,6 mm Phillips-kruiskopschroeven.
-
-
-
Draai het apparaat zodat de schijfstationsleuf zichtbaar is.
-
Til het schijfstation uit de houder en draai het naar rechts om zodat het als een boek openligt.
-
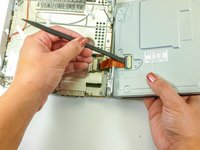
Gebruik een spudger om de lintkabel los te maken.
-
-




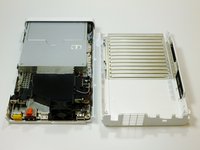


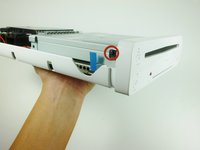
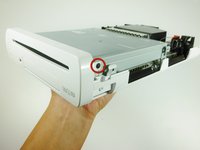


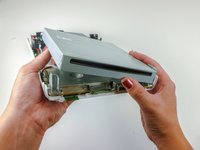

Volg deze instructies in omgekeerde volgorde om je apparaat weer in elkaar te zetten.
Annuleren: ik heb deze handleiding niet afgemaakt.
61 andere personen hebben deze handleiding voltooid.

Team

Cal Poly, Team 17-20, Forte Winter 2013 Lid van Cal Poly, Team 17-20, Forte Winter 2013
CPSU-FORTE-W13S17G20
5 Leden
96 handleidingen geschreven
49Gids Commentaar
I've done with twice with two different drives ordered on Ebay, and keep getting the same error code (160-1402). Is the place I'm buying from selling bad drives, or is there something else that needs to be done after? It goes back to working when I put my old one back in, so I know I'm physically doing it correctly.
Update : For anybody else having this problem, you have to change out the logic board from your old drive to the new one. Pain in the neck, but works!
the logic board is inside the disk drive. Remove it and replace it into the new disk drive. This is the same on the Xbox and Playstation
