Inleiding
So, you bought a cool japanese import game for the GameCube, but your US formatted console won't play it. You're in luck! There's a simple mod you can do to switch back and forth between NTSC-U and NTSC-J.
Wat je nodig hebt
Video overzicht
-
-
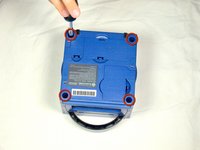
Turn over the Gamecube so that the bottom side is facing up.
-
Use the 4.5 mm Gamebit screwdriver to remove all four screws.
-
-
-
With the bottom side of the GameCube facing upward and the screws removed, carefully pull the outer shell of the unit away from the top half.
-
Move the GameCube so that the inside is facing upwards.
This can also be done whilst being in the normal upright position after all 4 of the 4.5mm Gamebit screws have been removed. Pull the top of the shell directly upwards and it should slide off easily.
Less chance of snagging any wires or parts.
-
-
-
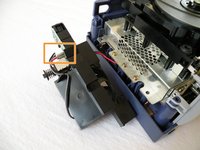
Gently press down on the clips located on either side of the back panel.
-
Carefully remove the back panel from the GameCube.
A second picture clearly showing which direction to pull the back panel away from the unit would be nice.
-
-
-
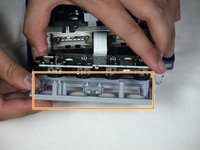
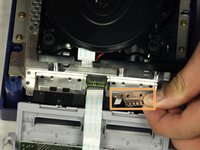
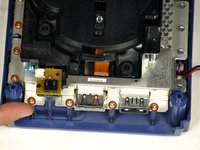
Unclip the controller ports at the front of the unit.
well... what happens if accidentally i disconnected it?
presumably nothing major. The CMOS battery is attached to the controller ports, so the most i'd expect is that the gamecube loses it's date/time setting. As long as you reset that before jumping into animal crossing or something, you should be fine. I'm currently doing a teardown of my gamecube, and if something does prove to have gone wrong, i'll report back.
sigoshi -
okay, i finished putting it back together. gamecube works fine and surprisingly still remembers what year it is. boots into smash bros and shows memory card contents fine.
sigoshi -
-
-
-
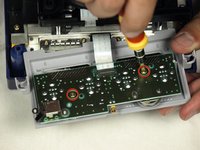
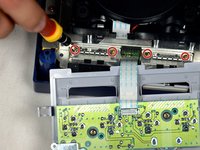
Use a Phillips #2 screwdriver to remove the two screws on the back of the control port.
-
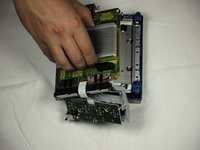
Carefully separate the gray outer casing of the control port and the circuit board.
must do this?
That step is not needed for the laser replacement.
Love ur labeling and legends. Good on ya
Not a necessary step
-
-
-
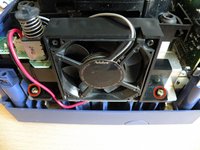
The left side of the unit contains the cooling fan and its housing.
-
Carefully remove the two screws attaching the cooling fan housing to the unit.
Why can't the fan wire be detached?
It can, but you might not want to
-
-
-
-
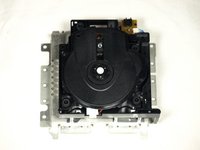
The optical drive is secured to a metal plate.
-
Using a Phillips #2 screwdriver, unscrew the twelve screws that are around the outer edge of the optical drive.
Are these 12 screws the exact same kind like the 2 that were on the fan?
Yes! As far as I can tell anyway. Makes sense, too since opposite the fan you have five of the same holes as well.
-
-
-
Carefully separate the optical drive assembly from the rest of the GameCube unit.
-
The optical drive assembly is secured to the motherboard underneath by a slot; some force may be required to carefully free the assembly.
-
The metal plate and the actual optical drive will remain attached.
-
-
-
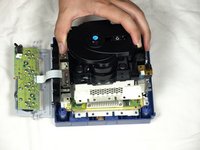
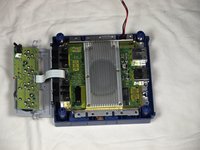
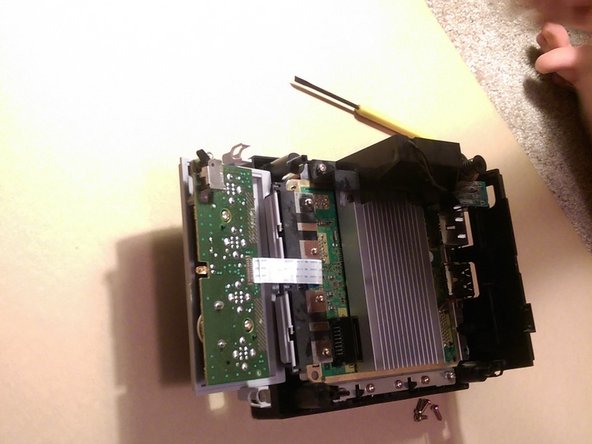
With the Optical Drive Assembly removed, your GameCube should now look like this.
-
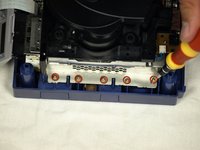
Remove the 6 screws (circled in orange) on the heat sink using a #1 Phillips screwdriver.
-
-
-
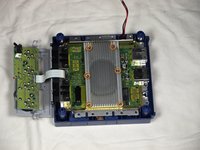
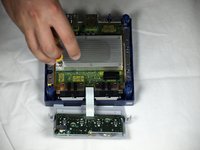
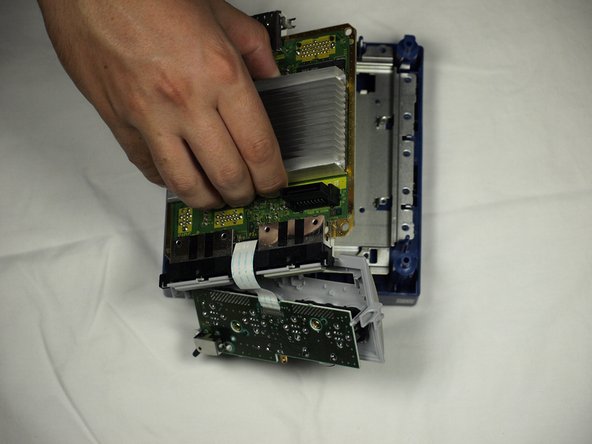
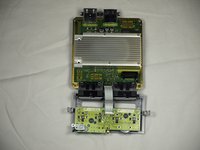
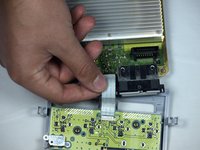
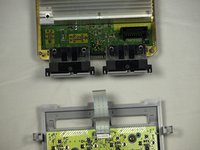
Carefully disconnect the ribbon cable connecting the motherboard with the front panel.
-
-
-
Locate the R5 and R6 pads.
-
They are situated to the right of where the heat sink's back middle screw was. If you are working with an American system (like me), the R5 pads will be empty. On a Japanese console, R6 will be empty.
-
-
-
Solder the wires to either side of the empty pad (R5 for American consoles, R6 for Japanese).
-
-
This step is extremely hard. Take your time, and get a super thin tip soldering iron. Do this slow, or you might ruin something.
-
-
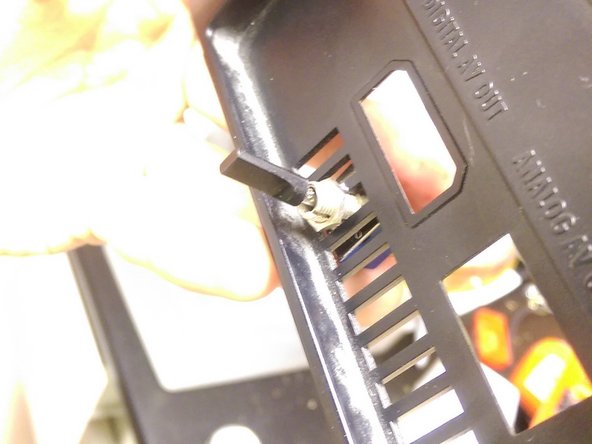
Insert the switch. In this example, a slot was removed from the vent to allow a larger switch. Make sure your switch is firmly attached and that its position will allow it to fit into the system.
-
-
-
Solder the two sides from the R pads to your switch. Attach one to either middle terminal and attach the other wire to the terminal above or below the other.
-
-
-
Reassemble. Route the new wires so that they won't be pinched during reassembly and be sure they can't get pulled.
-
To reassemble your device, follow these instructions in reverse order.
To reassemble your device, follow these instructions in reverse order.
Annuleren: ik heb deze handleiding niet afgemaakt.
8 andere personen hebben deze handleiding voltooid.
12 opmerkingen
great instructions, it really works but now how do i translate the japanese game (Muscle Champion KINNIKUZIMA NO Kessen
There is no way to translate the game itself unless there’s an English option in the game somewhere.
Hello, is there any way to switch my gamecube's region from Japan to US without Soldering? I want to keep my Gamecube in US mode and have no intention of switching between the two.
Without soldering? Not really, but you don’t need to install a switch to make a permanent jump to NTSC-U (US mode). See the red text note on step 15 about how to avoid making a permanent connection. Hope this helps!
On further inspection it looks to be some sort of thick thermal adhesive, very thick. The gap between the cpu and the heatsink is quite substantial, and cant be made smaller cause of how tall the screw wells are. Replacing with thermal paste seems risky, I don't know how youd get enough without it seeping out over time.
Unless this is actually a thermal pad? Is it possible to re-use?
gatchi -
Would 22 gauge wire and a single pole throw switch work as well?
I used a slider switch for this mod that fits perfectly through the back and vent holes without any modification to the shell. I just glued it in and it works like a charm. Easily accessible and discrete. Here's a link to the specific switch I used. https://www.amazon.com/dp/B07PDHSCDN
ich muss von Europa zur USA wechseln wie geht das??
hi my name is spacer sub to me on youtube at spacer :)
Is there a way to convert to Europe meanign PAL format ? pls help


