Deze vertaling is door een computer gegenereerd en is nog niet door iemand nagekeken. Spreek je deze taal? Bekijk het hier.
Inleiding
Is je DSi XL in het zwembad gevallen? Gebruik deze reparatiehandleiding om je moederbord te repareren of te vervangen.
Wat je nodig hebt
-
-
-
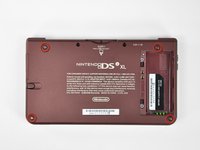
Verwijder de twee kruiskopschroeven die de accuklep aan de achterkant van de handheldconsole bevestigen.
-
Til de accuklep van de achterkant van de DSi XL.
 Vraag FixBot
-
-
-
-
-
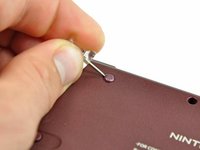
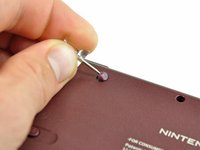
Verwijder de vier rubberen schroefafdekkingen op de behuizing door ze met een punaise omhoog te wippen.
-
-
-
Verwijder de volgende zeven kruiskopschroeven die de onderkant van de DSi XL op zijn plaats houden:
-
Vier zilveren kruiskopschroeven van 5,3 mm
-
Twee zwarte kruiskopschroeven van 5,3 mm
-
Eén zwarte kruiskopschroef van 2,5 mm
-
-
-
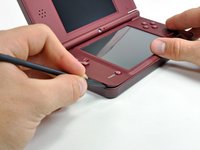
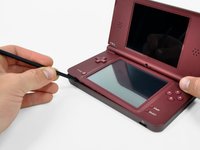
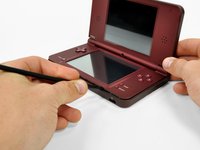
Steek een spudger tussen de bovenste en onderste behuizing bij de linkerbenedenhoek van de DSi.
-
Schuif de spudger langs de onderkant van de bovenste behuizing om de vergrendelingen los te maken die de bovenste behuizing aan de onderste behuizing bevestigen.
-
-
-
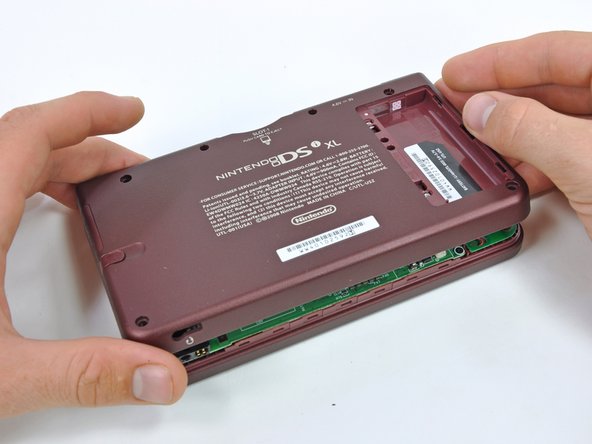
Til de onderbehuizing op vanaf de voorkant.
-
Draai de onderbehuizing weg van de DSi.
-
-
-
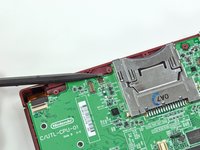
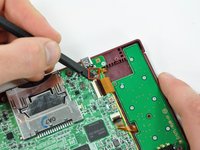
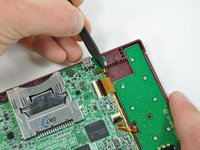
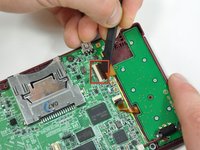
Wrik met een spudger de (kabel)aansluiting van de SD-kaart/rechterschouderknop uit het stopcontact.
-
Wrik met een spudger de (kabel)aansluiting van de volumeknop/linkerschouderknop uit het stopcontact op het moederbord.
-
-
-
-
-
-
Gebruik een spudger om de Wi-Fi-kabel uit het stopcontact aan de onderzijde van het Wi-Fi-bord te wrikken.
-
-
-
-
Gebruik een spudger om de microfoonkabel van het moederbord los te wippen.
-
-
-
Gebruik de platte kant van een spudger om de vasthoudflap op de ZIF-aansluiting van de camerakabel omhoog te wippen.
-
Gebruik de puntige kant van een spudger om de camerakabel uit de ZIF-aansluiting te trekken.
-
-
-
Gebruik de platte kant van een spudger om de vasthoudflap op de ZIF-aansluiting van de touchscreenkabel omhoog te klappen.
-
Gebruik de puntige kant van de spudger om de touchscreenkabel uit de (kabel)aansluiting op het moederbord te trekken.
-
-
-
Gebruik de platte kant van een spudger om de vasthoudflap van de ZIF-aansluiting van de kabel van de achtergrondverlichting omhoog te klappen.
-
Gebruik de puntige kant van de spudger om de kabel van de achtergrondverlichting uit de aansluiting op het moederbord te trekken.
-
-
-
Gebruik de platte kant van een spudger om de vasthoudflap van de ZIF-aansluiting van de onderste schermdatakabel omhoog te wippen.
-
Trek met de puntige kant van de spudger de onderste schermdatakabel uit de (kabel)aansluiting op het moederbord.
-
-
-
Gebruik de platte kant van de spudger om de vasthoudflap op de ZIF-aansluiting voor de D-pad-/aan-/uitknopkabel omhoog te wippen.
-
Gebruik de puntige kant van de spudger om de D-pad-/aan-/uitknopkabel uit de (kabel)aansluiting op het moederbord te trekken.
-
-
-
Wrik met het platte uiteinde van de spudger de accukabel uit het stopcontact op het moederbord.
-
-
-
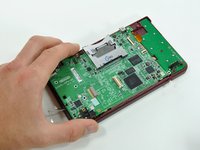
Verwijder de schroeven waarmee het moederbord aan de behuizing is bevestigd:
-
Eén zilverkleurige 2,5 mm kruiskopschroef
-
Vier zwarte 3,7 mm kruiskopschroeven
-
-
-
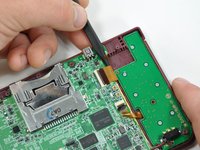
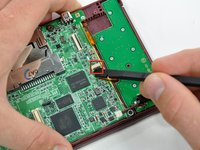
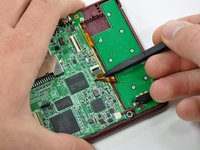
Gebruik de platte kant van een spudger om de vasthoudflap op de ZIF-aansluiting van de bovenste schermkabel omhoog te klappen.
-
Trek met de puntige kant van de spudger de bovenste schermkabel uit de (kabel)aansluiting aan de onderkant van het moederbord.
-
-





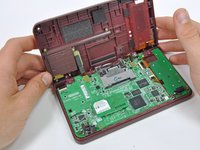


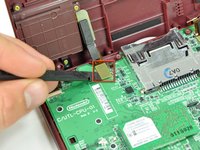
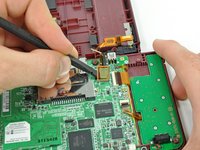


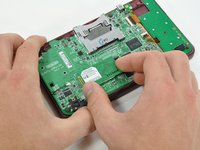
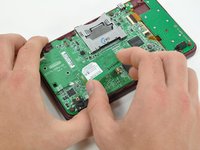


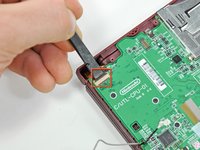
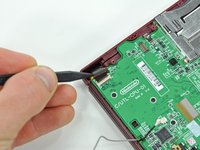


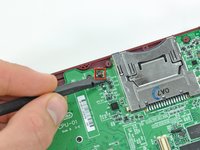








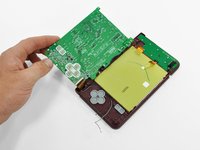


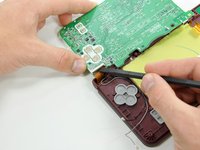
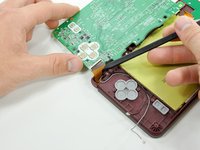
Volg deze instructies in omgekeerde volgorde om je apparaat weer in elkaar te zetten.
Annuleren: ik heb deze handleiding niet afgemaakt.
22 andere personen hebben deze handleiding voltooid.


