Ga door naar hoofdinhoud
Word lid van de reparatiegemeenschap - Account aanmaken

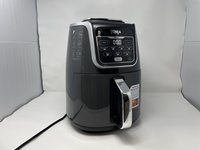
Ninja AF161 Max XL Fan Replacement

Wat je nodig hebt

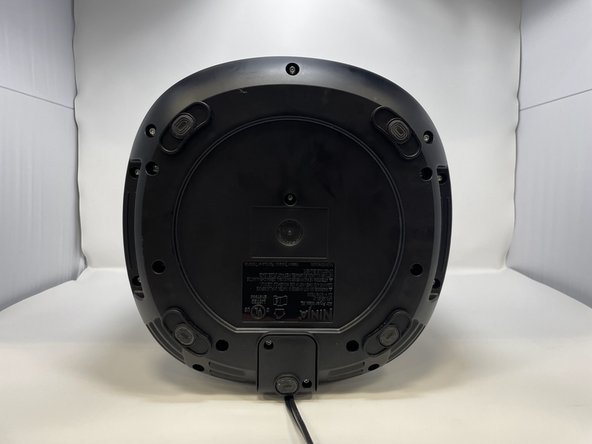
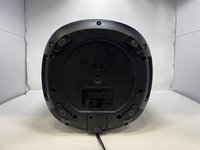
  1. Ninja AF161 Max XL Fan Replacement, Back Vent Cover: stap 1, afbeelding 1 van 1
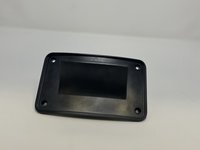
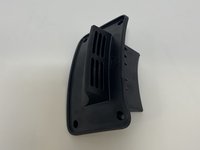
    • The back vent cover is directly above where the power cord protrudes.

    Vraag FixBot
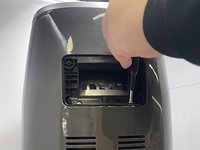
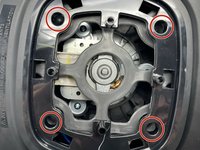
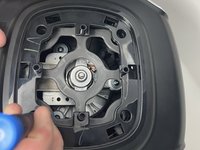
  2. Ninja AF161 Max XL Fan Replacement: stap 2, afbeelding 1 van 2 Ninja AF161 Max XL Fan Replacement: stap 2, afbeelding 2 van 2
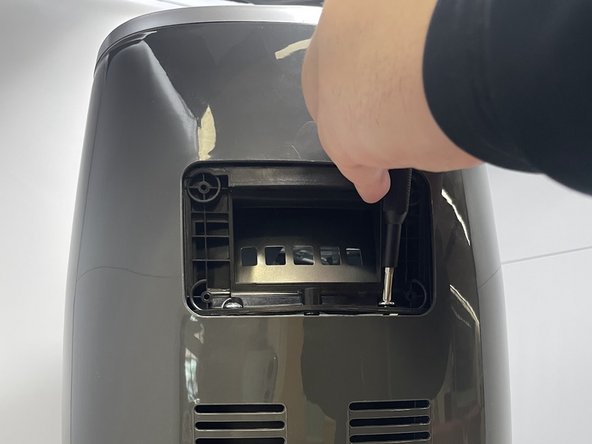
    • Use a Phillips #2 screwdriver to unscrew and remove four 1 cm screws from the panel.

    Vraag FixBot
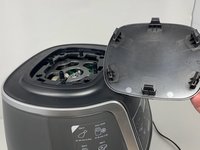
  3. Ninja AF161 Max XL Fan Replacement: stap 3, afbeelding 1 van 2 Ninja AF161 Max XL Fan Replacement: stap 3, afbeelding 2 van 2
    • Once unscrewed, remove all four screws in order to remove the back vent cover.

    Vraag FixBot
  4. Ninja AF161 Max XL Fan Replacement, Gray Frame: stap 4, afbeelding 1 van 2 Ninja AF161 Max XL Fan Replacement, Gray Frame: stap 4, afbeelding 2 van 2
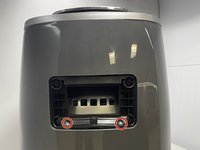
    • After you have the vent removed, you will see two 2.2 cm screws holding the casing in. Use a Phillips #1 screwdriver to remove the two screws.

    • Be wary that the two screws are quite tight and will require a bit of torsion to get out.

    Vraag FixBot
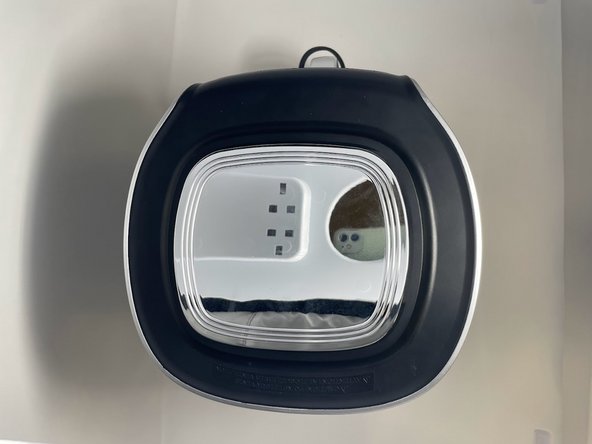
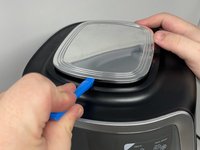
  5. Ninja AF161 Max XL Fan Replacement: stap 5, afbeelding 1 van 3 Ninja AF161 Max XL Fan Replacement: stap 5, afbeelding 2 van 3 Ninja AF161 Max XL Fan Replacement: stap 5, afbeelding 3 van 3
    • Use the a plastic opening tool or a similar object to wedge between the silver top and black rim.

    • Pry all four sides towards the middle with a plastic opening tool to release the tabs.

    • The tabs on the top will make sounds while being detached from the device.

    Vraag FixBot
  6. Ninja AF161 Max XL Fan Replacement: stap 6, afbeelding 1 van 2 Ninja AF161 Max XL Fan Replacement: stap 6, afbeelding 2 van 2
    • Unscrew the four 2.2 cm screws with a Phillips #1 screwdriver.

    Vraag FixBot
  7. Ninja AF161 Max XL Fan Replacement: stap 7, afbeelding 1 van 2 Ninja AF161 Max XL Fan Replacement: stap 7, afbeelding 2 van 2
    • Lay the air fryer on its side.

    Vraag FixBot
  8. Ninja AF161 Max XL Fan Replacement: stap 8, afbeelding 1 van 2 Ninja AF161 Max XL Fan Replacement: stap 8, afbeelding 2 van 2
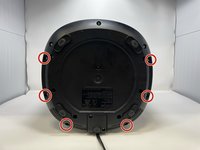
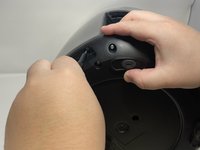
    • Remove six 1.4 cm screws with the TR15 Torx Security Screwdriver.

    Vraag FixBot
  9. Ninja AF161 Max XL Fan Replacement: stap 9, afbeelding 1 van 1
    • Keep the device on its side, and unscrew and remove two 1.4 cm screws with a Phillips #1 screwdriver.

    Vraag FixBot
  10. Ninja AF161 Max XL Fan Replacement: stap 10, afbeelding 1 van 1
    • The lid can now be lifted off. Remove by prying the bottom apart and lifting.

    • After lifting the lid, you will see the white and yellow wire heads that connect the air fryer display screen to the motherboard.

    Vraag FixBot
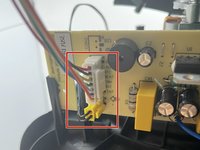
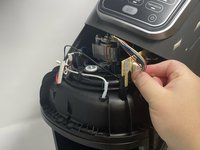
  11. Ninja AF161 Max XL Fan Replacement: stap 11, afbeelding 1 van 3 Ninja AF161 Max XL Fan Replacement: stap 11, afbeelding 2 van 3 Ninja AF161 Max XL Fan Replacement: stap 11, afbeelding 3 van 3
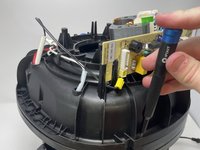
    • Pinch the white tab and wire head together and pull to release the connector.

    • Take care to not bend the circuit board while attempting removal of this connector. This will damage the circuit board.

    Vraag FixBot
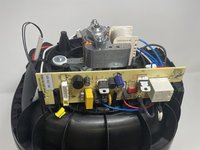
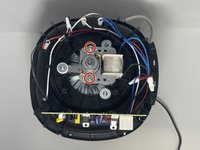
  12. Ninja AF161 Max XL Fan Replacement, Fan Motor Assembly Bracket: stap 12, afbeelding 1 van 2 Ninja AF161 Max XL Fan Replacement, Fan Motor Assembly Bracket: stap 12, afbeelding 2 van 2
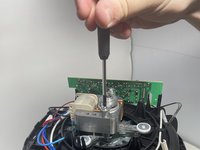
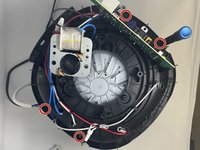
    • Remove the two 4.7 cm screws and washers using a Phillips #1 screwdriver, and then remove the silver piece on top of the motor.

    • Simply lift the motor up and gently place it to the side.

    Vraag FixBot
  13. Ninja AF161 Max XL Fan Replacement, Fan: stap 13, afbeelding 1 van 3 Ninja AF161 Max XL Fan Replacement, Fan: stap 13, afbeelding 2 van 3 Ninja AF161 Max XL Fan Replacement, Fan: stap 13, afbeelding 3 van 3
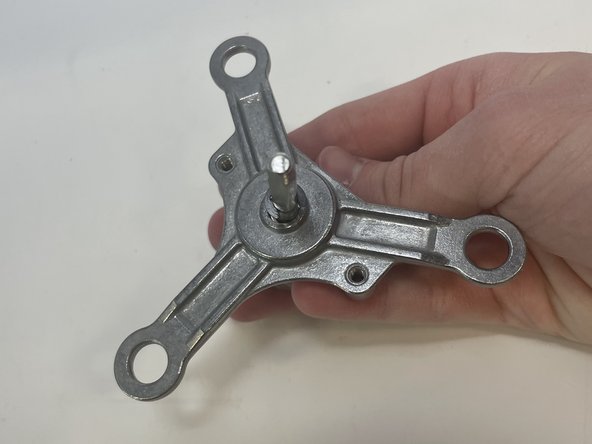
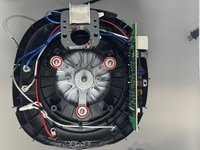
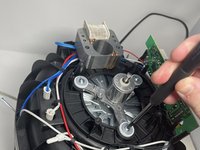
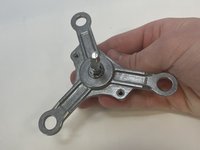
    • Remove the three 1.4 cm screws, washers, and rubber pieces from the triangular metal piece using a Phillips #1 screwdriver.

    • Remove the triangular metal piece from the device.

    Vraag FixBot
  14. Ninja AF161 Max XL Fan Replacement: stap 14, afbeelding 1 van 3 Ninja AF161 Max XL Fan Replacement: stap 14, afbeelding 2 van 3 Ninja AF161 Max XL Fan Replacement: stap 14, afbeelding 3 van 3
    • Use a Phillips #1 screwdriver to remove the four 2.2 cm screws that secure the top of the device to its base.

    • Once the screws have been removed, gently lift the top of the device off of its base.

    • Be mindful of the wires.

    Vraag FixBot
  15. Ninja AF161 Max XL Fan Replacement: stap 15, afbeelding 1 van 3 Ninja AF161 Max XL Fan Replacement: stap 15, afbeelding 2 van 3 Ninja AF161 Max XL Fan Replacement: stap 15, afbeelding 3 van 3
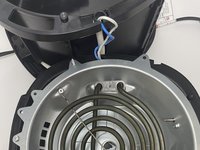
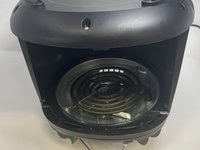
    • Flip the device upside down.

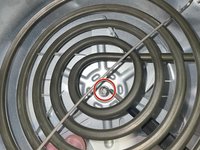
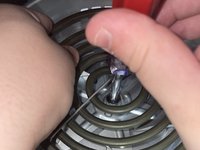
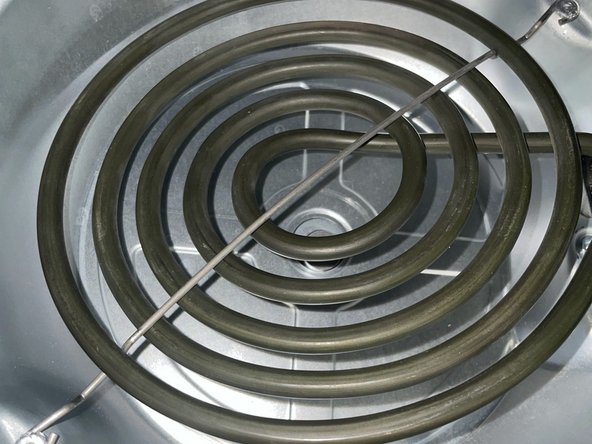
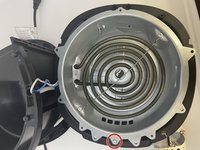
    • Use a 10 mm hex nut screwdriver to remove the 1.4 cm bolt behind the heating plate.

    • Turn the screwdriver to the right to loosen the bolt. Turning the screwdriver to the left will tighten the bolt.

    Vraag FixBot
  16. Ninja AF161 Max XL Fan Replacement: stap 16, afbeelding 1 van 2 Ninja AF161 Max XL Fan Replacement: stap 16, afbeelding 2 van 2
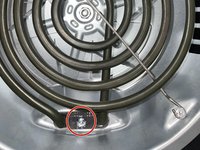
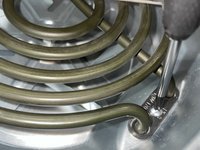
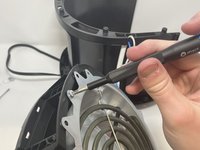
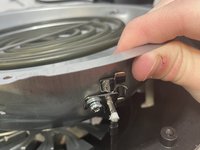
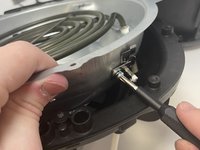
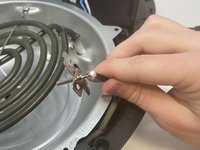
    • Use a Phillips #1 screwdriver to remove the 1.4 cm screw that secures the heating element.

    Vraag FixBot
  17. Ninja AF161 Max XL Fan Replacement: stap 17, afbeelding 1 van 3 Ninja AF161 Max XL Fan Replacement: stap 17, afbeelding 2 van 3 Ninja AF161 Max XL Fan Replacement: stap 17, afbeelding 3 van 3
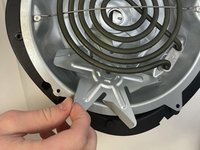
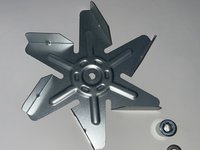
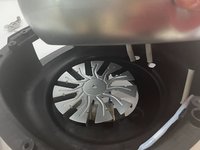
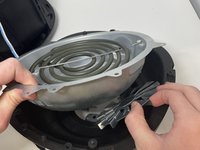
    • Carefully maneuver the fan from under the heating element to remove it from the device. Be cautious of the sharp edges of the fan.

    • Be mindful of the cylindrical piece and hex nut that sit on top of the fan when reassembling.

    Vraag FixBot
  18. Ninja AF161 Max XL Fan Replacement: stap 18, afbeelding 1 van 2 Ninja AF161 Max XL Fan Replacement: stap 18, afbeelding 2 van 2
    • Use a Phillips #1 screwdriver to remove the 1.4 cm screw on the metal dome of the device.

    Vraag FixBot
  19. Ninja AF161 Max XL Fan Replacement: stap 19, afbeelding 1 van 3 Ninja AF161 Max XL Fan Replacement: stap 19, afbeelding 2 van 3 Ninja AF161 Max XL Fan Replacement: stap 19, afbeelding 3 van 3
    • Lift the metal dome piece up.

    • Use a Phillips #1 screwdriver to remove the mounting screw and piece.

    Vraag FixBot
  20. Ninja AF161 Max XL Fan Replacement: stap 20, afbeelding 1 van 2 Ninja AF161 Max XL Fan Replacement: stap 20, afbeelding 2 van 2
    • Lift the metal dome piece to remove the second fan.

    • Carefully remove the second fan from the device due to its sharp edges.

    • Be mindful of the two washers that sit on top of the fan when reassembling.

    Vraag FixBot
Conclusie

To reassemble your device, follow these instructions in reverse order.

2 andere personen hebben deze handleiding voltooid.

Jaxon Tueller

Lid sinds: 02/09/23

464 Reputatie

3 handleidingen geschreven

0Gids Commentaar

Voeg opmerking toe

Weergavestatistieken:

Afgelopen 24 uren: 9

Afgelopen 7 dagen: 24

Afgelopen 30 dagen: 86

Altijd: 3,977