Deze vertaling is door een computer gegenereerd en is nog niet door iemand nagekeken. Spreek je deze taal? Bekijk het hier.
Inleiding
Met een paar eenvoudige hulpmiddelen en onderdelen helpt deze handleiding je bij het vervangen van een kapotte of doorgebrande flitslamp van de Nikon D90-camera. Wees voorzichtig dat je de schroeven niet stript terwijl je de camera uit elkaar haalt. Wees bovendien voorzichtig dat je de flitslamp niet breekt en snijd jezelf niet aan een gebroken lamp tijdens het uit elkaar halen van de camera.
Wat je nodig hebt
-
-
-
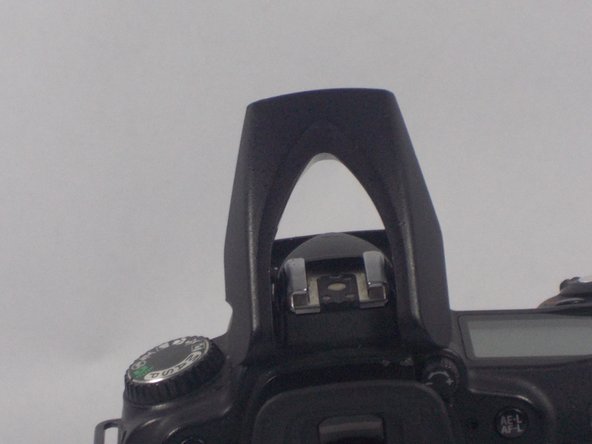
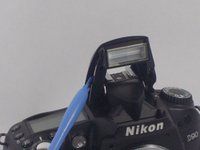
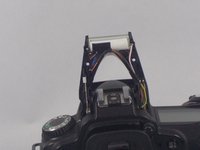
Gebruik een plastic Openingsgereedschap om de flitser op te tillen.
 Vraag FixBot
-
-
-
Verwijder met een PH00-kruiskopschroevendraaier de twee 5,3 mm kruiskopschroeven uit de flitserbehuizing.
-
-
-
-
Gebruik een plastic Openingsgereedschap en wrik voorzichtig de bovenste behuizing van de flitser open.
-
Til vervolgens de bovenste behuizing van de flitser eraf.
-
-
-
-
Gereedschap gebruikt in deze stap:Tweezers$4.99
-
Maak voorzichtig de lampbehuizing los van de plastic behuizing met een pincet.
-
Verwijder de zwart-witte tape op de lampbehuizing.
-
-
-
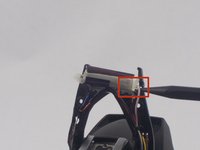
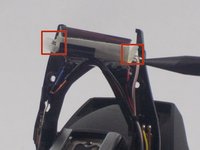
Verwijder de rubberen dop aan de linker- en rechterkant van de lamp.
-
Haal de rubberen dop los van de witte en zwarte tape.
-
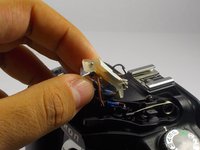
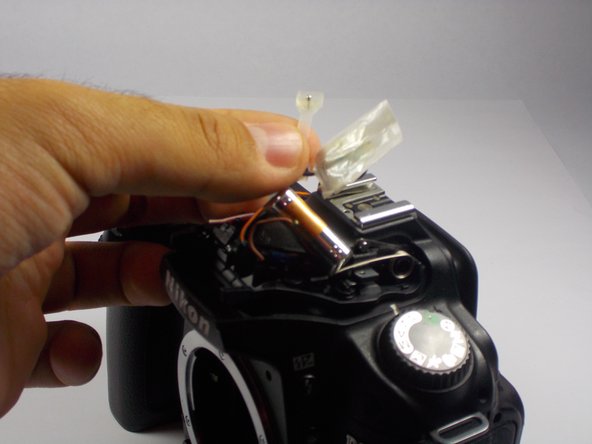
De lamp kan nu naar buiten worden geschoven en worden vervangen.
-
-







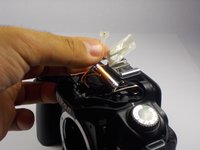
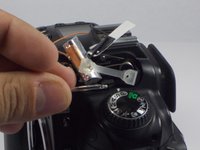
Volg deze instructies in omgekeerde volgorde om je apparaat weer in elkaar te zetten.
Annuleren: ik heb deze handleiding niet afgemaakt.
8 andere personen hebben deze handleiding voltooid.

Team

UMass Dartmouth, Team 1-7, Duarte Fall 2014 Lid van UMass Dartmouth, Team 1-7, Duarte Fall 2014
UMASSD-DUARTE-F14S1G7
3 Leden
72 handleidingen geschreven
