Wat je nodig hebt
-
-
-
Remove the screw located near the speaker port using a Phillips 00 screwdriver.
 Vraag FixBot
-
-
-
Turn camera upside down so that the battery compartment is facing you.
-
Remove all four screws from the bottom of the camera with a Phillips 00 screwdriver.
-
-
-
Rotate the camera to the opposite side where the A/V outlet is located.
-
Unscrew and remove all four screws with a Phillips 00 screwdriver.
-
-
-
Turn the camera so that the Wi-Fi adapter is facing you.
-
Unscrew and remove all four screws with a Phillips 00 screwdriver.
-
-
-
-
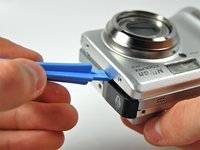
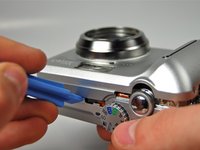
Using a plastic opening tool, pry the front casing of the camera.
-
Continue this motion all around the front casing of the camera.
-
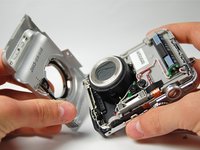
Gently pull apart the front casing from the rest of the camera.
-
-
-
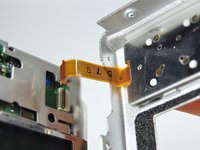
Carefully pull apart the back casing of the camera from the front of the camera without tearing the orange ribbon.
-
-
-
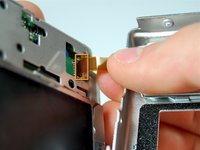
Pull down the on the black latch to carefully separate the orange ribbon from the motherboard.
-
Pull apart the orange ribbon and front casing from the rest of the camera.
-
-
-
-
-
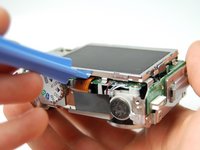
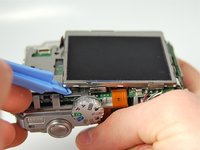
Use plastic opening tool to carefully pry the LCD Screen from the camera.
-
-
-
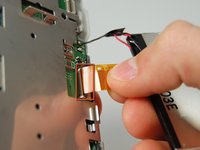
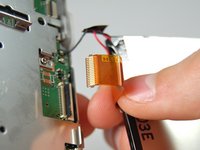
Gently pull the ribbon cable down to release the latch, then pull up to remove it from the motherboard.
-
-









To reassemble your device, follow these instructions in reverse order.

Team

Cal Poly, Team 3-28, Amido Winter 2012 Lid van Cal Poly, Team 3-28, Amido Winter 2012
CPSU-AMIDO-W12S3G28
4 Leden
45 handleidingen geschreven
