Inleiding
Use this guide to replace the screen protector on your Motorola Razr 40 Ultra.
Your foldable phone's screen is much softer and more delicate than non-folding glass screens. If the screen protector is damaged or peeling, it might need a replacement before it damages the screen underneath.
This guide shows how to replace the protector using an alignment adapter and a film roller.
Wat je nodig hebt
-
-
Completely open your phone and unplug any cables.
-
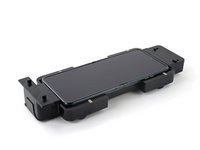
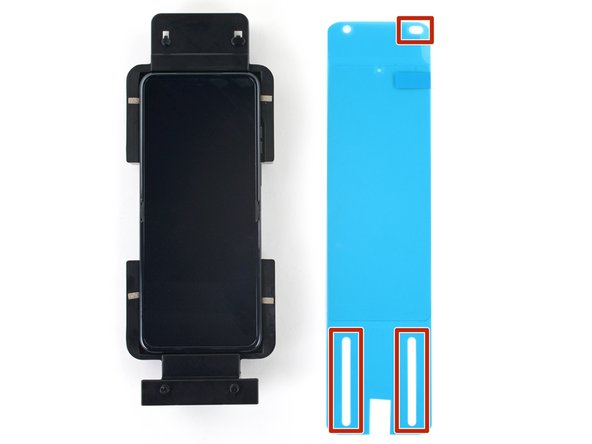
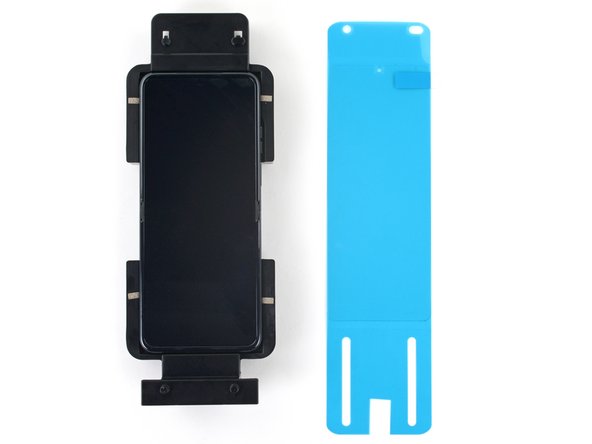
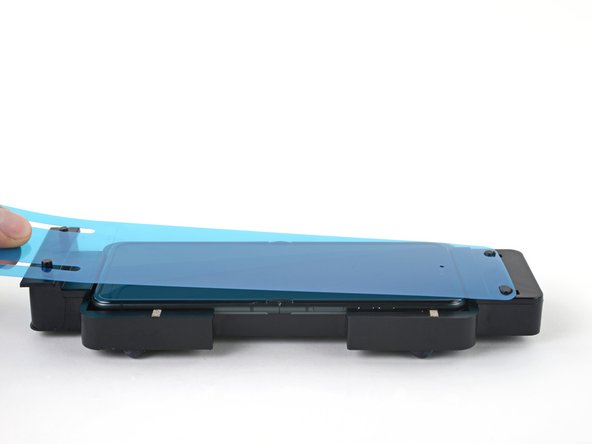
Place your phone in the alignment adapter screen-side up, with the charging port facing the raised posts.
-
-
-
Use scissors to cut a small square (about the size of your thumbnail) out of your replacement screen protector liner, just between the two long cutouts on the bottom edge.
-
-
-
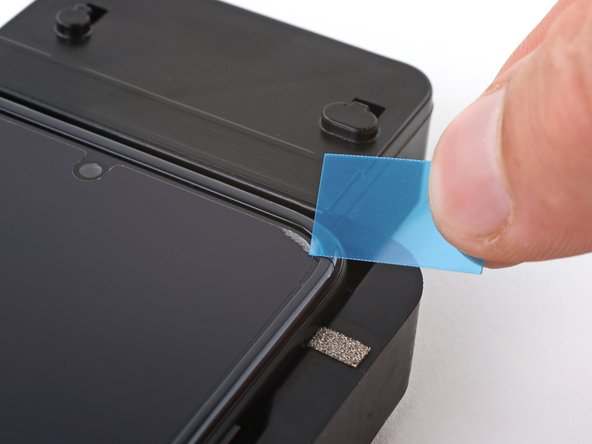
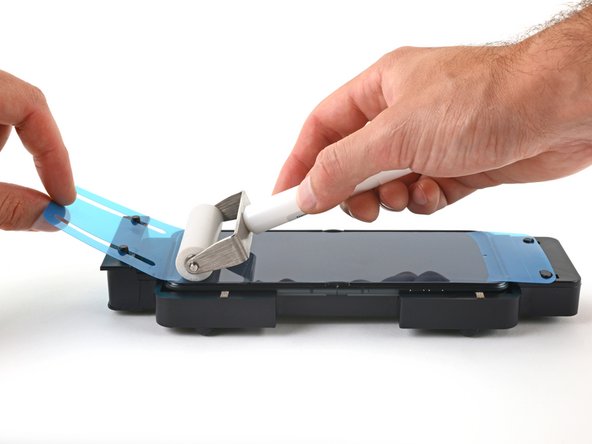
Slide the sharpest corner of your shim under one of the top corners of your screen protector.
-
-
-
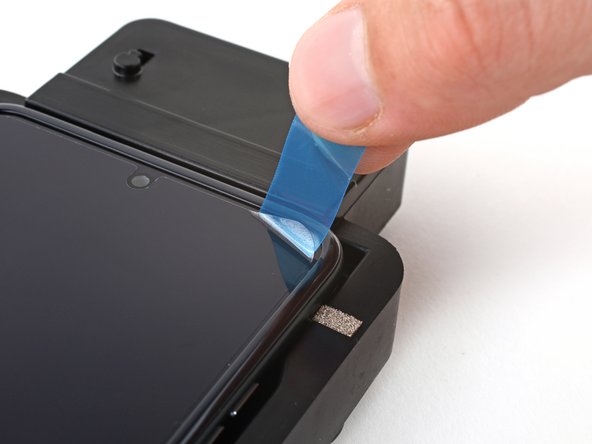
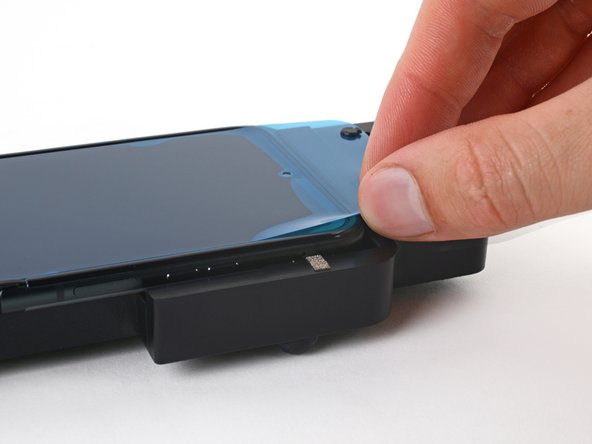
Insert your shim deeper under the corner of the protector until you can grip it with your fingers.
-
-
-
-
Have your replacement screen protector and roller within reach—you'll be holding the protector up with one hand and won't be able to let go to reposition or grab a tool.
-
Orient the replacement protector so that the oval cutout is on the top right, and the long cutouts are toward the bottom of the phone.
-
-
Gereedschap gebruikt in deze stap:Microfiber Cleaning Cloths$3.99
-
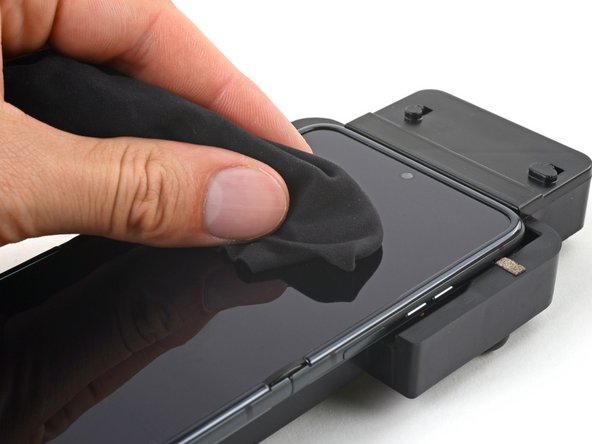
Use a pipette or syringe to apply a few drops of highly-concentrated isopropyl alcohol (over 90%) to your screen.
-
Use a microfiber or lint free cloth to wipe away any smudges or dust.
-
-
-
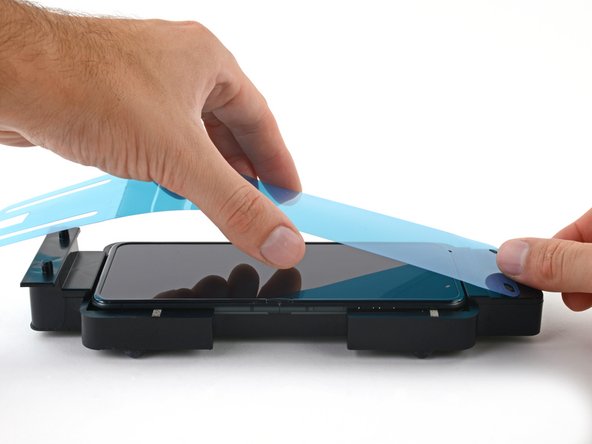
Hold the replacement screen protector with its liner pull tab facing down. Keep the film facing down to prevent dust from settling onto the sticky side.
-
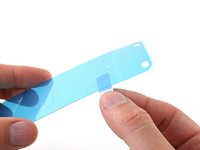
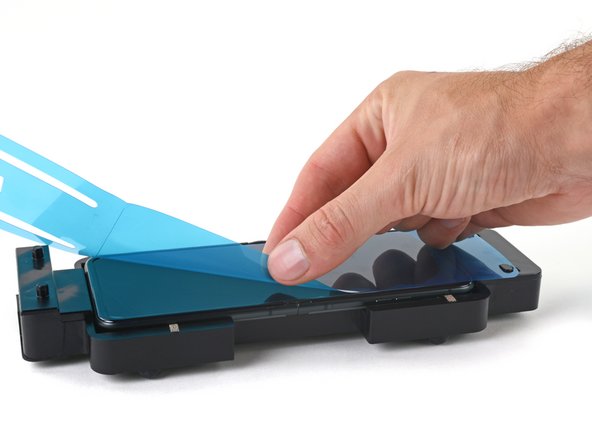
Peel and fully remove the protective liner from the underside of the protector.
-
-
-
Slide the top circle and oval cutouts over the hooks on the upper alignment posts.
-
Gently pull the replacement protector over the screen and onto the lower alignment posts. Don't let the film touch the screen just yet.
-
-
-
Hold the protector tight over the lower alignment posts.
-
Use the roller to firmly roll the protector onto the top half of the screen, starting from the top edge.
-
When you reach the middle of the screen, lift the remaining half of the liner to a 45-degree angle.
-
Increase pressure on the roller and slowly roll across the hinge area of the screen.
-
When you pass the middle of the screen, lower the liner and finish rolling the bottom half of the protector onto the screen.
-
-
Gereedschap gebruikt in deze stap:Plastic Cards$2.99
-
Use the squeegee or a plastic card to press the top and bottom edges of the protector onto the screen.
-
Press around the perimeter of the screen, working out any bubbles toward the edges as you go.
-
-
-
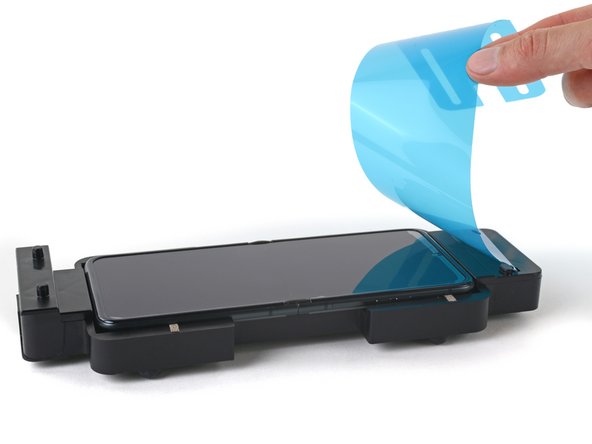
Peel the top right corner of the large liner away from the screen to separate it from the screen protector.
-
-
-
Work down the long edge of the screen, peeling up the edge of the liner as you go.
-
Once you reach the bottom of the screen, fully peel the liner off and remove it from the adapter.
-
-
-
Use a microfiber or lint free cloth to wipe the screen protector and rub out any streaks or imperfections between it and the screen.
-
Work out any small bubbles by wiping toward the edges. If there are any large bubbles, the screen protector didn't adhere properly and needs to be replaced.
-


Repair didn’t go as planned? Try some basic troubleshooting, or ask our Answers community for help.
Repair didn’t go as planned? Try some basic troubleshooting, or ask our Answers community for help.
Annuleren: ik heb deze handleiding niet afgemaakt.
3 andere personen hebben deze handleiding voltooid.

Team
