Ga door naar hoofdinhoud
Word lid van de reparatiegemeenschap - Account aanmaken

Microtek ScanMaker 5900 New Upper Lid Bulbs Replacement

Wat je nodig hebt

    1. Microtek ScanMaker 5900 New Upper Lid Bulbs Replacement, Remove serial port connection: stap 1, afbeelding 1 van 3 Microtek ScanMaker 5900 New Upper Lid Bulbs Replacement, Remove serial port connection: stap 1, afbeelding 2 van 3 Microtek ScanMaker 5900 New Upper Lid Bulbs Replacement, Remove serial port connection: stap 1, afbeelding 3 van 3
      • Loosen the screws on the serial port by turning them counter clockwise by hand.

      • After loosening the screws, pull the serial port out.

      Vraag FixBot

      Voeg opmerking toe

    2. Microtek ScanMaker 5900 New Upper Lid Bulbs Replacement, Remove Lid: stap 2, afbeelding 1 van 3 Microtek ScanMaker 5900 New Upper Lid Bulbs Replacement, Remove Lid: stap 2, afbeelding 2 van 3 Microtek ScanMaker 5900 New Upper Lid Bulbs Replacement, Remove Lid: stap 2, afbeelding 3 van 3
      • Lift lid to its vertical position.

      • Pull lid straight up to remove it from the scanner.

      Vraag FixBot

      Voeg opmerking toe

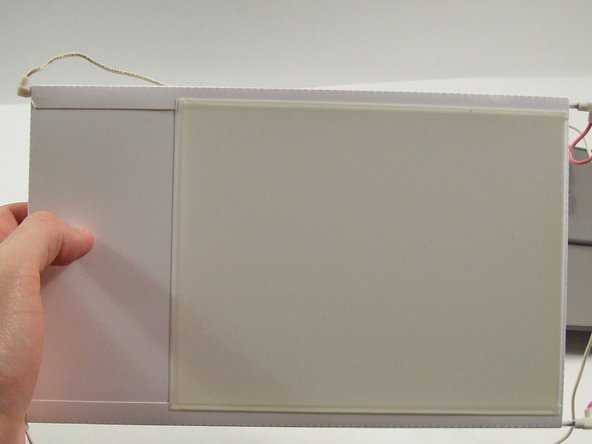
    1. Microtek ScanMaker 5900 New Upper Lid Bulbs Replacement, Remove the protective plastic covering: stap 3, afbeelding 1 van 3 Microtek ScanMaker 5900 New Upper Lid Bulbs Replacement, Remove the protective plastic covering: stap 3, afbeelding 2 van 3 Microtek ScanMaker 5900 New Upper Lid Bulbs Replacement, Remove the protective plastic covering: stap 3, afbeelding 3 van 3
      Gereedschap gebruikt in deze stap:
      Tweezers
      $4.99
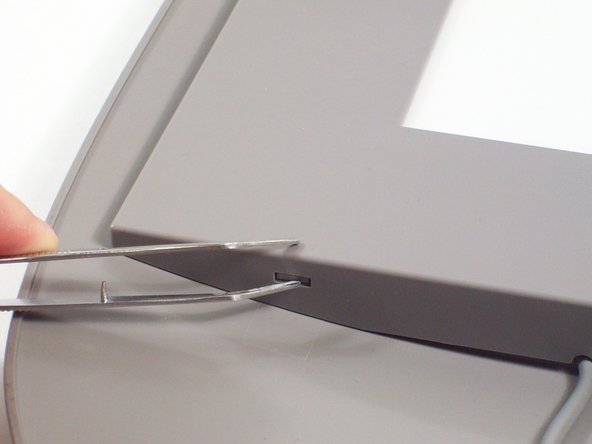
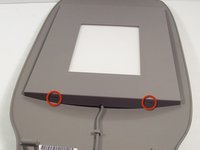
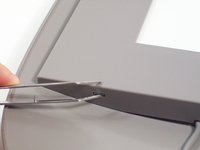
      • Notice that there are two plastic tabs that need to be pushed in to remove the plastic covering.

      • Use tweezers to push these tabs in.

      • Gently pull the plastic covering off of the upper lid.

      Vraag FixBot

      Voeg opmerking toe

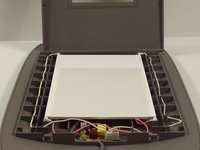
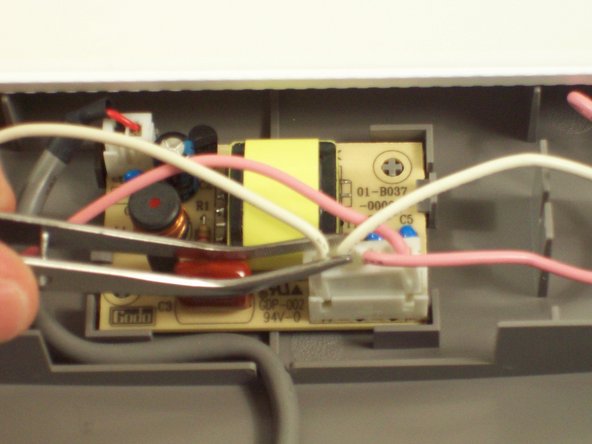
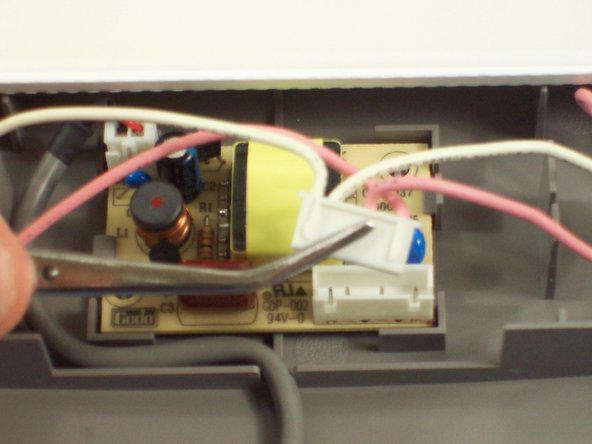
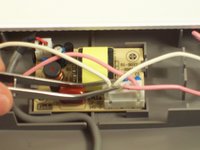
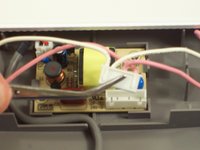
    2. Microtek ScanMaker 5900 New Upper Lid Bulbs Replacement, Remove wires from circuit board: stap 4, afbeelding 1 van 3 Microtek ScanMaker 5900 New Upper Lid Bulbs Replacement, Remove wires from circuit board: stap 4, afbeelding 2 van 3 Microtek ScanMaker 5900 New Upper Lid Bulbs Replacement, Remove wires from circuit board: stap 4, afbeelding 3 van 3
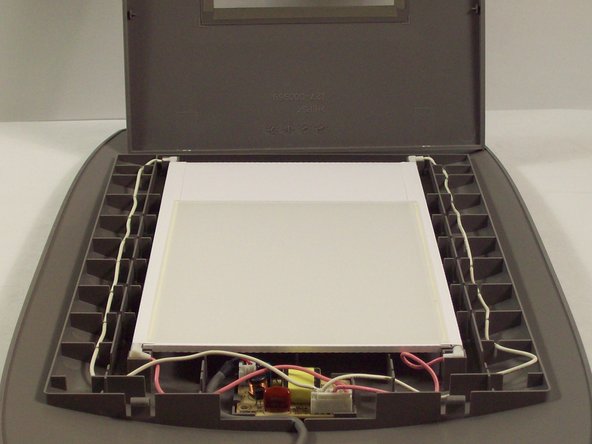
      • Grab the plastic wire housing near the serial port.

      • Gently pull and jiggle the wire housing until it comes free from the circuit board.

      Vraag FixBot

      Voeg opmerking toe

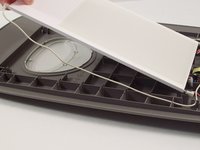
    3. Microtek ScanMaker 5900 New Upper Lid Bulbs Replacement, Remove the bulbs: stap 5, afbeelding 1 van 2 Microtek ScanMaker 5900 New Upper Lid Bulbs Replacement, Remove the bulbs: stap 5, afbeelding 2 van 2
      • Gently lift up the bulbs and remove the wires from the plastic.

      • After completely freeing the bulbs, buy new ones and replace.

      Vraag FixBot

      Voeg opmerking toe

Conclusie

To reassemble your device, follow these instructions in reverse order.

Annuleren: ik heb deze handleiding niet afgemaakt.

Taylor Nesheim

Lid sinds: 10/11/11

59 Reputatie

7 handleidingen geschreven

Team

Cal Poly, Team 6-9, Regan Fall 2011 Lid van Cal Poly, Team 6-9, Regan Fall 2011

CPSU-REGAN-F11S6G9

2 Leden

22 handleidingen geschreven

0Gids Commentaar

Voeg opmerking toe

Weergavestatistieken:

Afgelopen 24 uren: 1

Afgelopen 7 dagen: 8

Afgelopen 30 dagen: 36

Altijd: 1,542