Inleiding
This guide provides step by step instructions that will walk you through installing either camera the tablet has. The difficulty of this task is intermediate and the estimated length is about 30min to an hour.
Wat je nodig hebt
-
-
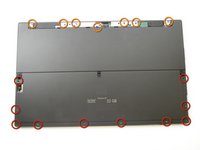
Carefully turn the tablet over so the screen is facing down.
-
Pull up on the bottom corners to open the stand.
-
-
-
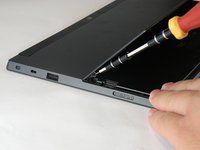
Remove the two 5.1 mm T5 Torx screws.
-
Make sure when removing the screws to be careful to prevent stripping of the head.
-
With all the screws removed gently wiggle the stand side to side until the lever in the middle is free, releasing the stand.
-
-
-
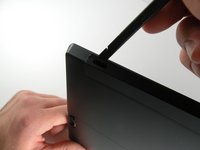
Use a spudger or similar flat headed tool to release the small bezels out lined in the image. Remove the plastic trim covering the camera with the soft flat headed tool.
-
-
-
-
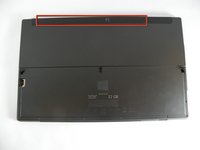
Next, remove the ten 5.92mm T5 torx screws located underneath the kickstand.
-
Remove the seven 5.87mm T5 torx screws located under the camera casing. There is a sticker covering the second screw from the left.
-
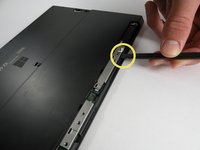
Disconnect the rear cover from the main shell of the system by loosening it with a spudger where the gaps exist.
-
Continue working your way around to each corner and loosen the snap-ons on each side until the rear cover comes off.
-
-
-
Rotate the device 180 degrees so that the bottom of the device is facing you.
-
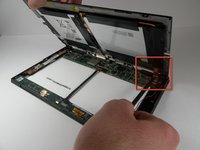
A ribbon connects the battery on the rear cover, to the motherboard. Slowly lift the bottom of the rear cover up until you can see the ribbon.
-
Use a spudger to push the ribbon away from the motherboard and parallel to the motherboard in order to remove the ribbon.
-
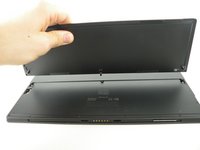
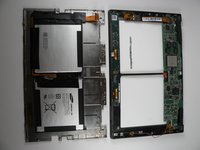
Separate the rear cover by lifting it up away from the main system.
-
-
-
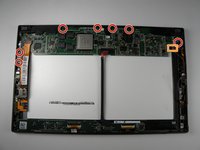
Unscrew the seven 3.61mm T5 Torx screws from the motherboard.
-
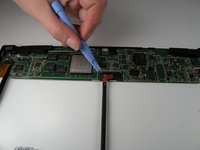
Use the plastic opening tool to lift the lab and unplug the orange ribbon on the right side of the motherboard.
-
Use the plastic opening tool to lift the tab connecting the orange ribbon to the motherboard.
-
Use a plastic opening tool to lift the display and digitizer cable plug from the middle of the motherboard.
-
-
-
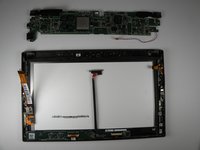
Lift the motherboard and pull it away from the back plate.
-
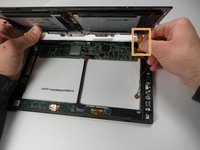
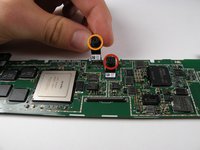
Locate the two cameras near the center of the motherboard.
-
Front facing camera
-
Rear facing camera
-
-
-
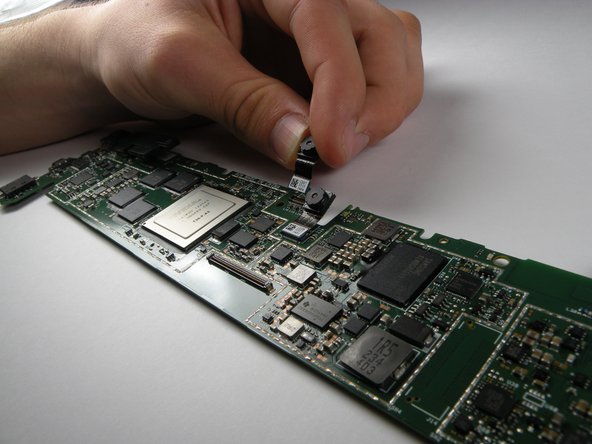
Avoid touching the lens of the camera and unplug it from the bottom of the motherboard.
-
-
-
Avoid touching the lens of the camera and unplug it from the motherboard.
-


To reassemble your device, follow these instructions in reverse order.
Annuleren: ik heb deze handleiding niet afgemaakt.
4 andere personen hebben deze handleiding voltooid.
Team

Cal Poly, Team 17-23, Forte Winter 2013 Lid van Cal Poly, Team 17-23, Forte Winter 2013
CPSU-FORTE-W13S17G23
5 Leden
17 handleidingen geschreven