Inleiding
Metal snaps are essential for securely fastening heavy-duty fabrics on packs and jackets, such as those in the Patagonia Work Wear line. A metal snap can fail if it becomes crushed or is pulled off, requiring a new one to be installed.
This guide will demonstrate how to install a metal snap without the need for sewing. To ensure this solution is applicable, confirm that both sides of the damaged snap (the cap and the socket/stud) are visible. Additionally, check the fabric around the old snap for tears or damage beyond a small hole. If the fabric is compromised, a reinforcing patch will need to be sewn on before replacing the snap.
This guide is for professional repair technicians with access to a tabletop hand press.
Alternatively, Patagonia products can be taken to a local retail store for repair evaluation or sent in to Patagonia through their mail-in repair service.
Let's get fixing!
WARNING! Small Parts. Patagonia does not recommend conducting these repairs on garments intended for children age 3 or under. Instead, we recommend return of the product for professional repair services.
Related tutorial: Plastic Snap Installation Using a Hand Press
Wat je nodig hebt
-
-
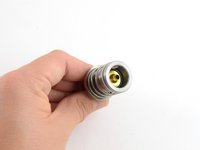
Flat Spring Snap - This style is commonly found on clothing because it snaps and unsnaps smoothly.
-
Durable Socket Snap - This style is commonly found on packs and luggage because it has thicker metal that can withstand heavy use.
-
-
-
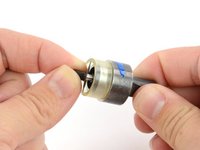
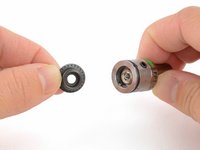
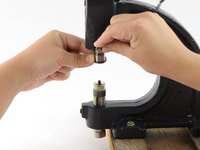
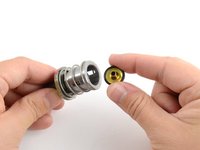
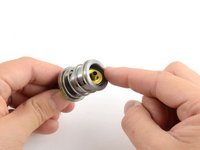
Gather the stud and post pieces and their corresponding dies.
-
-
-
Insert the post piece into the post die so the flat part of the post sits inside the die with the shaft pointed out.
-
-
-
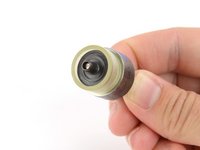
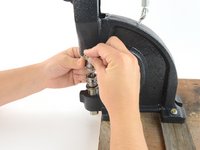
Insert the post die into the lower fitting of the hand press.
-
-
-
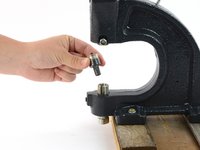
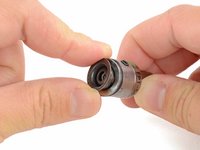
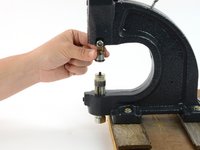
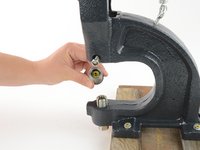
Insert the stud piece into the stud die until it snaps into place.
-
-
-
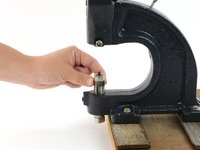
Using your fingers, a screwdriver, or a hex key, as needed, unscrew the tightening mechanism on the side of the press near the die fitting.
-
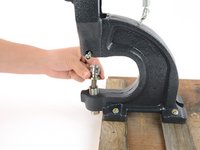
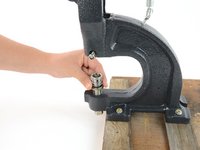
Insert the die upward and hold it in place.
-
Tighten the tightening mechanism.
-
-
-
-
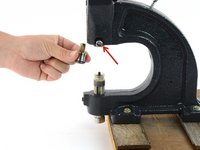
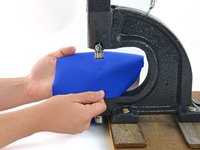
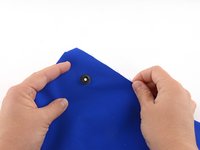
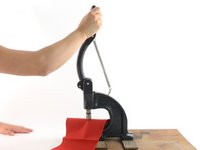
Lay the item to be repaired into the hand press so that the hole from the original snap rests directly above the shaft of the post.
-
Make sure no extra fabric is caught inside the press and that the orientation of the item is correct.
-
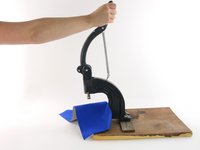
Hold the fabric in place with one hand, then use your other hand to pull down the handle of the press.
-
-
-
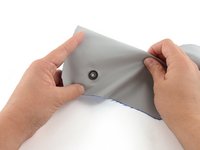
Release the handle of the hand press and remove the fabric.
-
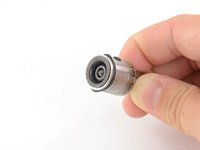
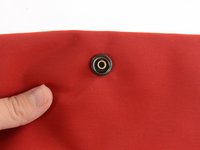
Inspect both sides of the snap to make sure:
-
It's laying flat and tight up against the fabric.
-
It doesn't spin in place.
-
It fastens together securely with the head of the snap.
-
If the snap isn't set all the way, reinsert the snap into the hand press, aligning it as it was before, and pull the handle again.
-
-
-
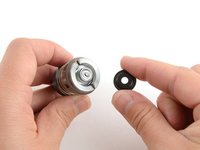
Gather the socket and cap pieces and their corresponding dies.
-
-
-
Insert the cap piece into the cap die so it sits inside the die with the shaft facing out.
-
-
-
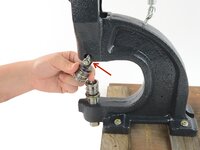
Insert the cap die into the lower fitting of the hand press.
-
-
-
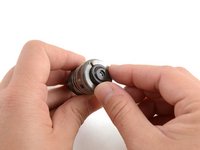
Insert the socket piece into the socket die until it snaps into place.
-
-
-
Using your fingers, a screwdriver, or a hex key, as needed, unscrew the tightening mechanism on the side of the press near the die fitting.
-
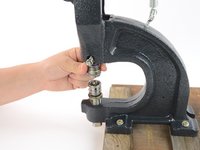
Insert the die upward and hold it in place.
-
Tighten the tightening mechanism.
-
-
-
Lay the item to be repaired into the hand press so that the hole from the original snap rests directly above the shaft of the post.
-
Make sure no extra fabric is caught inside the press and that the orientation of the item is correct.
-
Hold the fabric in place with one hand, then use your other hand to pull down the handle of the press.
-
-
-
Release the handle of the hand press and remove the fabric.
-
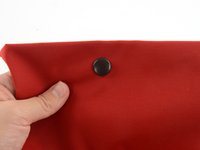
Inspect both sides of the snap to make sure:
-
It's laying flat and tight up against the fabric.
-
It doesn't spin in place.
-
It fastens together securely with the base of the snap.
-
If the snap isn't set all the way, reinsert the snap into the hand press, aligning it as it was before, and pull the handle again.
-
-
-
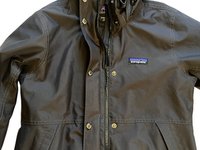
The rain jacket in the first photo has flat spring metal snaps along the center front zipper placket.
-
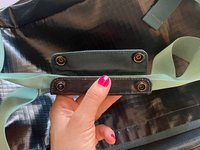
The duffel bag in the second photo has durable socket metal snaps at the handle grip.
-


Annuleren: ik heb deze handleiding niet afgemaakt.
3 andere personen hebben deze handleiding voltooid.

