Inleiding
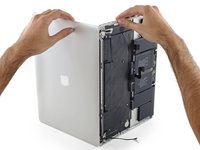
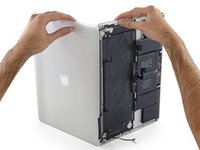
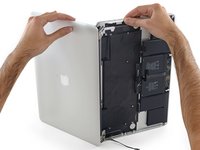
The battery, keyboard, trackpad, and upper case are all stuck together. If you break one of these components, you will need to replace the entire assembly. Follow this guide to do so.
Wat je nodig hebt
-
-
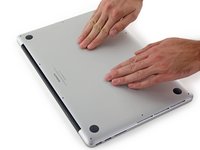
Remove the following P5 pentalobe screws securing the lower case to the MacBook Pro:
-
Eight 3.1 mm
-
Two 2.3 mm
-
-
Gereedschap gebruikt in deze stap:Tweezers$4.99
-
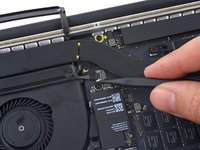
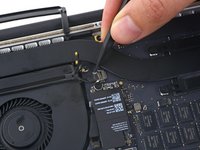
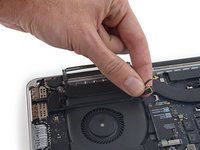
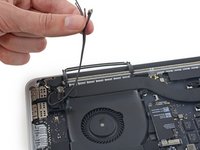
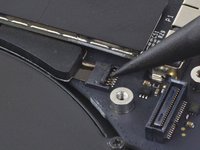
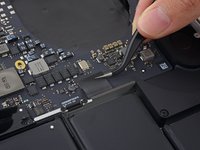
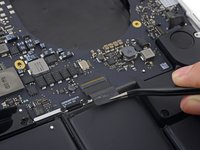
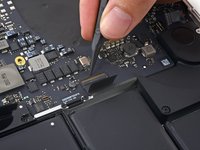
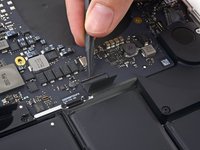
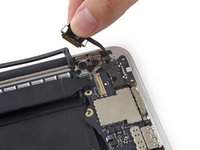
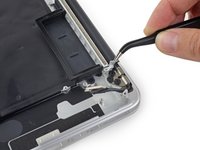
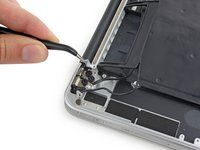
Use a spudger or tweezers to pry the three AirPort antenna cables straight up off of their sockets on the AirPort board, and bend them up and out of the way.
-
-
-
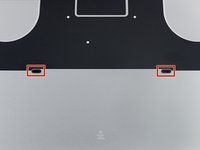
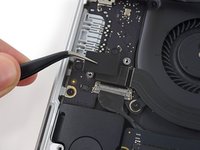
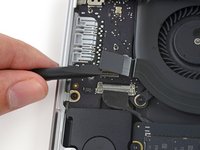
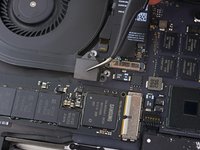
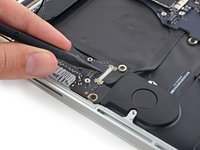
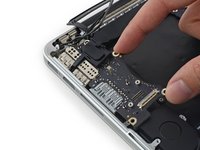
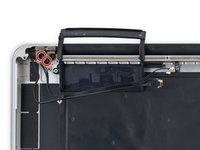
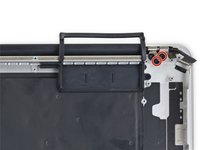
Remove the four 2.2 mm T5 Torx screws securing the I/O board cable connector covers.
-
-
-
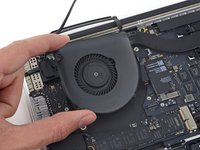
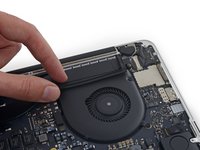
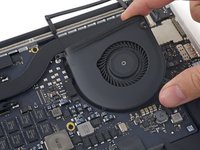
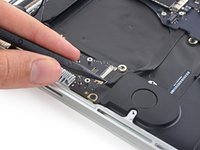
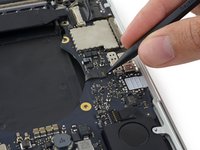
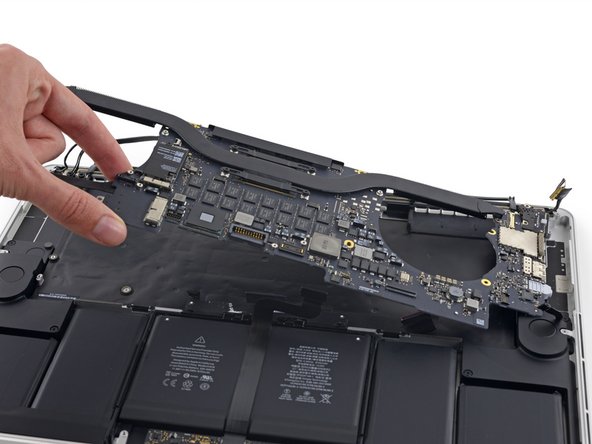
Use a T5 Torx driver to remove the following three screws securing the right fan to the logic board:
-
One 5.0 mm screw with a 2.0 mm long shoulder
-
One 4.0 mm screw with a wide head
-
One 4.4 mm screw
-
-
-
-
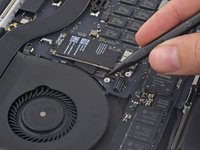
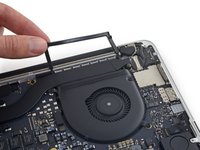
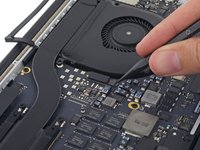
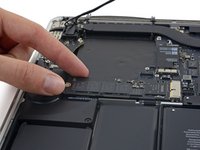
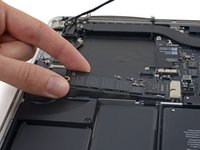
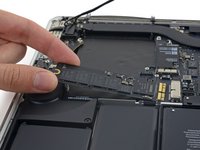
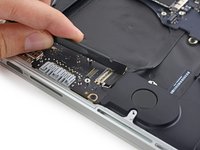
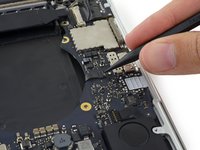
Remove the two 2.2 mm Torx T5 screws securing the touchpad cable connector cover to the logic board.
-
Remove the cover.
-
-
-
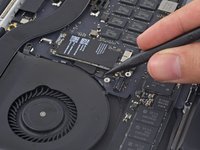
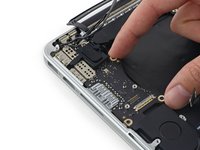
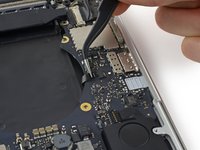
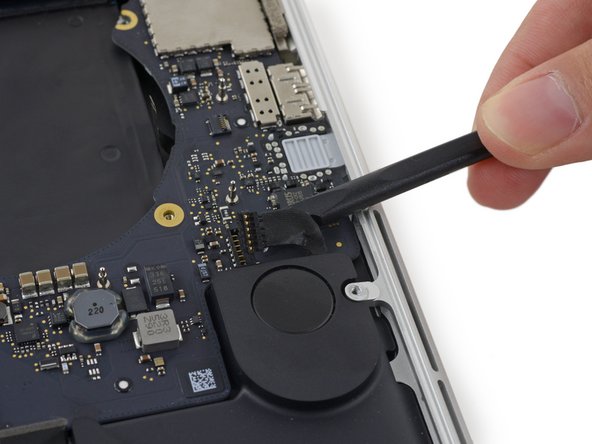
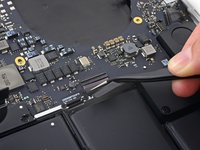
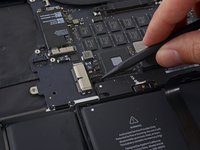
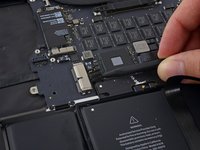
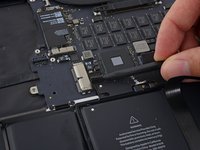
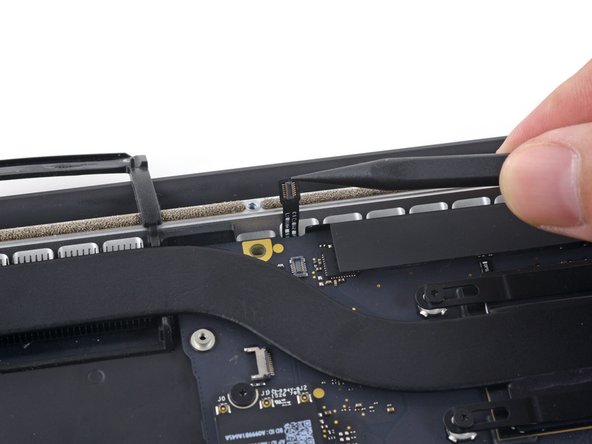
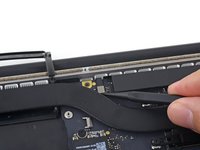
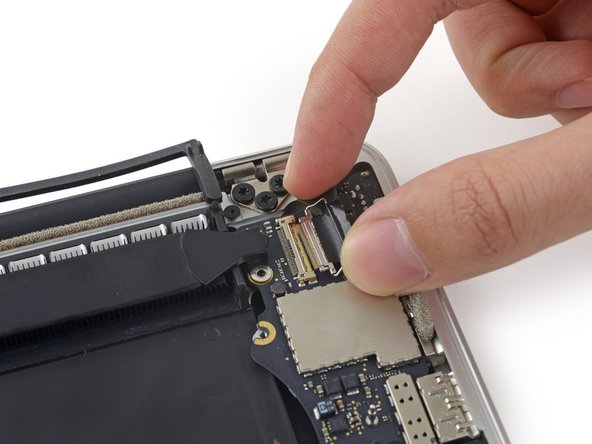
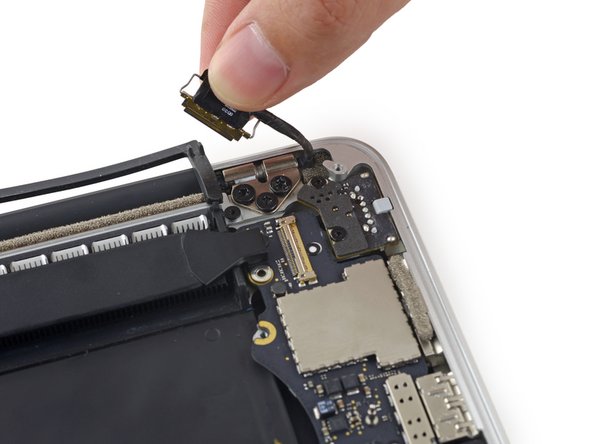
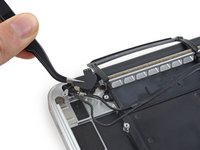
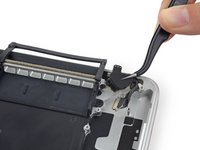
The following steps will detail disconnecting these six connectors. Be sure to read each step, as these connectors come in different styles that disconnect differently.
-
Microphone cable
-
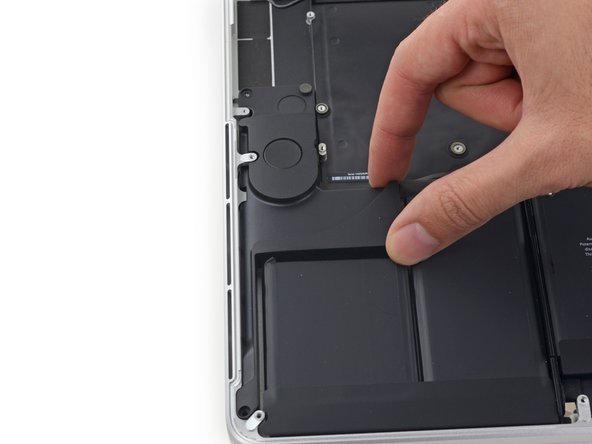
Left speaker cable
-
Keyboard data cable
-
Right speaker cable
-
Keyboard backlight cable
-
Display data cable
-
-
-
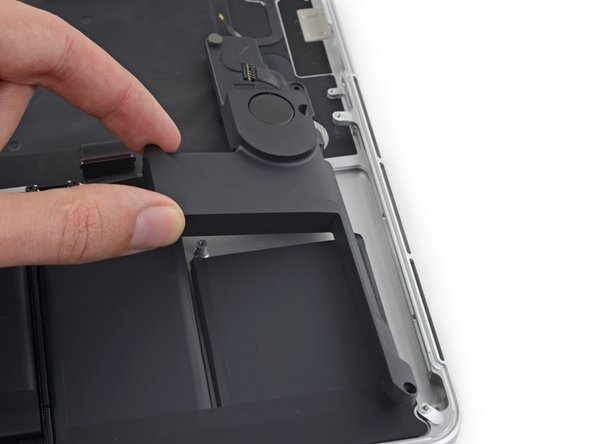
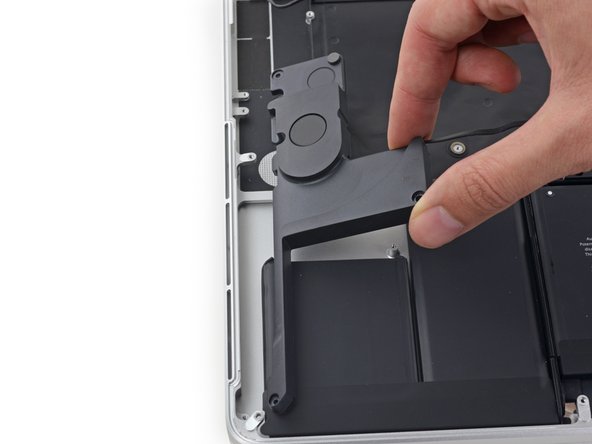
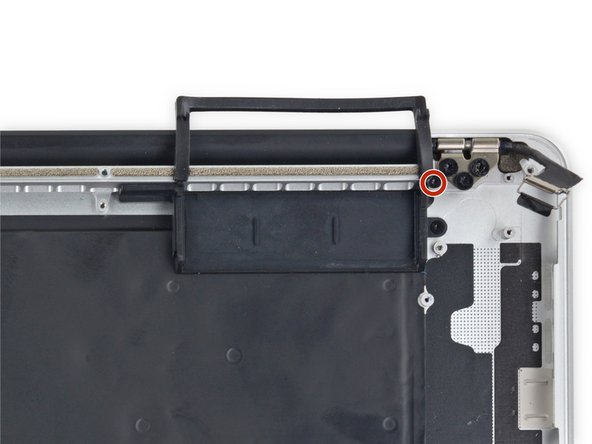
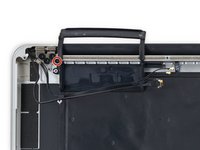
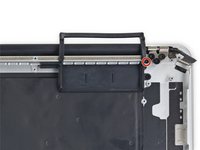
Remove the following screws securing the left speaker to the upper case:
-
2.7 mm T5 Torx screw
-
6.9 mm T5 Torx screw (with 4.5 mm shoulder)
-
5.6 mm T5 Torx screw
-
-
-
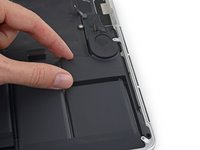
Remove the following screws securing the right speaker to the upper case:
-
2.7 mm T5 Torx screw
-
6.9 mm T5 Torx screw (with 4.5 mm shoulder)
-
5.6 mm T5 Torx screw
-
-
-
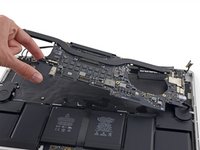
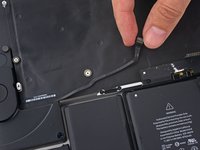
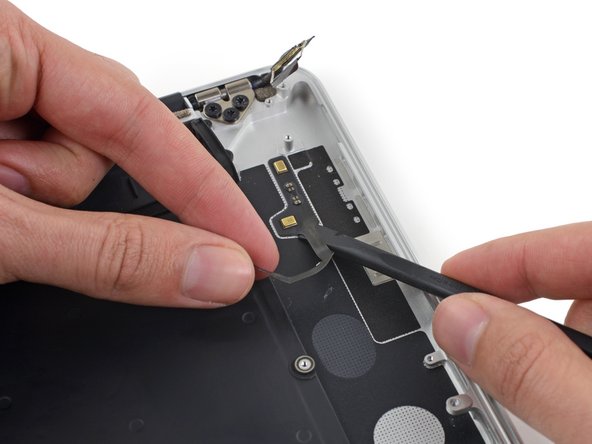
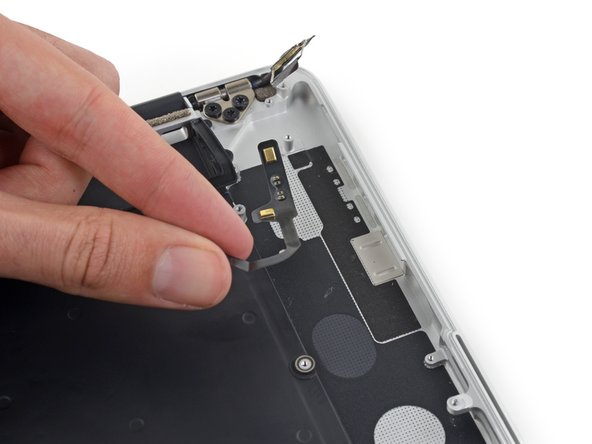
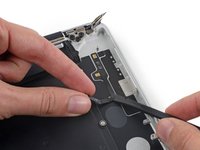
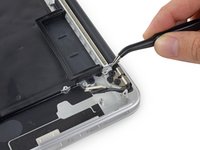
While gently pulling up on the microphone cable, push the flat end of a spudger underneath the cable, to cut the adhesive securing it to the upper case.
-
Remove the microphone cable.
-


To reassemble your device, follow these instructions in reverse order.
To reassemble your device, follow these instructions in reverse order.
Annuleren: ik heb deze handleiding niet afgemaakt.
41 andere personen hebben deze handleiding voltooid.

3 opmerkingen
Excellent instructions with great photos. After damaging my keyboard with coca-cola, I didnt know should I get a new keyboard or complete upper case. I went ahead and got complete case. This tutorial was very handy, better than any youtube video. Took me 5 hours to do it and now I am typing using the new keyboard. Thanks a lot.
Nicely done. Warnings much appreciated!
This guide was an absolute lifesaver! My older MacBook Pro suffered a cracked screen, rendering it practically unusable. A couple of weeks ago, I stumbled upon a discarded, broken MacBook from the same year with an intact Retina display. Thanks to this iFixit guide, I was able to breathe new life into it. Combined with the incredible work of the OpenCore Legacy Patcher team, I'm now happily running Mac OS Sequoia on my mid-2015 MacBook Pro in 2024. This guide made a complex repair accessible, and I'm incredibly grateful to the iFixit community for sharing their expertise.