Deze vertaling is door een computer gegenereerd en is nog niet door iemand nagekeken. Spreek je deze taal? Bekijk het hier.
Inleiding
Gebruik deze handleiding om de microfoonkabel te vervangen.
Voor deze handleiding moet het koellichaam en het logic board worden verwijderd. Vergeet niet onze handleiding voor het aanbrengen van warmtewerende lijm te volgen voordat u het koellichaam opnieuw plaatst.
Wat je nodig hebt
-
-
Gereedschap gebruikt in deze stap:Magnetic Project Mat$19.95
-
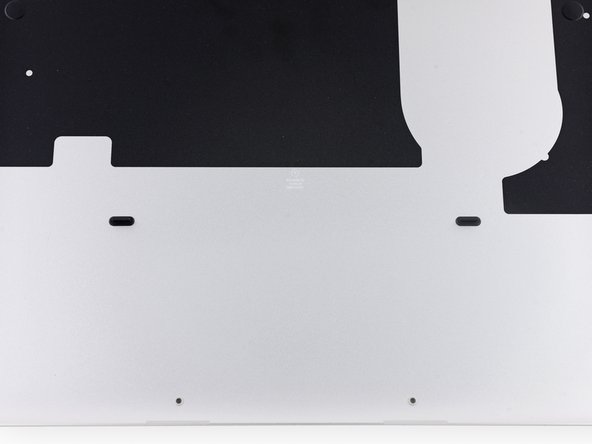
Verwijder de volgende tien schroeven die de onderste behuizing aan de bovenste behuizing bevestigen:
-
Twee 2.3 mm lange P5 Pentalobe schroeven
-
Acht 3.0 mm lange P5 Pentalobe schroeven
 Vraag FixBot
-
-
-
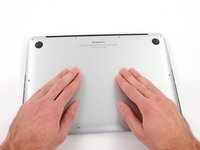
Wring het topje van je vingers tussen de bovenste en de onderste behuizing.
-
Trek de onderste behuizing rustig en op voorzichtige wijze weg van de bovenste behuizing om deze te verwijderen.
-
-
-
-
-
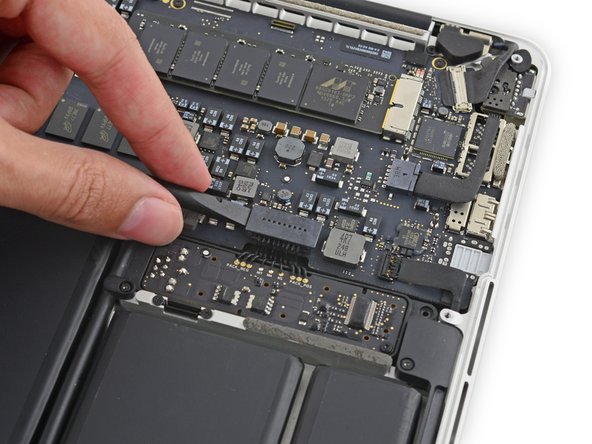
Gebruik het platte einde van een spudger om de batterijaansluiting in een rechte beweging uit het contact op het logic board omhoog te duwen.
-
-
-
-
Verwijder voorzichtig de rubberen schouderknop van de ventilator van de rand van het koellichaam.
-
-
-
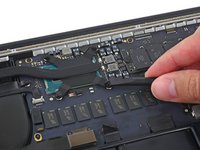
Gebruik de platte kant van een spudger om de vier schuimstickers van de schroeven van het koellichaam te pellen.
-
-
-
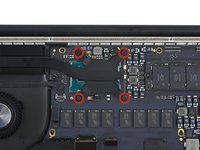
Verwijder de volgende schroeven waarmee het koellichaam aan het logic board is bevestigd:
-
Eén 2,7 mm T5-schroef (zilver)
-
Vier T5-schroeven (zwart)
-
-
-
-
-
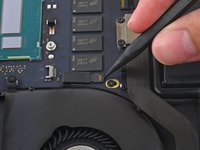
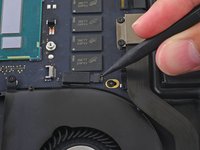
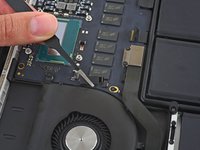
Gebruik de punt van een spudger om op beide kanten van de kabelaansluiting van de iSight-camera te duwen en deze zo uit het stopcontact op het logic board te lopen.
-
-
-
Trek de iSight-camerakabel los van de ventilatorbehuizing en vouw deze uit de weg.
-
-
-
Gebruik de punt van een spudger om het lipje op de ZIF-aansluiting van de ventilator om te klappen.
-
Trek de ventilatorkabel voorzichtig recht uit het stopcontact.
-
-
-
Verwijder de volgende schroeven waarmee de ventilator aan de bovenbehuizing is bevestigd:
-
Eén 5,0 mm T5 Torx-schroef
-
Twee 3,6 mm T5 Torx-schroeven
-
-
-
-
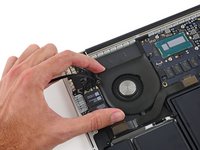
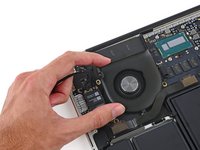
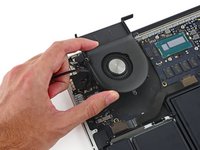
Til de kant van de ventilator die zich het dichtst bij het scharnier van het beeldscherm bevindt op en verwijder de ventilator uit de behuizing.
-
-
-
-
-
Verwijder de twee 2,1 mm Torx-schroeven van het type T5 waarmee de kabelbeugel van het I/O-bord aan het logic board is bevestigd.
-
Verwijder de kabelbeugel van het I/O-bord.
-
-
-
Gebruik de platte kant van een spudger om de (kabel)aansluiting van het I/O bord recht omhoog uit het stopcontact op het logic board te wippen.
-
-
-
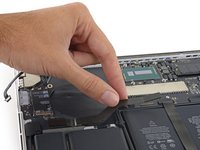
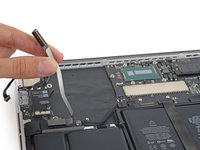
Til de kant van de I/O-kabel die aan het moederbord vastzit recht omhoog om deze uit de weg te buigen.
-
-
-
Gebruik de punt van een spudger om de rechter luidspreker(kabel)aansluiting recht omhoog uit het stopcontact op het logic board te tillen.
-
-
-
Duw met de punt van een spudger aan beide kanten van de I/O bord-kabelaansluiting om deze voorzichtig uit het stopcontact op het logic board te werken.
-
-
-
Gebruik de platte kant van een spudger om de kabel van de toetsenbordachtergrondverlichting los te koppelen en buig deze omhoog, uit de buurt van het logic board.
-
-
-
Pak het zwarte plastic treklipje vast om de (kabel)aansluiting van de schermkabel te openen en trek deze recht uit het stopcontact op het logic board.
-
-
-
Trek de (kabel)aansluiting van de DC-In-kaart voorzichtig recht uit het stopcontact op het logic board.
-
-
-
Wrik de platte kant van een spudger onder de linkerspeakerkabel bij de kabelaansluiting en til deze recht omhoog uit het stopcontact en vouw de kabel opzij.
-
-
-
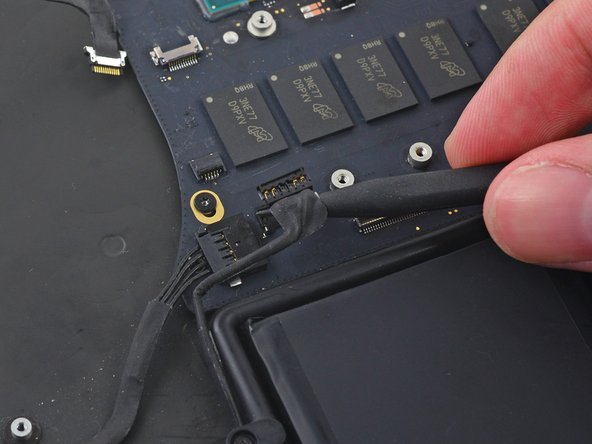
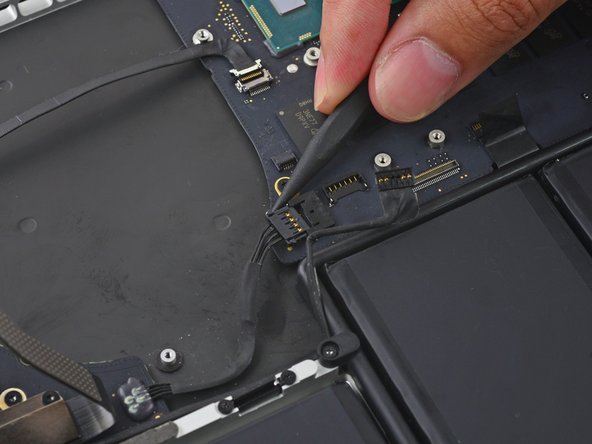
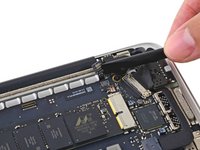
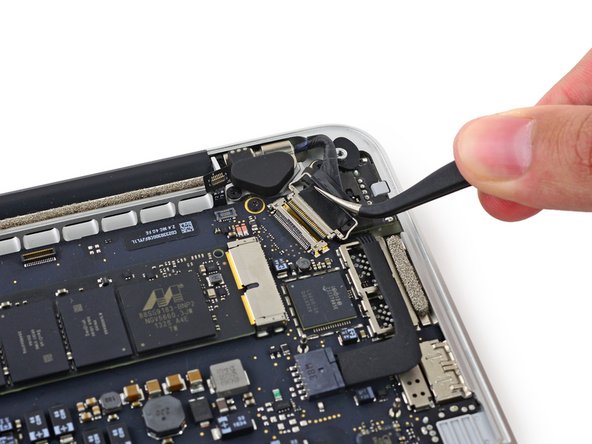
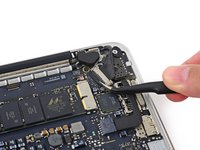
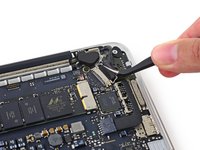
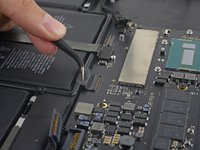
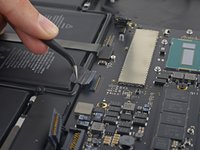
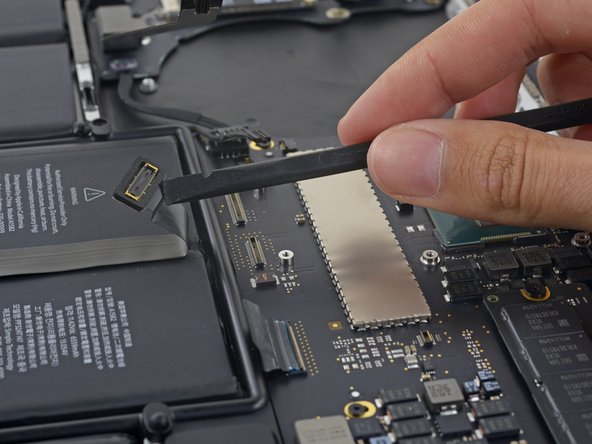
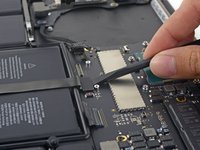
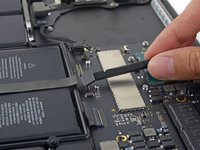
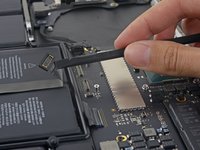
Gebruik de punt van een spudger om het borglipje op de ZIF-aansluiting van de microfoonkabel om te klappen.
-
Trek de microfoonkabel uit het stopcontact op het logic board.
-
-
-
Gebruik de punt van een spudger om het borglipje op de ZIF-aansluiting omhoog te klappen.
-
-
-
Trek de toetsenbordkabel recht uit het ZIF-stopcontact op het logic board.
-
-
-
Gebruik de platte kant van een spudger om de trackpad-kabelaansluiting recht omhoog uit zijn stopcontact op het logic board te wippen.
-
Vouw de kabel terug over de batterij om ruimte te maken voor het logic board.
-
-
-
Verwijder de vijf 3,5 mm T5 Torx-schroeven waarmee het logic board aan de behuizing vastzit.
-
-
-
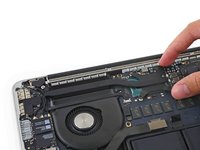
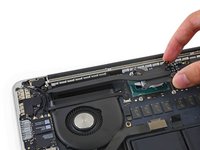
Til de kant van het logic board waar de processor zit iets op en trek het naar de uitsparing van de ventilator toe om de poorten uit de rand van de behuizing te bevrijden.
-
Verwijder het logic board.
-
-
-
-
-
Verwijder de volgende schroeven waarmee de linkerluidspreker aan de behuizing is bevestigd:
-
Eén 5,7 mm Torx-schroef
-
Eén 6,5 mm Torx-schroef
-
Eén 3,8 mm Torx-schroef
-
-
-
Til de hoek van de linkerluidspreker op en schuif deze richting de batterij om de luidspreker uit de behuizing te verwijderen.
-
-
-
Verwijder de enkele 3,7 mm T5 Torx-schroef waarmee de rand van de batterijcontactplaat aan de behuizing vastzit.
-
-
-
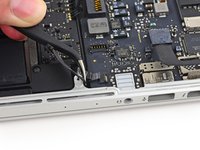
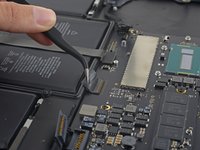
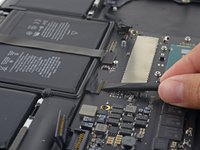
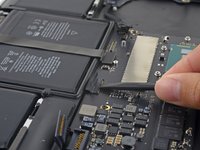
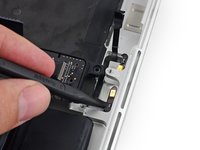
Steek de punt van een spudger onder het gedeelte van de rubberen microfoonkabelafdekking aan de batterijzijde om de lijm daar los te maken.
-
-
-
Gebruik de platte kant van een spudger om de batterijcontactplaat iets omhoog te wippen, zodat er ruimte ontstaat om de dubbele microfoon-unit te verwijderen.
-
-
Gereedschap gebruikt in deze stap:Tweezers$4.99
-
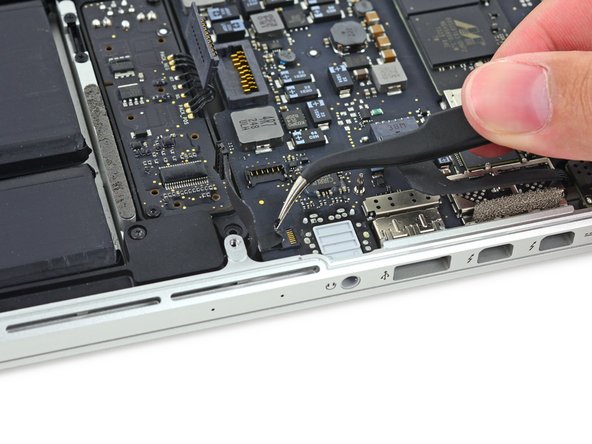
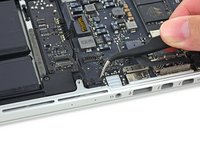
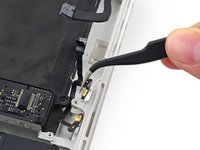
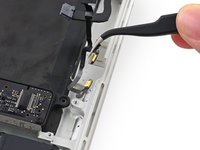
Verwijder het rubberen microfoonkapje met een pincet
-
-
-
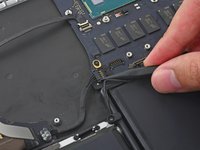
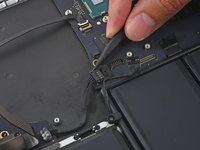
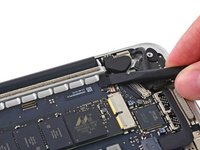
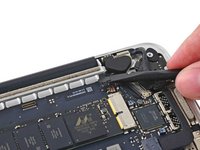
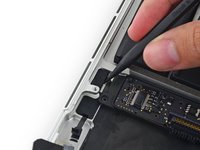
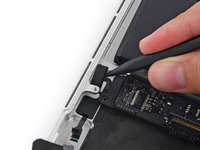
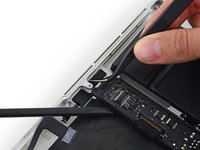
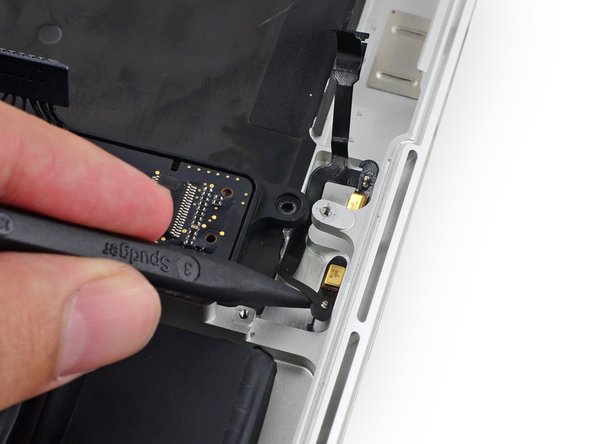
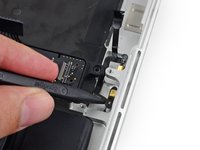
Steek de punt van een spudger onder de (kabel)aansluiting van de microfoon-lintkabel en schuif deze richting de schroefbevestiging om dat deel los te maken van de behuizing.
-
-
-
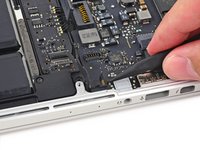
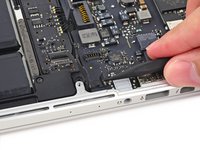
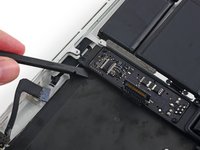
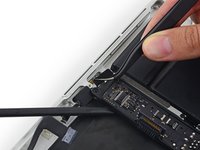
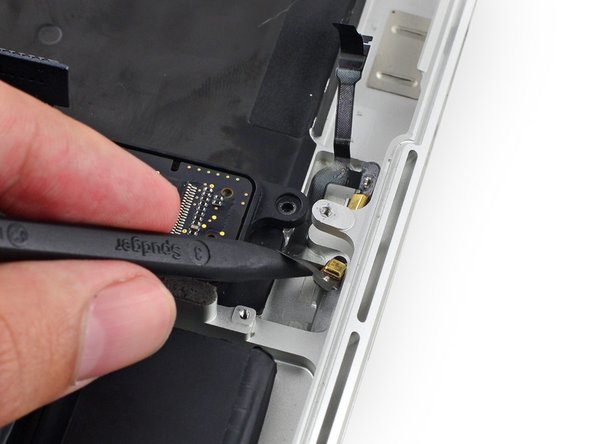
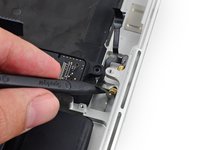
Steek de punt van een spudger onder het batterijzijde-gedeelte van de microfoon-lintkabel en schuif deze richting de schroefstijl om de kabel los te maken van de behuizing.
-
-
-
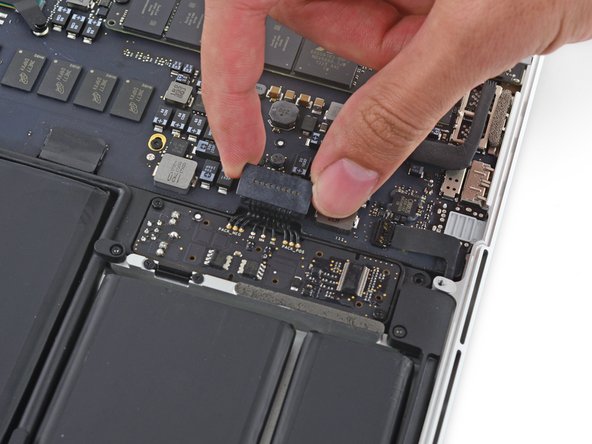
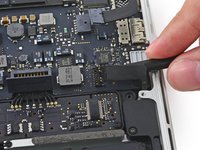
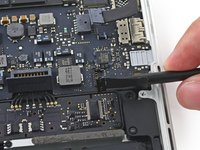
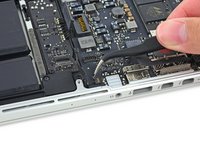
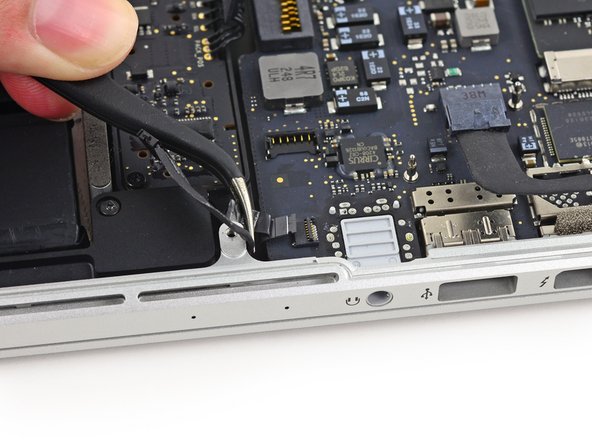
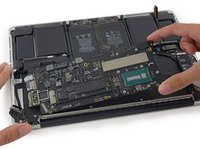
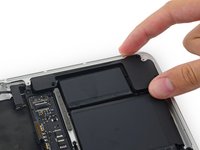
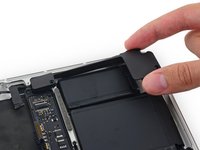
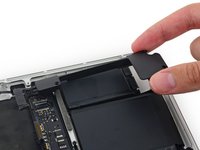
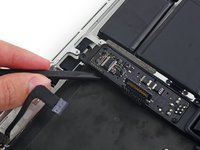
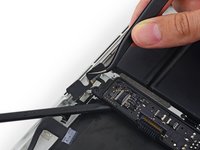
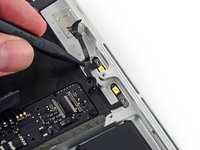
Trek de kabelconstructie van de dubbele microfoon omhoog en in de richting van de uitsparing van het logic board om deze uit de bovenste behuizing te verwijderen.
-
-














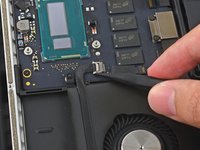
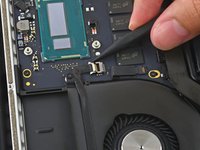


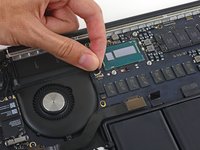
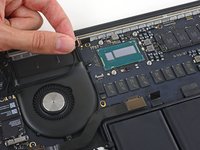












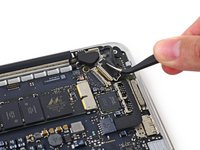


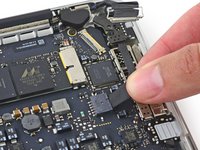
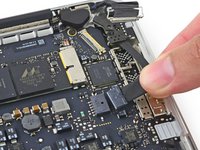


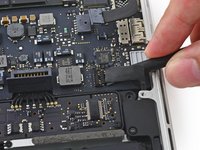











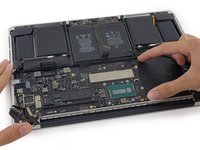
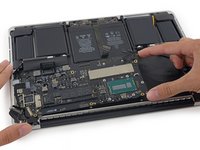













Volg deze instructies in omgekeerde volgorde om uw apparaat weer in elkaar te zetten.
Annuleren: ik heb deze handleiding niet afgemaakt.
11 andere personen hebben deze handleiding voltooid.


5Gids Commentaar
Simply DISABLING the microphones can be done in 3 steps: #1, #2, #25, #26. No need to yank the logic board/fan and all that.
Many thanks for preparing / making this brilliant guide available. The mic in my Macbookpro failed for some reason and, using this guide I replaced it with a refurbished spare and saved myself $$. Every single step has been captured with specific additional detail / imagery where needed. It’s scary working with the tiny connectors but this guide gives you confidence it can be done / you can do it.
Nick Cassidy,
Where did you find a replacement? I have looked EVERYWHERE and can not find one.
Thanks!
This is the usual valuable guide to disassembly. However Steps 8-14 are NOT necessary and create added complication and potential for problems on reassembly. The motherboard can be safely removed with the fan and heatsink attached (make sure to leave the top right 3.6mm fan screw that secures to the motherboard – marked orange in Step 14 – in place). Obviously be careful not to place stress on the fan while it is only held on the one screw but otherwise there is no problem lifting and sliding the board at Step 31. I was able to get at the microphone easily after that and refitting the board was easily done too (making sure cables are not trapped underneath).
I'm slightly at a loss as to why removing the heat sink is deemed necessary unless this guide is based on another where that step is required.
Sorry, to be clearer (I can't edit my main comment now), Steps 8-13 are not necessary and Step 14 only partially necessary. Only 2 of the screws in Step 14 need be removed – the one circled red and the lower one marked orange.
