Deze vertaling is door een computer gegenereerd en is nog niet door iemand nagekeken. Spreek je deze taal? Bekijk het hier.
Inleiding
Om toegang te krijgen tot het RAM moet de interne omlijsting worden verwijderd.
Wat je nodig hebt
-
-
-
Schakel je Mac mini uit, ontkoppel alle kabels en draai hem om.
-
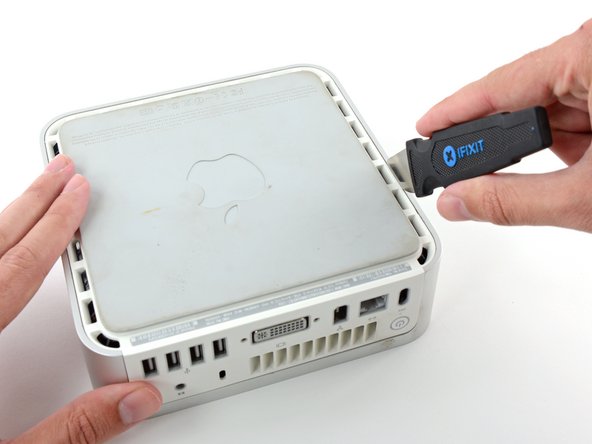
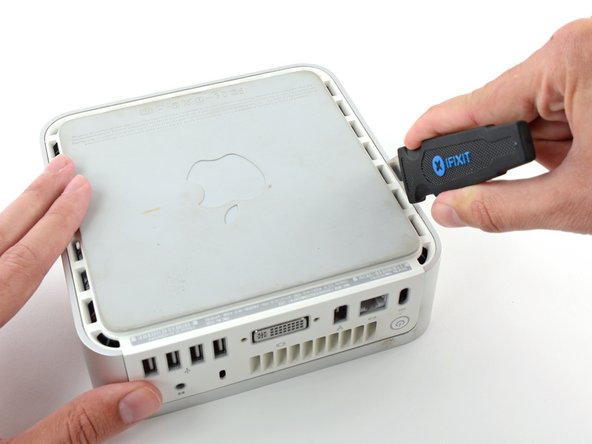
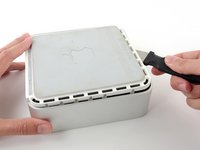
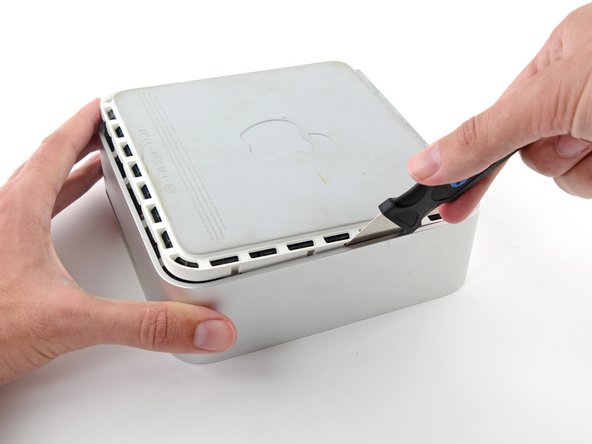
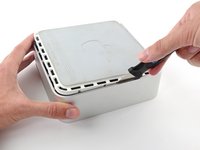
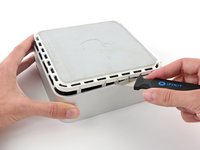
Steek de Jimmy in de opening tussen de aluminium bovenbehuizing en de onderste kunststof behuizing.
-
De Jimmy zou na ongeveer 1 cm weerstand moeten voelen.
 Vraag FixBot
-
-
-
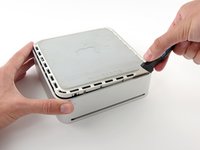
Buig de Jimmy voorzichtig naar buiten om de opening iets verder open te wrikken en til de onderste behuizing een klein beetje op.
-
-
-
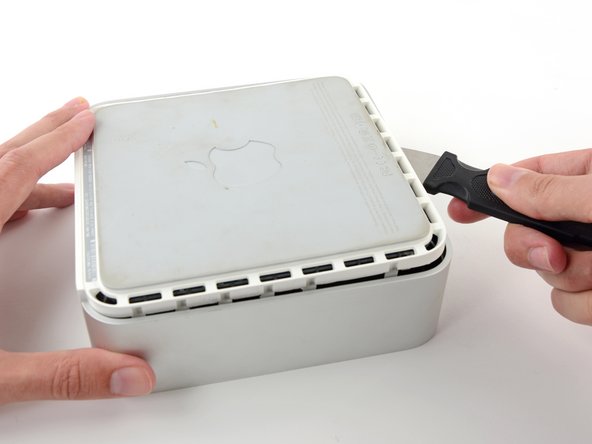
Zodra je de eerste kant hebt losgemaakt, draai je de Mac mini om en begin je de voorkant omhoog te wrikken.
-
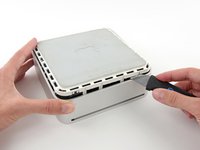
Gebruik dezelfde wrikbeweging om zowel de clips naar binnen te buigen als de onderste behuizing uit de bovenste behuizing te tillen.
-
-
-
Mogelijk moet je de Jimmy langs de rand bewegen om alle clips los te wrikken. Wees geduldig en doe het stap voor stap.
-
-
-
Werk verder langs de rand om de clips aan de laatste zijde los te maken.
-
-
-
-
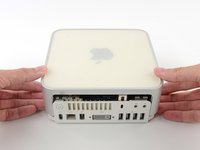
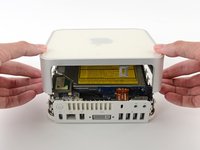
Draai de Mac mini weer om en til de bovenbehuizing van de onderbehuizing af.
-
-
-
-
-
We verwijderen eerst de AirPort-antenne, die zich in de linkerbenedenhoek van deze foto bevindt.
-
-
-
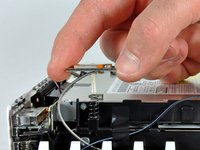
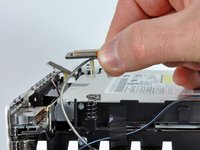
Knijp de twee borgarmen lichtjes naar elkaar toe en til de AirPort-antenne van de bevestigingspen af.
-
-
-
Pak de Bluetooth-antenne die zich het dichtst bij de poortzijde van de computer bevindt bij de randen van het board vast en trek deze recht omhoog van de interne omlijsting.
-
-
-
Verwijder de antennekaart aan de voorzijde van de mini door deze recht omhoog van de interne omlijsting te trekken.
-
Verwijder indien nodig het stukje tape dat de antennedraden aan de interne omlijsting bevestigt.
-
-
-
Gebruik de platte kant van een spudger om de aansluiting van de lintkabel van de audio van de audio-connectorplaat los te wrikken.
-
-
-
Verwijder de volgende vier schroeven die de interne omlijsting aan de onderste behuizing bevestigen:
-
Drie 6,7 mm Phillips-schroeven (maat #00)
-
Eén 9,5 mm Phillips-schroef (maat #00)
-
-
-
Til de interne omlijsting van de onderste behuizing, beginnend bij de achterrand, totdat u voelt dat de verborgen kabelaansluiting op het moederbord loskoppelt. Til deze vervolgens recht omhoog, waarbij u rekening houdt met de bluetooth- en 802.11-antennekabels.
-
-
-
-
-
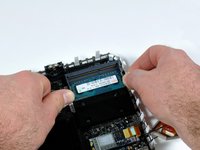
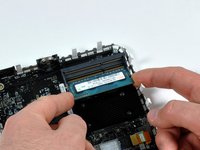
Trek de vergrendellipjes aan beide kanten van de RAM chip tegelijkertijd weg van het midden van de chip. Deze vergrendellipjes houden de chip op zijn plaats; door ze los te maken, zal de chip omhoog "wippen".
-
Trek de RAM chip recht uit de (kabel)aansluiting.
-
-











Volg deze instructies in omgekeerde volgorde om uw apparaat weer in elkaar te zetten.
Annuleren: ik heb deze handleiding niet afgemaakt.
400 andere personen hebben deze handleiding voltooid.

8Gids Commentaar
Well done! Easy to follow and thorough! Took me 10 minutes start to finish!
You probably need to install Mac Mini EFI firmware update 1.2:
Wife has the Late 2009 Macmini (MM) originally with 2GB. We upgraded to 4GB a couple of years ago, and it has been running very slow with Yosemite (10.10.5) for far too long.
Ordered the 8GB upgrade kit and set for 2 day delivery. Bummer it came in 1 day via UPS. Thanks for the surprise iFixit. The tools were unnecessary for me (as I have most), but they are totally outstanding and the real deal. So I decided to use them all. ;)
The upgrade took about 15 min (even for this experienced Mac repair guy). Fired it up and the MM recognized all 8GB. It doesn’t scream, however, it is probably 2-3 times faster and can handle the amazing multi-takser that is my wife; 16 Safari pages, Mac Mail, Calendar, and 7 other apps open at all the same dang time. Thanks iFixit for the absolute best in repair universe parts, service, tech commitment, and guides.
It worked!!! Love it!!! The websites installation guide was very easy to understand. However, the small screwdriver that was shipped with the kit didn’t fit the screws for step-12, almost stripping the screws. luckily, I had another small screwdriver (for glasses) that worked.
Thank you ifixit!!! Totally worth it.
