Inleiding
This guide will demonstrate how to remove and replace a light sensor in the Lytro First Generation light field camera.
Wat je nodig hebt
-
-
Remove the lens covering by using the plastic opening tool to pry it away from the camera. There are strong magnets attached to the bottom so some force is required.
-
-
-
-
Remove the four screws surrounding the lens using a screwdriver.
-
The screws hold the lens and screen assemblies together.
-
-
-
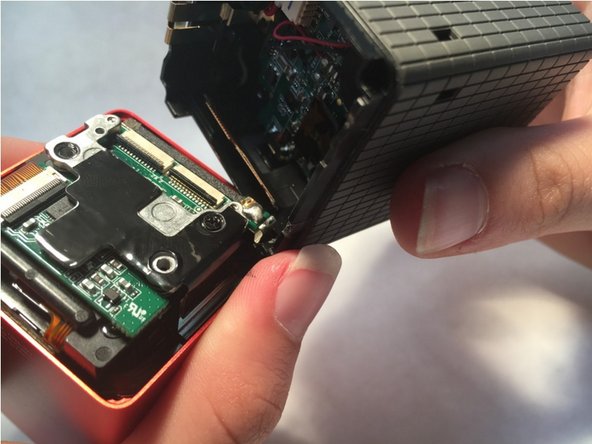
The seperation of the lens assembly and the screen assembly allows access to the motherboard
-
gently disconnect the two ribbon cables (indicated in red on the second image) that connect the motherboard to the lens assembly by lifting up the black pieces of the bracket and pulling gently.
-
There will be a slight bit of glue connecting the two potions that can be removed with a a little force.
-
-
-
Remove the three black screws indicated in red
-
Repeat the same process done to the first two ribbon cables with this one, indicated in orange.
-
-
-
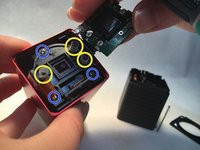
Remove the three springs (yellow) and unscrew the three screws (blue).
-
Replace the light sensor.
-

 Vraag FixBot





To reassemble your device, follow these instructions in reverse order.
Annuleren: ik heb deze handleiding niet afgemaakt.
2 andere personen hebben deze handleiding voltooid.

Team

Central Coast New Tech High, Team 6-1, Rushing Spring 2016 Lid van Central Coast New Tech High, Team 6-1, Rushing Spring 2016
CCNTH-RUSHING-S16S6G1
2 Leden
1 handleiding geschreven
