Ga door naar hoofdinhoud

Logitech Harmony Smart Control Reset Button Replacement

Wat je nodig hebt

  1. Logitech Harmony Smart Control Reset Button Replacement, Reset Button: stap 1, afbeelding 1 van 2 Logitech Harmony Smart Control Reset Button Replacement, Reset Button: stap 1, afbeelding 2 van 2
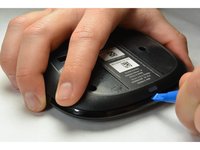
    • Using a plastic opening tool, lift up the rubber pad.

    • From the bottom of the device, with your fingers, pull back the rubber pad. This will expose the screw holes.

    • On the bottom of the hub, repeat the step above for the second rubber pad.

  2. Logitech Harmony Smart Control Reset Button Replacement: stap 2, afbeelding 1 van 2 Logitech Harmony Smart Control Reset Button Replacement: stap 2, afbeelding 2 van 2
    • With the PH00 bit, remove the four 6mm Phillips screws.

  3. Logitech Harmony Smart Control Reset Button Replacement: stap 3, afbeelding 1 van 2 Logitech Harmony Smart Control Reset Button Replacement: stap 3, afbeelding 2 van 2
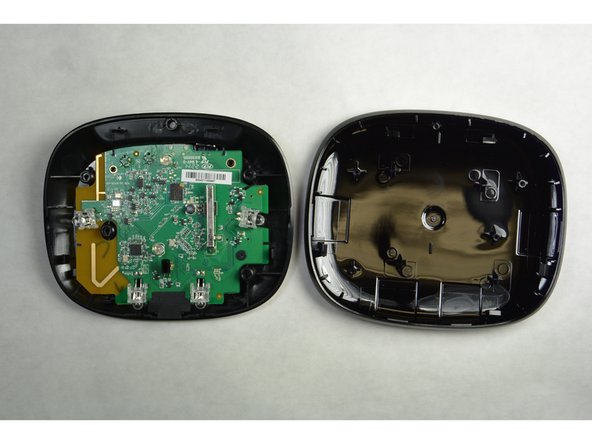
    • With the plastic opening tool, separate the pieces of plastic from each other

  4. Logitech Harmony Smart Control Reset Button Replacement: stap 4, afbeelding 1 van 2 Logitech Harmony Smart Control Reset Button Replacement: stap 4, afbeelding 2 van 2
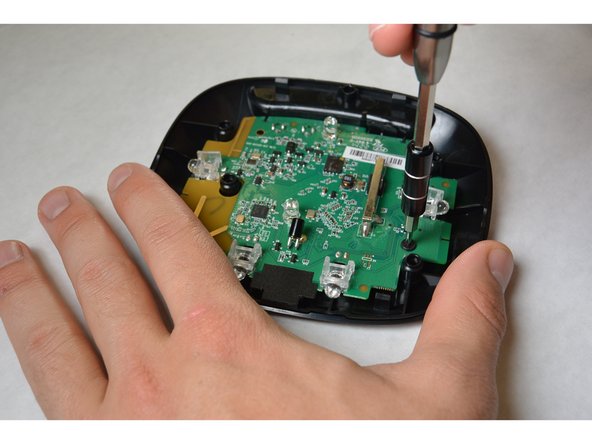
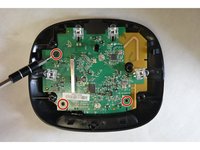
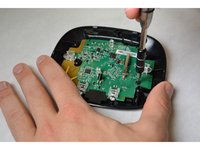
    • With the PH00 bit, remove the three 4mm Phillips screws.

  5. Logitech Harmony Smart Control Reset Button Replacement: stap 5, afbeelding 1 van 3 Logitech Harmony Smart Control Reset Button Replacement: stap 5, afbeelding 2 van 3 Logitech Harmony Smart Control Reset Button Replacement: stap 5, afbeelding 3 van 3
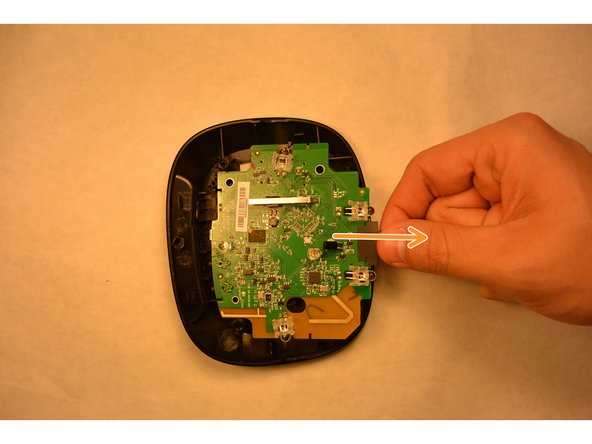
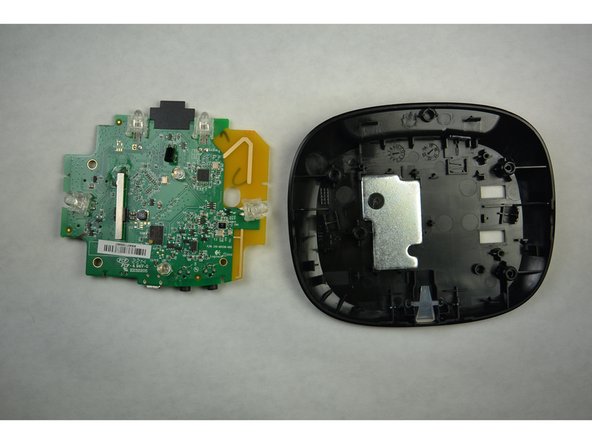
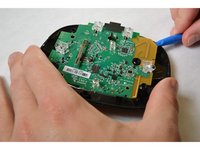
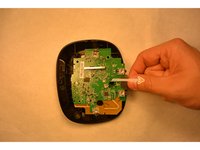
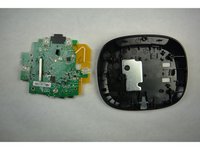
    • From the yellow corner, pry the circuit board from the housing..

  6. Logitech Harmony Smart Control Reset Button Replacement: stap 6, afbeelding 1 van 3 Logitech Harmony Smart Control Reset Button Replacement: stap 6, afbeelding 2 van 3 Logitech Harmony Smart Control Reset Button Replacement: stap 6, afbeelding 3 van 3
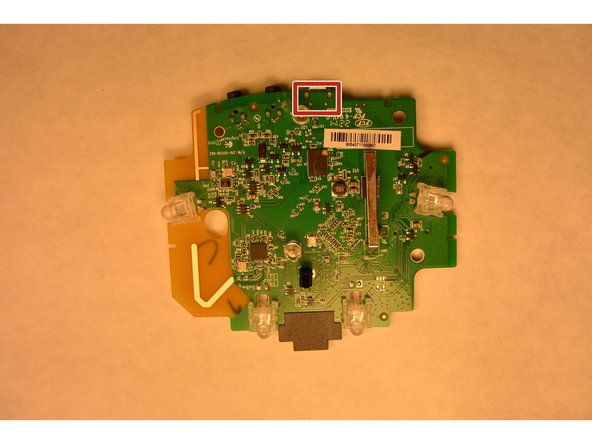
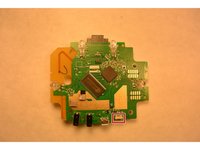
    • Locate the defective reset button.

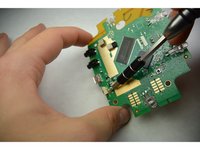
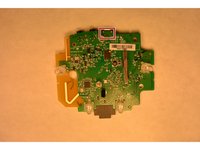
    • Turn the board around to expose the reset solder.

    • Using soldering iron, remove solder and reset button. Replace reset button and solder.

Conclusie

To reassemble your device, follow these instructions in reverse order.

Zachary Robinson

Lid sinds: 09/17/15

126 Reputatie

1 Handleiding geschreven

Team

IUPUI, Team 3-2, Harley Fall 2015 Lid van IUPUI, Team 3-2, Harley Fall 2015

IUPUI-HARLEY-F15S3G2

4 Leden

5 handleidingen geschreven

0 opmerkingen

Voeg opmerking toe

Weergavestatistieken:

Afgelopen 24 uren: 0

Afgelopen 7 dagen: 3

Afgelopen 30 dagen: 6

Altijd: 960