Ga door naar hoofdinhoud
Word lid van de reparatiegemeenschap - Account aanmaken

Logitech Harmony Smart Control Remote Buttons Replacement

Wat je nodig hebt

    1. Logitech Harmony Smart Control Remote Buttons Replacement, Remote Buttons: stap 1, afbeelding 1 van 2 Logitech Harmony Smart Control Remote Buttons Replacement, Remote Buttons: stap 1, afbeelding 2 van 2
      • With both thumbs, slide the grooved cover off the end of the remote.

      • Remove the battery once cover is removed.

      Vraag FixBot

      Voeg opmerking toe

    2. Logitech Harmony Smart Control Remote Buttons Replacement: stap 2, afbeelding 1 van 2 Logitech Harmony Smart Control Remote Buttons Replacement: stap 2, afbeelding 2 van 2
      • With the PH00 bit, remove both of the 4mm Phillip screws on the remote.

      Vraag FixBot

      Voeg opmerking toe

    3. Logitech Harmony Smart Control Remote Buttons Replacement: stap 3, afbeelding 1 van 2 Logitech Harmony Smart Control Remote Buttons Replacement: stap 3, afbeelding 2 van 2
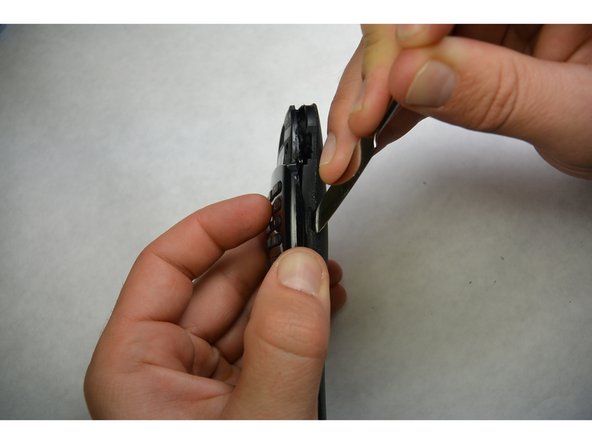
      • Using a metal spudger, pry the remote. Maneuver around to separate both sides.

      Vraag FixBot

      Voeg opmerking toe

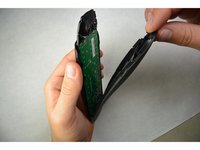
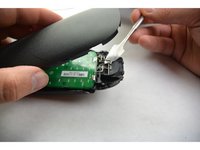
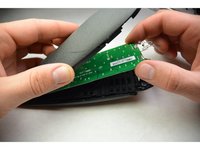
    4. Logitech Harmony Smart Control Remote Buttons Replacement: stap 4, afbeelding 1 van 3 Logitech Harmony Smart Control Remote Buttons Replacement: stap 4, afbeelding 2 van 3 Logitech Harmony Smart Control Remote Buttons Replacement: stap 4, afbeelding 3 van 3
      • Manualy separate the two pieces of plastic.

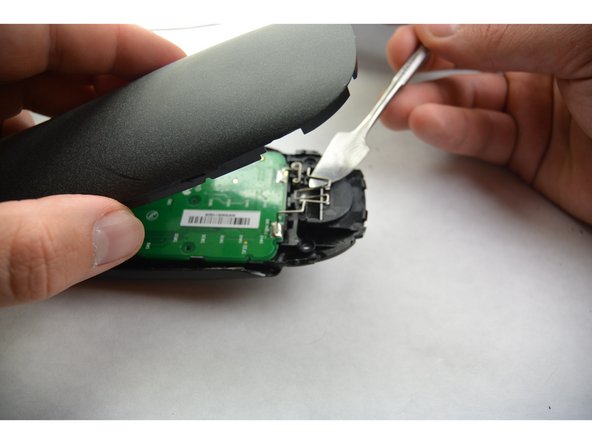
      • Using the metal piece from the housing, pry up the circuit board. Do not disconnect anything.

      • When the circuit board is pried, slide the circuit board out of the housing.

      Vraag FixBot

      Voeg opmerking toe

    5. Logitech Harmony Smart Control Remote Buttons Replacement: stap 5, afbeelding 1 van 1
      • From the front of the remote, remove the buttons. Clean or replace the necessary buttons.

      Vraag FixBot

      Voeg opmerking toe

Conclusie

To reassemble your device, follow these instructions in reverse order.

Annuleren: ik heb deze handleiding niet afgemaakt.

2 andere personen hebben deze handleiding voltooid.

Josh Hendricks

Lid sinds: 09/17/15

464 Reputatie

4 handleidingen geschreven

Team

IUPUI, Team 3-2, Harley Fall 2015 Lid van IUPUI, Team 3-2, Harley Fall 2015

IUPUI-HARLEY-F15S3G2

4 Leden

10 handleidingen geschreven

10Gids Commentaar

Excellent guide. However, I can’t find a supplier for the button pad. Any suggestions?

fhaist - Antwoord Deel

Hi there,

My son dropped mine in water. I opened it and dried it off but it still doesn’t work.

I could give you my button pad if you want.

Benoit Lagarde - Antwoord Deel

Where do you purchase button replacements?

Steve Lutes - Antwoord Deel

Where do you purchase button replacements?

Flavio Campos - Antwoord Deel

Excellent! I wasn’t sure if it was possible to crack it open or not. Thanks, I was able to clean it up.

John Wall - Antwoord Deel

Voeg opmerking toe

Weergavestatistieken:

Afgelopen 24 uren: 1

Afgelopen 7 dagen: 10

Afgelopen 30 dagen: 37

Altijd: 6,485