Deze vertaling is door een computer gegenereerd en is nog niet door iemand nagekeken. Spreek je deze taal? Bekijk het hier.

Linsay Model F-7HD2CORE-scherm vervangen

Lindsay Byrnes en 3 andere bijdragers
Voor het laatst geüpdatet op 19 aug 2026
Bekeken: 1,9K
Statistieken weergeven:
- Afgelopen 24 uur:
- 2
- Afgelopen 7 dagen:
- 18
- Afgelopen 30 dagen:
- 78
- Altijd:
- 1.862
Commentaar: 1
1 guide comment.
Go to guide commentsVoltooid: 3 4
3 mensen hebben deze handleiding als "voltooid" gemarkeerd. Ben jij de volgende?
4 personen hebben deze handleiding als "voltooid" gemarkeerd. Een daarvan ben jij—lekker bezig!
Favorieten: 2 3
2 mensen hebben deze handleiding als favoriet gemarkeerd en volgen deze. Ben jij de volgende?
3 personen hebben deze handleiding als favoriet gemarkeerd (en blijven daarmee op de hoogte van meldingen)—een daarvan ben jij!
Inleiding
Ga naar stap 1 ↓Het scherm vervangen is nodig wanneer het gebarsten of verbrijzeld is. Een reservescherm voor Linsay-tablets is eenvoudig online te vinden. Wees voorzichtig bij het hanteren van scherven gebroken glas, aangezien deze scherp kunnen zijn en snijwonden kunnen veroorzaken.
Wat je nodig hebt
Onderdelen
Gereedschap


-
-
-
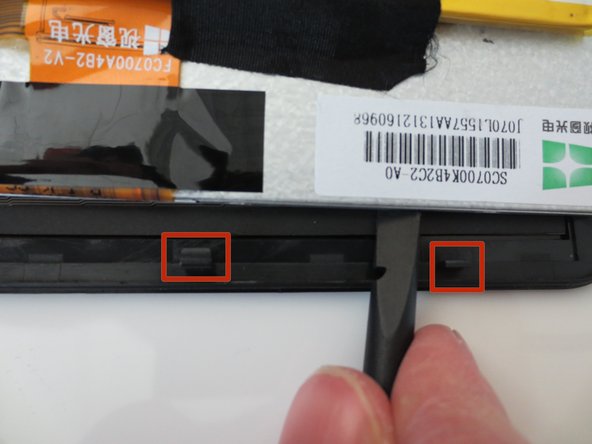
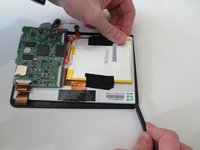
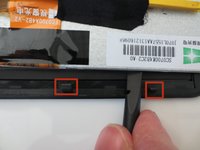
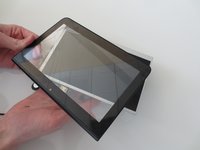
Steek uw plastic Openingsgereedschap tussen de zwarte en witte delen van uw apparaat.
-
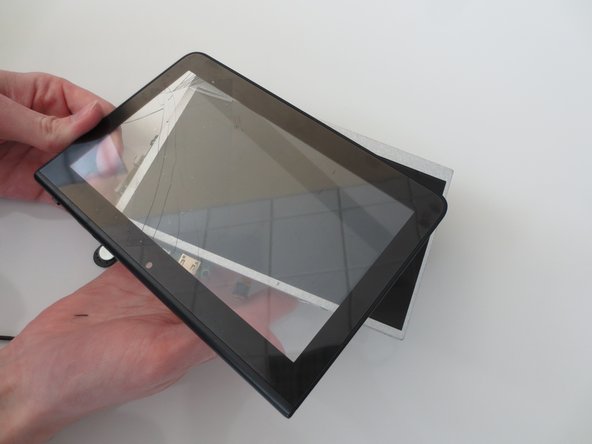
Wrik het bovenscherm voorzichtig los van de basis van de tablet.
-
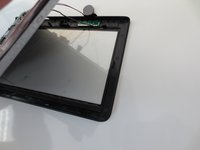
Uw tablet zou er nu uit moeten zien als de derde foto.
 Vraag FixBot
-
-
-
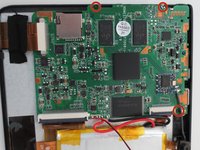
Gebruik je Phillips-schroevendraaier (00) om de drie 4mm kruiskopschroeven die met rood omcirkeld zijn te verwijderen.
-
-
-
-
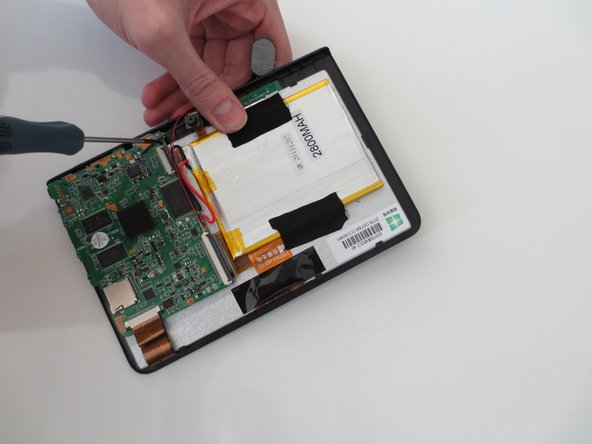
Gebruik de stompe kant van de spudger om het circuitpaneel en de batterij uit het glazen schermgedeelte van het apparaat te verwijderen.
-
Er zullen verschillende kleine haakjes zijn die het scherm op het achterpaneel houden.
-
-
-
Trek de twee delen van de tablet voorzichtig uit elkaar.
-
Je tablet zou er nu uit moeten zien zoals in afbeelding twee.
-
Je bent nu klaar om je nieuwe scherm te bevestigen!
-
-





Volg deze instructies in omgekeerde volgorde om uw apparaat weer in elkaar te zetten.
Annuleren: ik heb deze handleiding niet afgemaakt.
3 andere personen hebben deze handleiding voltooid.

Team

Penn State, Team 1-5, Kaschak Winter 2015 Lid van Penn State, Team 1-5, Kaschak Winter 2015
PSU-KASCHAK-W15S1G5
3 Leden
24 handleidingen geschreven
