Ga door naar hoofdinhoud
Word lid van de reparatiegemeenschap - Account aanmaken

Linksys WAP 11 Outer Case Replacement

Wat je nodig hebt

    1. Linksys WAP 11 Outer Case Replacement, Outer Case: stap 1, afbeelding 1 van 1
      • Disconnect the power cables and ethernet from the device.

      • Unscrew the external plastic antennas. There is one antenna on each side of the device.

      Vraag FixBot

      Voeg opmerking toe

    2. Linksys WAP 11 Outer Case Replacement: stap 2, afbeelding 1 van 3 Linksys WAP 11 Outer Case Replacement: stap 2, afbeelding 2 van 3 Linksys WAP 11 Outer Case Replacement: stap 2, afbeelding 3 van 3
      Gereedschap gebruikt in deze stap:
      Tweezers
      $4.99
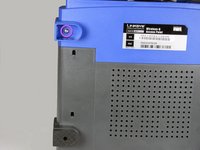
      • To open the Linksys WAP11, you will need a Phillips #1 screwdriver and a pair of metal tweezers.

      • Use the tweezers to remove the two rubber boots from the front two legs. Insert the tweezers in the hole of the boot and pull outwards.

      • This will reveal two small Phillips-head screws. Remove them.

      • Keep these two screws together.

      Vraag FixBot

      Voeg opmerking toe

    3. Linksys WAP 11 Outer Case Replacement: stap 3, afbeelding 1 van 2 Linksys WAP 11 Outer Case Replacement: stap 3, afbeelding 2 van 2
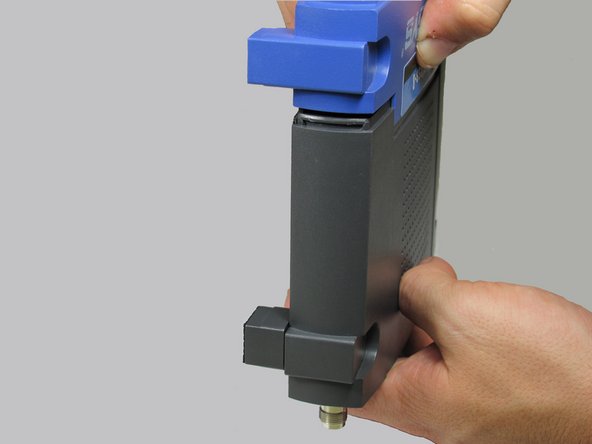
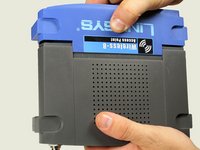
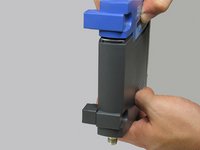
      • Using two hands, pull on the top and bottom sections to separate the blue and the black pieces.

      • This requires significant amount of force.

      • The seal is located where the blue plastic meets the black plastic. This is where you will apply pressure.

      Vraag FixBot

      Voeg opmerking toe

    4. Linksys WAP 11 Outer Case Replacement: stap 4, afbeelding 1 van 1
      • After the face of the device has been removed, slide the base of the device off to reveal the motherboard and other internal components.

      • When removing the base, do not damage the wires that are attached to the device.

      Vraag FixBot

      Voeg opmerking toe

    5. Linksys WAP 11 Outer Case Replacement: stap 5, afbeelding 1 van 1
      • This is what the device looks like when it is fully opened.

      Vraag FixBot

      Voeg opmerking toe

Conclusie

To reassemble your device, follow these instructions in reverse order.

Annuleren: ik heb deze handleiding niet afgemaakt.

Joe M

Lid sinds: 10/12/11

159 Reputatie

3 handleidingen geschreven

Team

Cal Poly, Team 3-17, Regan Fall 2011 Lid van Cal Poly, Team 3-17, Regan Fall 2011

CPSU-REGAN-F11S3G17

5 Leden

40 handleidingen geschreven

0Gids Commentaar

Voeg opmerking toe

Weergavestatistieken:

Afgelopen 24 uren: 1

Afgelopen 7 dagen: 4

Afgelopen 30 dagen: 27

Altijd: 1,398