Inleiding
If you have noticed that your laptop tends to overheat constantly, your Lenovo ThinkPad L390 shuts down more than normal, or other issues like your fan making loud noises or not spinning, it is likely time to replace your fan/heat sink assembly. Having a faulty fan can lead to other problems such as damage to vital components such as the CPU, hard drive, or video card due to prolonged over heating.
Before you follow the steps of this guide, make sure to check the connections of the fan, to clean the air vents to the fan of debris, and to make sure that the Power Plan (Power Saver mode) is not on as these are common issues that can cause your fan to decrease in performance without it needing to be replaced.
Note:
- Before beginning this guide, make sure to power off your laptop completely and disconnect from any external power source.
- Some parts are small and can be easily lost, so place them in a safe place.
- Before replacing the fan, you should remove the battery first.
Wat je nodig hebt
-
-
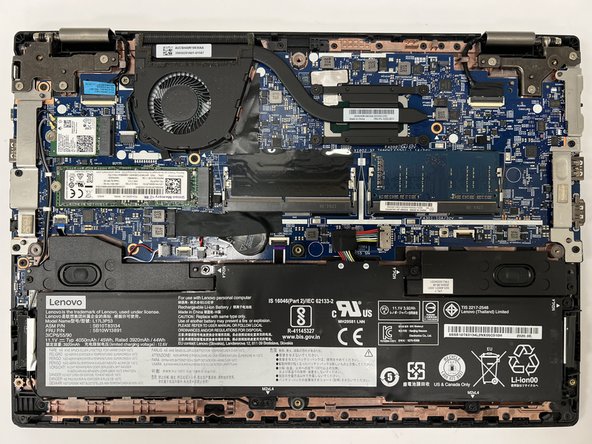
Power off your laptop and disconnect the charger and any peripheries before beginning disassembly.
-
Unscrew the nine 5 mm Phillips #00 screws that secure the lower case.
-
-
-
-
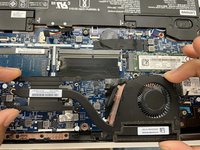
Use your fingernails or two opening tools to gently "walk" the battery connector directly out of its socket.
-
-
-
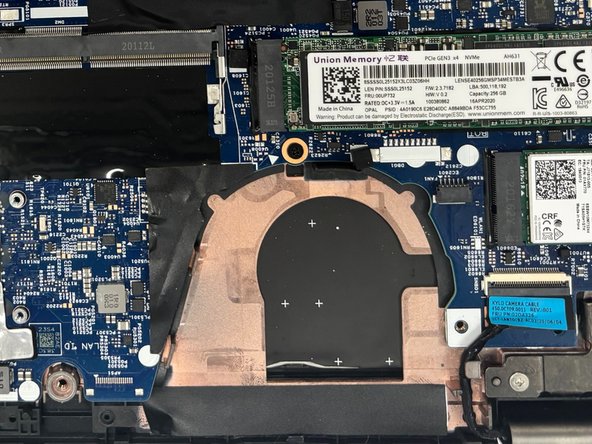
Remove the four 4 mm Phillips #00 screws that secure the heat sink.
-
Remove the 6 mm Phillips #00 screw that secures the fan.
-


To reassemble your device, follow the above steps in reverse order.
Take your e-waste to an R2 or e-Stewards certified recycler.
To reassemble your device, follow the above steps in reverse order.
Take your e-waste to an R2 or e-Stewards certified recycler.
Annuleren: ik heb deze handleiding niet afgemaakt.
3 andere personen hebben deze handleiding voltooid.

Team

University of North Texas, Team 5-4, Kilpatrick Fall 2024 Lid van University of North Texas, Team 5-4, Kilpatrick Fall 2024
UNT-KILPATRICK-F24S5G4
4 Leden
5 handleidingen geschreven