Inleiding
Welcome to this guide on how to remove and replace a damaged battery pack in your Lenovo IdeaPad 3-1481W000NGUS. If you have been experiencing issues with your laptop's battery life, such as it not holding a charge or draining quickly, it may be time to replace the battery. In this guide, we will walk you through the steps and tools needed to safely and effectively replace the battery pack in a Lenovo IdeaPad 3-1481W000NGUS, so you can use your laptop without any battery related issues.
Before attempting to replace the battery pack, make sure that your laptop is completely shut down and unplugged from its power source or any other power outlets. The steps listed below will outline how to remove the damaged battery pack from your laptop. In order to install a new battery pack into your laptop, follow the steps in reverse order.
Prior to completing this guide, please visit our troubleshooting page, as battery related issues can often be resolved without having to replace the battery pack.
Wat je nodig hebt
-
-
Orient the laptop so that the bottom is facing up.
-
Remove the six 7 mm screws using a Phillips #00 screwdriver.
-
Remove the four 4 mm screws using a Phillips #00 screwdriver.
-
-
-
-
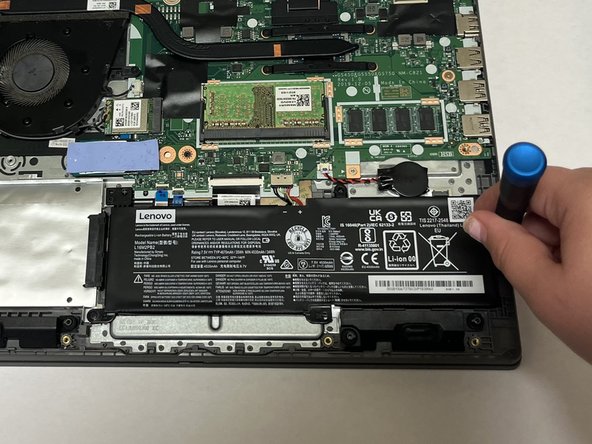
Remove the three 4 mm screws connected to the battery pack using a Phillips #000 screwdriver.
-
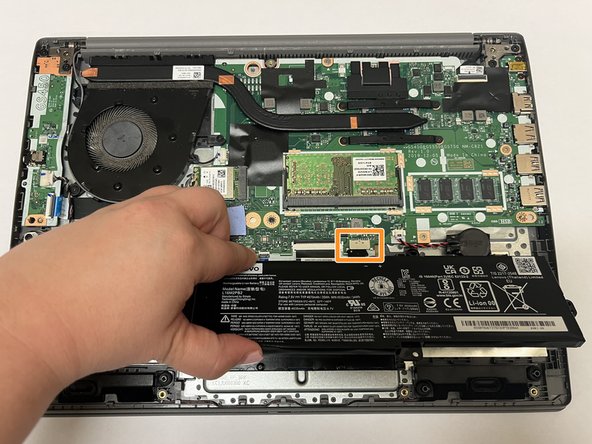
Disconnect the battery cable from the motherboard.
-
Gently lift up the battery pack by hand to remove it.
-


To reassemble your device, follow these instructions in reverse order.
To reassemble your device, follow these instructions in reverse order.

Team

University of Delaware, Team 11-4, McGuire Spring 2023 Lid van University of Delaware, Team 11-4, McGuire Spring 2023
UD-MCGUIRE-S23S11G4
5 Leden
6 handleidingen geschreven