Inleiding
This guide demonstrates fan removal and replacement for the Lenovo G780, which may be necessary in case of fan failure or to clean excessive dust buildup. By replacing your fan, your laptop will run more efficiently since it will be able to cool itself down with a properly functioning fan. There are no special skills required to complete this replacement.
Wat je nodig hebt
-
-
-
Turn off the computer.
-
Slide the battery-lock switch on the bottom of the laptop to the unlocked position.
 Vraag FixBot
-
-
-
Hold the battery release switch in the unlocked position and remove the battery.
-
-
-
-
-
-
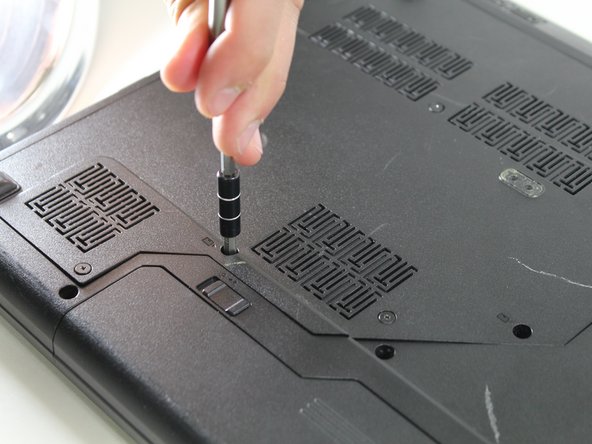
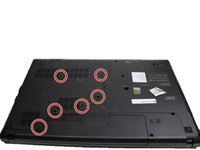
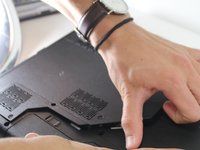
Remove the six 9 mm screws from the back panel with a Phillips #0 screwdriver.
-
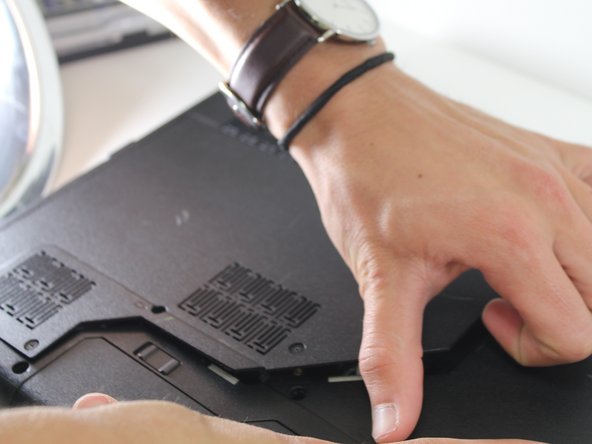
Remove the back plate.
-
-
-
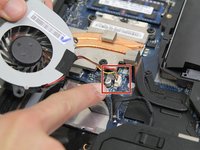
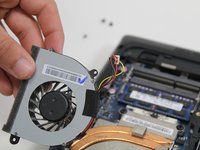
Use a Phillips #0 screwdriver to detach the fan by removing the two black 9 mm screws and the single silver 4 mm screw that is securing it to the motherboard.
-
-




To reassemble your device, follow these instructions in reverse order.
Annuleren: ik heb deze handleiding niet afgemaakt.
2 andere personen hebben deze handleiding voltooid.

Team

Carson-Newman University, Team S1-G3, Sobiech Spring 2017 Lid van Carson-Newman University, Team S1-G3, Sobiech Spring 2017
CNU-SOBIECH-S17S1G3
4 Leden
8 handleidingen geschreven
