Ga door naar hoofdinhoud
Word lid van de reparatiegemeenschap - Account aanmaken

Lefant M210 Wheel Assembly Replacement

Wat je nodig hebt

  1. Lefant M210 Wheel Assembly Replacement, Brush: stap 1, afbeelding 1 van 2 Lefant M210 Wheel Assembly Replacement, Brush: stap 1, afbeelding 2 van 2
    • Turn off the Lefant M210 and disconnect it from the charging dock.

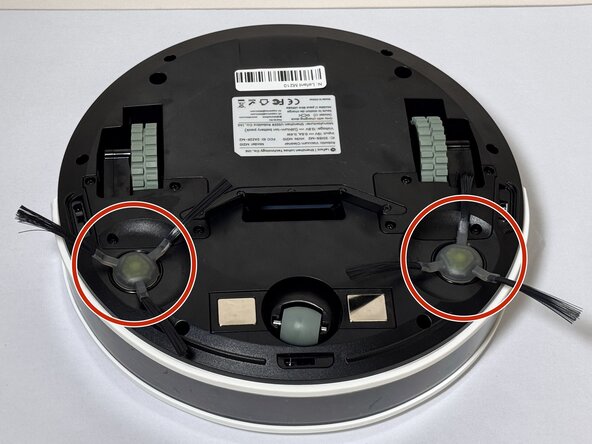
    • Flip the unit over so the bottom faces upward.

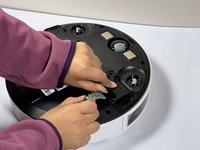
    • Locate the circular brush assemblies on the left and right sides of the underside.

    • Place the unit on a clean, flat surface to prevent scratching.

  2. Lefant M210 Wheel Assembly Replacement: stap 2, afbeelding 1 van 3 Lefant M210 Wheel Assembly Replacement: stap 2, afbeelding 2 van 3 Lefant M210 Wheel Assembly Replacement: stap 2, afbeelding 3 van 3
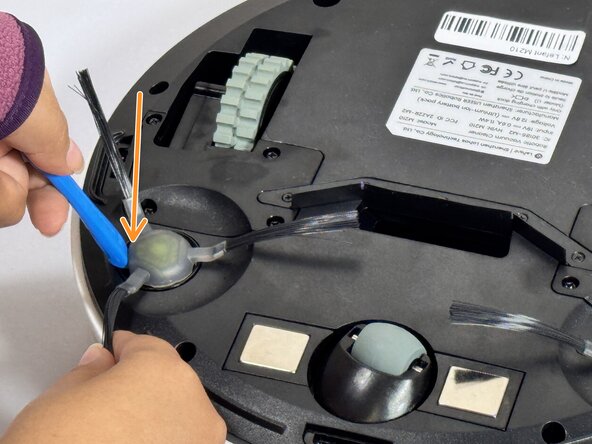
    • Insert the iFixit Opening Tool (or similar pry tool) under the circular edge of the brush assembly.

    • Apply gentle downward pressure on the opposite end of the tool to lever the brush component out of its housing.

    • Remove the brush assembly completely and set it aside.

    • If replacing both brush assemblies, repeat this process on the other side.

    • Avoid using excessive force, which may damage the mounting clips.

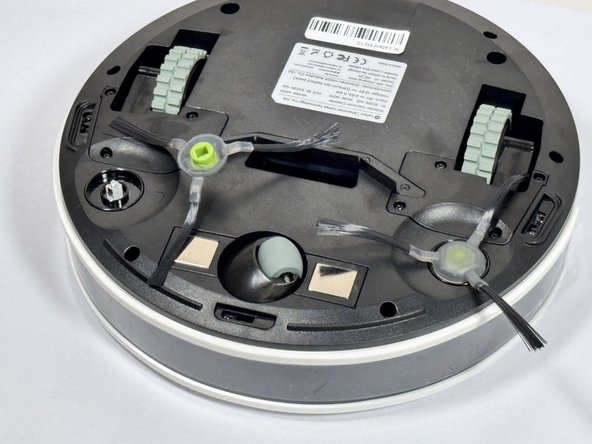
    • Position the new brush assembly above the square mounting peg.

    • Align the square cavity on the bottom of the brush with the corresponding square peg in the vacuum housing.

    • Press down firmly on the brush assembly until you hear or feel it click into place.

    • Gently tug on the brush to verify it is securely seated.

    • The brush should sit flush with the housing and not move when pulled gently.

  3. Lefant M210 Wheel Assembly Replacement, Wheel Assembly: stap 4, afbeelding 1 van 1
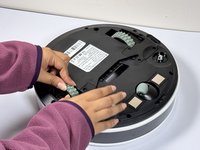
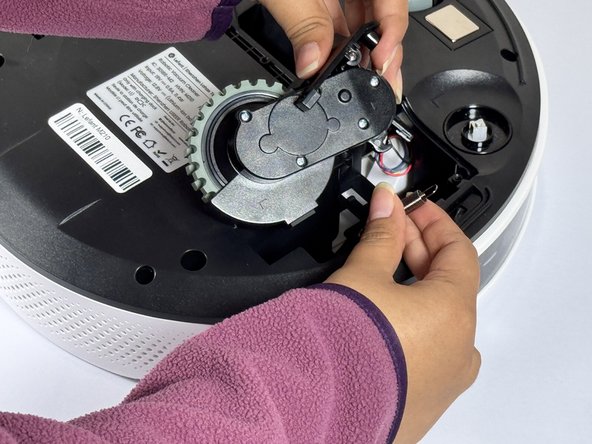
    • Use a Phillips screwdriver to remove four screws near each wheel.

  4. Lefant M210 Wheel Assembly Replacement: stap 5, afbeelding 1 van 2 Lefant M210 Wheel Assembly Replacement: stap 5, afbeelding 2 van 2
    • Remove the plastic cover next to each wheel.

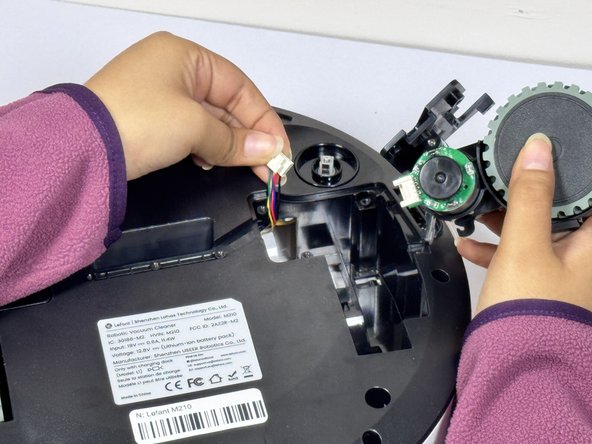
    • Grip both sides of the wheel and pull upwards.

    • The wheels of the device require some force to remove.

    • Don't pull the wheels too hard as they are attached to cables and may be damaged if yanked.

  5. Lefant M210 Wheel Assembly Replacement: stap 6, afbeelding 1 van 3 Lefant M210 Wheel Assembly Replacement: stap 6, afbeelding 2 van 3 Lefant M210 Wheel Assembly Replacement: stap 6, afbeelding 3 van 3
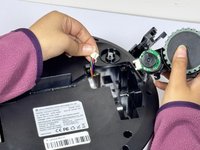
    • Hold the wheel up and detach the connector to release it from the device.

Conclusie

To reassemble your device, follow these instructions in reverse order.

Adrian pg

Lid sinds: 09/09/24

147 Reputatie

1 Handleiding geschreven

Team

CSU Los Angeles, Team 2-4, Kershman Fall 2024 Lid van CSU Los Angeles, Team 2-4, Kershman Fall 2024

CSULA-KERSHMAN-F24S2G4

4 Leden

8 handleidingen geschreven

0Gids Commentaar

Voeg opmerking toe

Weergavestatistieken:

Afgelopen 24 uren: 3

Afgelopen 7 dagen: 35

Afgelopen 30 dagen: 127

Altijd: 1,097