Ga door naar hoofdinhoud
Word lid van de reparatiegemeenschap - Account aanmaken

Leapfrog LeapPad 3 Front Facing Camera Replacement

Wat je nodig hebt

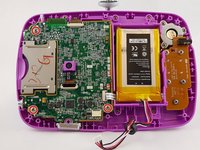
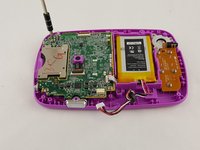
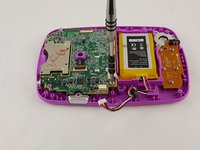
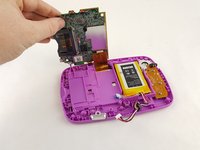
    1. Leapfrog LeapPad 3 Front Facing Camera Replacement, Battery: stap 1, afbeelding 1 van 3 Leapfrog LeapPad 3 Front Facing Camera Replacement, Battery: stap 1, afbeelding 2 van 3 Leapfrog LeapPad 3 Front Facing Camera Replacement, Battery: stap 1, afbeelding 3 van 3
      Gereedschap gebruikt in deze stap:
      Anti-Static Wrist Strap
      $7.95
      • Before taking apart your device, ensure that it is turned off and that your anti-static wrist strap is secured to a ground.

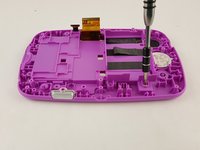
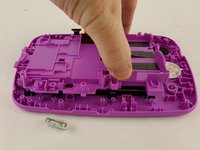
      • Remove the six 10.0 mm Phillips #0 screws from the outer case and remove the cover with your hands.

      • You will not need to pry the case off.

      Vraag FixBot

      Voeg opmerking toe

    2. Leapfrog LeapPad 3 Front Facing Camera Replacement: stap 2, afbeelding 1 van 3 Leapfrog LeapPad 3 Front Facing Camera Replacement: stap 2, afbeelding 2 van 3 Leapfrog LeapPad 3 Front Facing Camera Replacement: stap 2, afbeelding 3 van 3
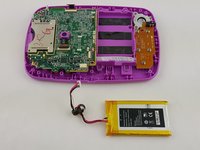
      • Unplug the battery from the motherboard with your hands.

      • The battery sits to the right of the motherboard.

      Vraag FixBot

      Voeg opmerking toe

    3. Leapfrog LeapPad 3 Front Facing Camera Replacement: stap 3, afbeelding 1 van 2 Leapfrog LeapPad 3 Front Facing Camera Replacement: stap 3, afbeelding 2 van 2
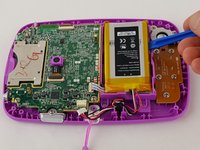
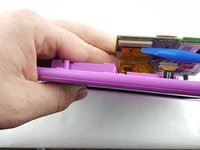
      • Pry the battery gently off of the plastic platform with an opening tool.

      • Do not to puncture the battery, as the material inside can be dangerous.

      Vraag FixBot

      Voeg opmerking toe

    1. Leapfrog LeapPad 3 Front Facing Camera Replacement, Speaker: stap 4, afbeelding 1 van 2 Leapfrog LeapPad 3 Front Facing Camera Replacement, Speaker: stap 4, afbeelding 2 van 2
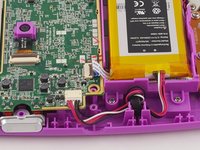
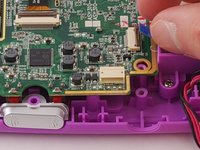
      • Disconnect the audio cord from the motherboard using a plastic opening tool.

      • When re-plugging this cord be sure it is flush with the slot, otherwise the speaker and directional pad will malfunction.

      • Use caution when unplugging, and re-plugging the ribbon cord as they are fragile.

      Vraag FixBot

      Voeg opmerking toe

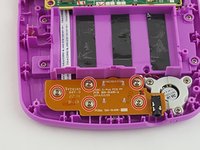
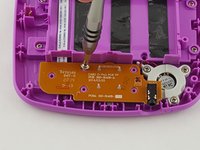
    2. Leapfrog LeapPad 3 Front Facing Camera Replacement: stap 5, afbeelding 1 van 3 Leapfrog LeapPad 3 Front Facing Camera Replacement: stap 5, afbeelding 2 van 3 Leapfrog LeapPad 3 Front Facing Camera Replacement: stap 5, afbeelding 3 van 3
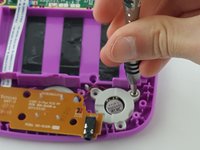
      • Unscrew the five 6.0 mm phillips head screws from the board containing the audio jack and directional pad.

      Vraag FixBot

      Voeg opmerking toe

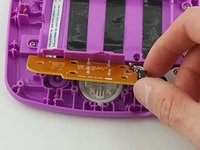
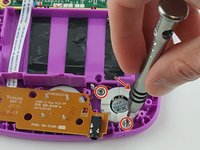
    3. Leapfrog LeapPad 3 Front Facing Camera Replacement: stap 6, afbeelding 1 van 3 Leapfrog LeapPad 3 Front Facing Camera Replacement: stap 6, afbeelding 2 van 3 Leapfrog LeapPad 3 Front Facing Camera Replacement: stap 6, afbeelding 3 van 3
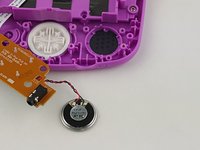
      • Unscrew the three 6.5 mm phillips head screws holding down the speaker to the right of the audio jack.

      • Remove the board and speaker from the device.

      Vraag FixBot

      Voeg opmerking toe

    1. Leapfrog LeapPad 3 Front Facing Camera Replacement, Motherboard: stap 7, afbeelding 1 van 2 Leapfrog LeapPad 3 Front Facing Camera Replacement, Motherboard: stap 7, afbeelding 2 van 2
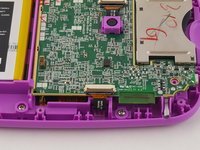
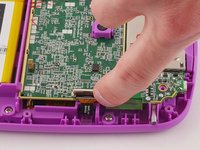
      • Unplug the front facing camera cord with an opening tool to free the top of the motherboard.

      Vraag FixBot

      Voeg opmerking toe

    2. Leapfrog LeapPad 3 Front Facing Camera Replacement: stap 8, afbeelding 1 van 3 Leapfrog LeapPad 3 Front Facing Camera Replacement: stap 8, afbeelding 2 van 3 Leapfrog LeapPad 3 Front Facing Camera Replacement: stap 8, afbeelding 3 van 3
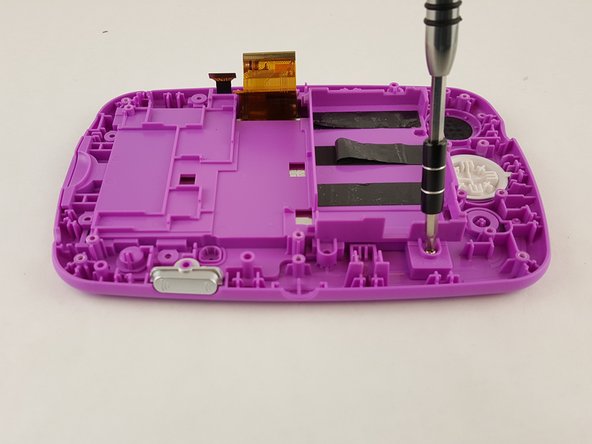
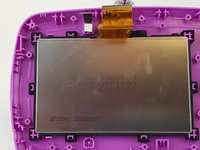
      • Remove the three 6 mm phillips head screws holding the motherboard to the display assembly.

      Vraag FixBot

      Voeg opmerking toe

    3. Leapfrog LeapPad 3 Front Facing Camera Replacement: stap 9, afbeelding 1 van 3 Leapfrog LeapPad 3 Front Facing Camera Replacement: stap 9, afbeelding 2 van 3 Leapfrog LeapPad 3 Front Facing Camera Replacement: stap 9, afbeelding 3 van 3
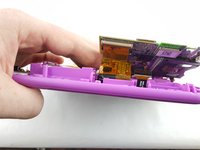
      • Carefully lift the motherboard out of the case, exposing the last remaining cord on the underside of the motherboard.

      • Disconnect the gold display assembly cord with an opening tool to fully disconnect the motherboard.

      • The device was rotated 180 degrees in order to unplug the display assembly cord.

      Vraag FixBot

      Voeg opmerking toe

    1. Leapfrog LeapPad 3 Front Facing Camera Replacement, Front Facing Camera: stap 10, afbeelding 1 van 2 Leapfrog LeapPad 3 Front Facing Camera Replacement, Front Facing Camera: stap 10, afbeelding 2 van 2
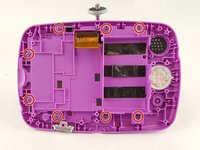
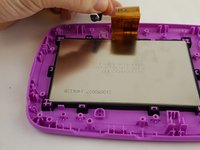
      • Unscrew the eight 6.5 mm phillips screws from the plastic casing.

      Vraag FixBot

      Voeg opmerking toe

    2. Leapfrog LeapPad 3 Front Facing Camera Replacement: stap 11, afbeelding 1 van 3 Leapfrog LeapPad 3 Front Facing Camera Replacement: stap 11, afbeelding 2 van 3 Leapfrog LeapPad 3 Front Facing Camera Replacement: stap 11, afbeelding 3 van 3
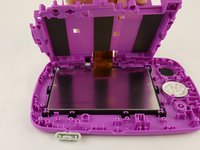
      • Remove the covering with your hand to expose the front facing camera.

      Vraag FixBot

      Voeg opmerking toe

    3. Leapfrog LeapPad 3 Front Facing Camera Replacement: stap 12, afbeelding 1 van 3 Leapfrog LeapPad 3 Front Facing Camera Replacement: stap 12, afbeelding 2 van 3 Leapfrog LeapPad 3 Front Facing Camera Replacement: stap 12, afbeelding 3 van 3
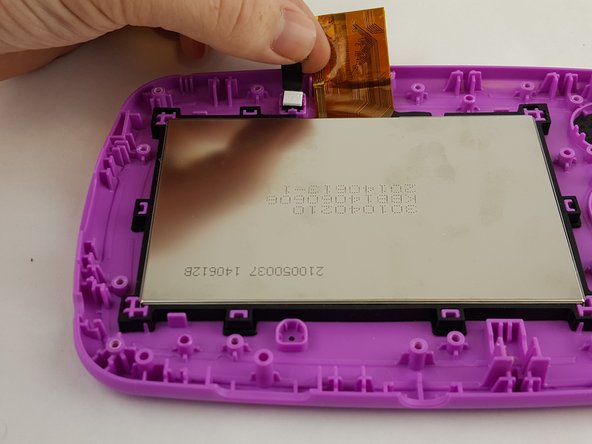
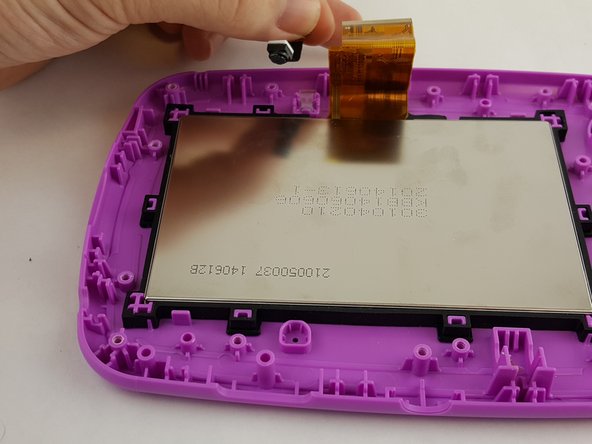
      • Remove the front facing camera from the outer case.

      Vraag FixBot

      Voeg opmerking toe

Conclusie

To reassemble your device, follow these instructions in reverse order.

Annuleren: ik heb deze handleiding niet afgemaakt.

2 andere personen hebben deze handleiding voltooid.

Matt Irvine

Lid sinds: 02/04/16

952 Reputatie

6 handleidingen geschreven

Team

USF Tampa, Team 16-2, Blackwell Winter 2016 Lid van USF Tampa, Team 16-2, Blackwell Winter 2016

USFT-BLACKWELL-W16S16G2

3 Leden

12 handleidingen geschreven

0Gids Commentaar

Voeg opmerking toe

Weergavestatistieken:

Afgelopen 24 uren: 2

Afgelopen 7 dagen: 9

Afgelopen 30 dagen: 30

Altijd: 577