Inleiding
If no sound comes from headphones that are plugged into the audio port, you may need to install a new one. Follow this guide to diagnose and resolve the issue.
Wat je nodig hebt
-
-
-
Remove the battery cover by placing your thumb on the small ridge near the top of the phone back and push downward, exposing the battery.
-
Remove the battery using your finger to pry it out of the battery housing.
 Vraag FixBot
-
-
-
-
Gereedschap gebruikt in deze stap:Tweezers$4.99
-
Remove the (2) rubber screw covers located near the hinge of the phone using tweezers or a thumb tack.
-
Unscrew the (4) 3.6mm screws using a #00 Phillip's head screw driver.
-
-
-
-
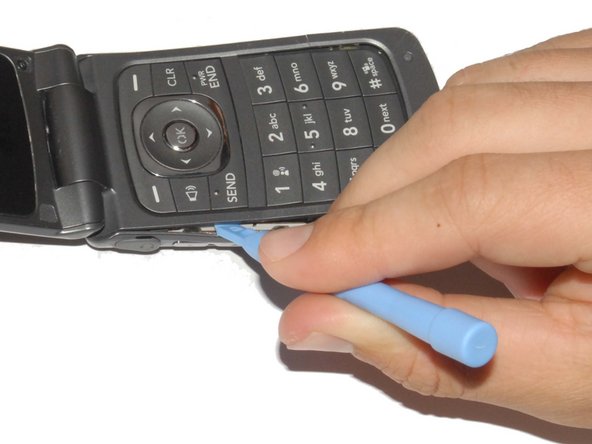
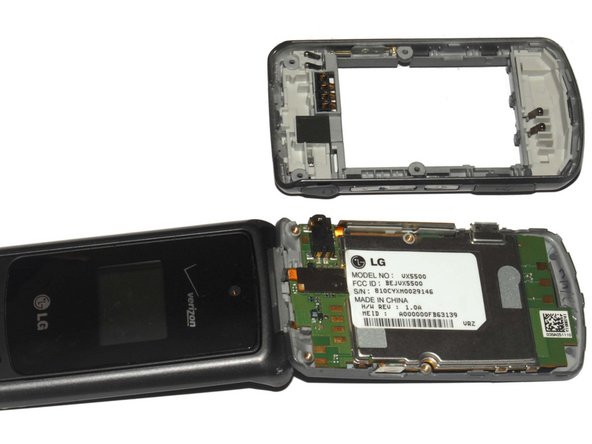
Carefully pry off the phone's backing using a plastic opening tool.
-
Slip the tool into the crack between the keypad (front panel) and the back panel.
-
Slide the tool along the sides of the phone to detach the tabs holding the backing on.
-
-
-
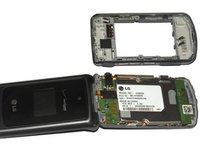
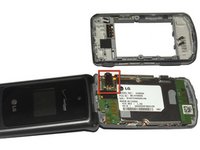
Locate the audio port; this is what it should look like.
-
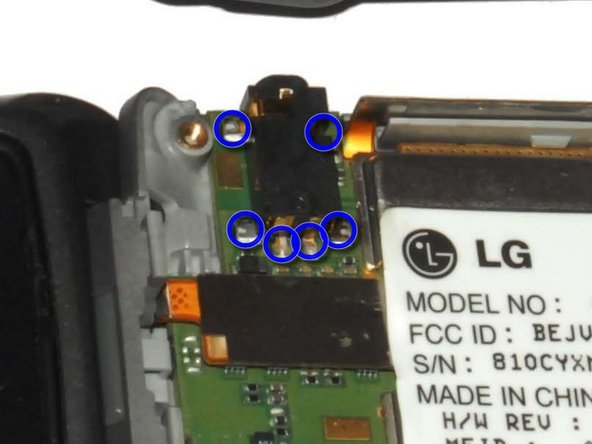
The audio port is mounted and connected at 6 points. Check the integrity of these connections.
-
-



To reassemble your device, follow these instructions in reverse order.
Annuleren: ik heb deze handleiding niet afgemaakt.
2 andere personen hebben deze handleiding voltooid.

Team

Cal Poly, Team 7-33, Maness Spring 2012 Lid van Cal Poly, Team 7-33, Maness Spring 2012
CPSU-MANESS-S12S7G33
4 Leden
25 handleidingen geschreven
